Reference Modification no.
- 0 -
Page
144
Date
1997 02 01
Main
914 F
01478
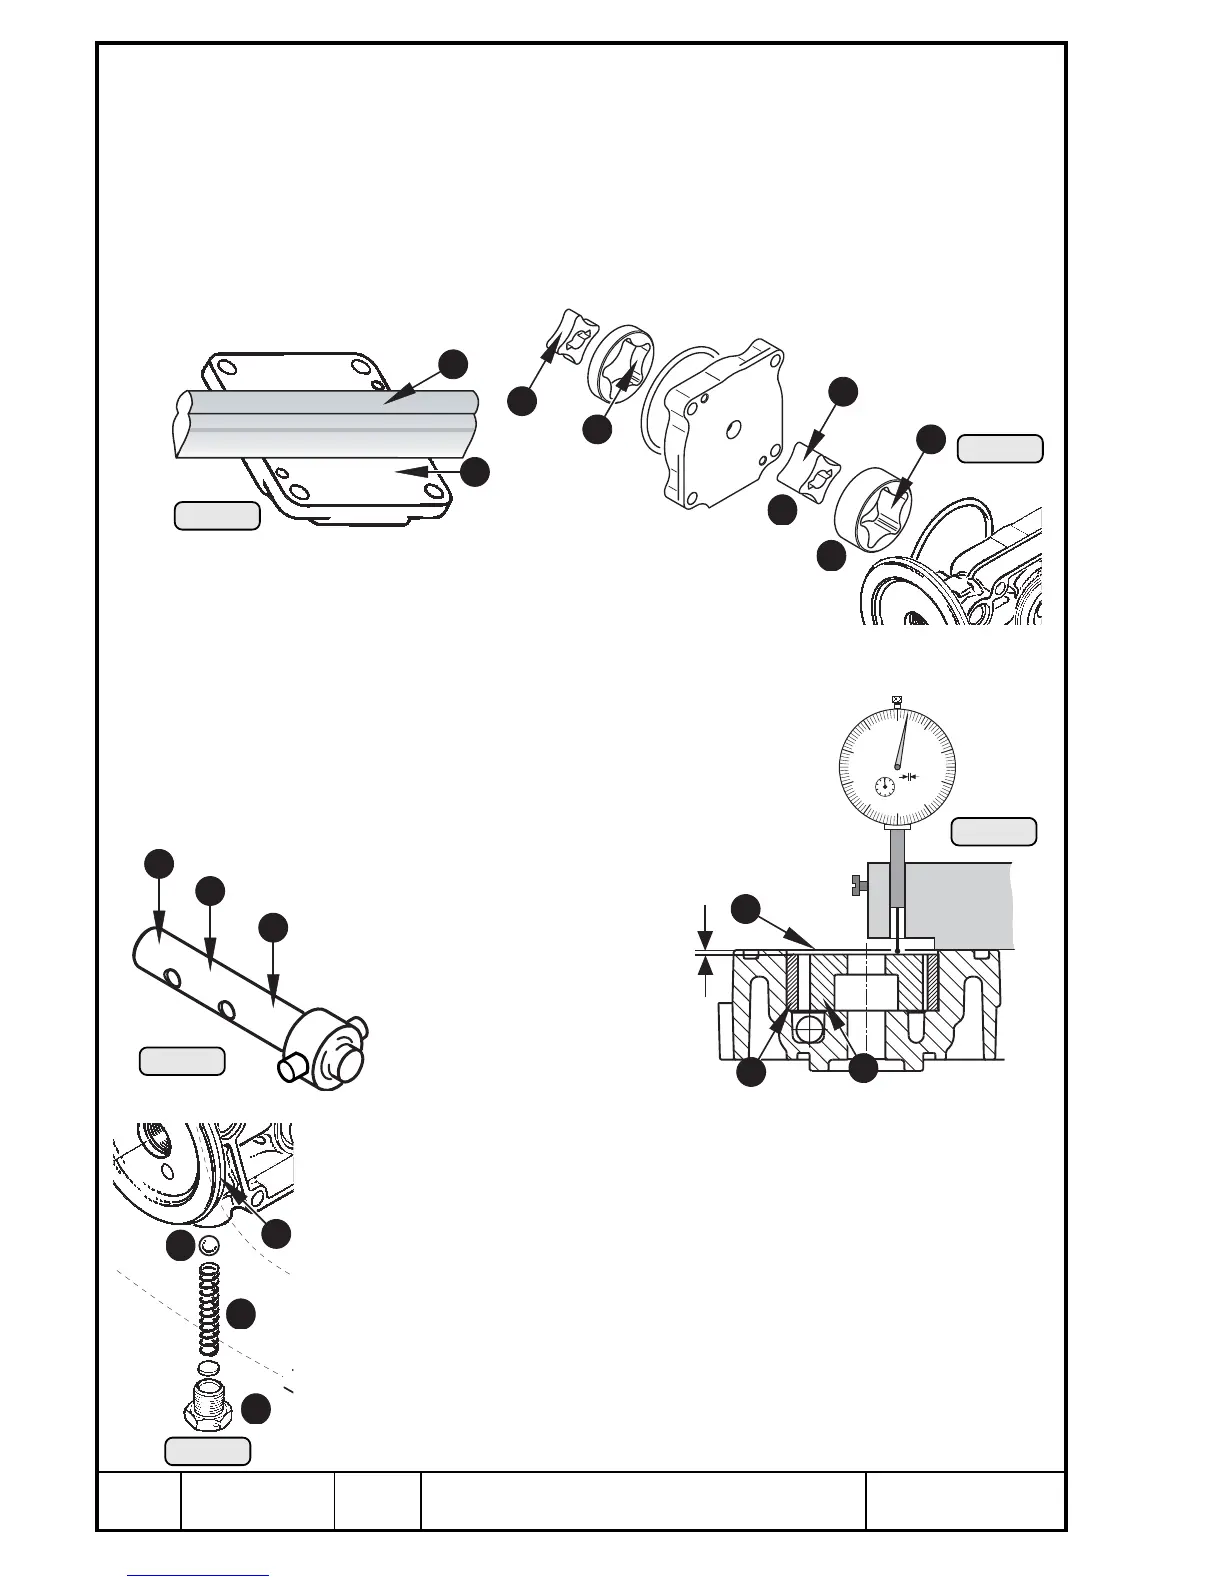
Check sealing faces of both oil pump housings and pump cover, plane on an
even plate if necessary.
Check pump shaft on the bearing seats I.
Remove plug screw O, spring P and ball {, clean and check ball seat }
in pump housing. The shim q is only fitted if required to reach specified oil
pressure.
Clean all parts and clear oil bores with compressed air.
Dimensions New Wear limit
See Chapter 15.
12
13.2.1.3) Oil pump checking
See Pic. 93/94/95/96 and 97.
Visually check all components of oil pump.
Check inside Q of oil pump cover with a straightedge W for wear.
Check all revolving pistons and rotors of pump. At noticeable furrows on
mating faces of rotor inside E and revolving piston outside R renew both
components.
2
1
Pic. 93
0
10
20
30
40
50
60
70
80
90
0.01mm
1
2
3
4
5
6
7
8
9
0
Pic. 96
W
00073
00074
00076
Pic. 94
Insert revolving pistons and rotors into their respective housings.
Check gap W (suction oil pump) between
crankcase flange surface — revolving piston
crankcase flange surface — pump rotor
Check gap W (main oil pump) between
crankcase flange surface T — revolving piston Y
crankcase flange surface T — pump rotor U
A bigger gap greatly reduces
pump capacity.
00076
Pic. 95
00071
Pic. 97
6
7
3
4
3
4
8
8
8
6
7
5
9
10
11

 Loading...


