Reference Modification no.
- 0 -
Page
158
Date
1997 02 01
Main
914 F
01478
3
4
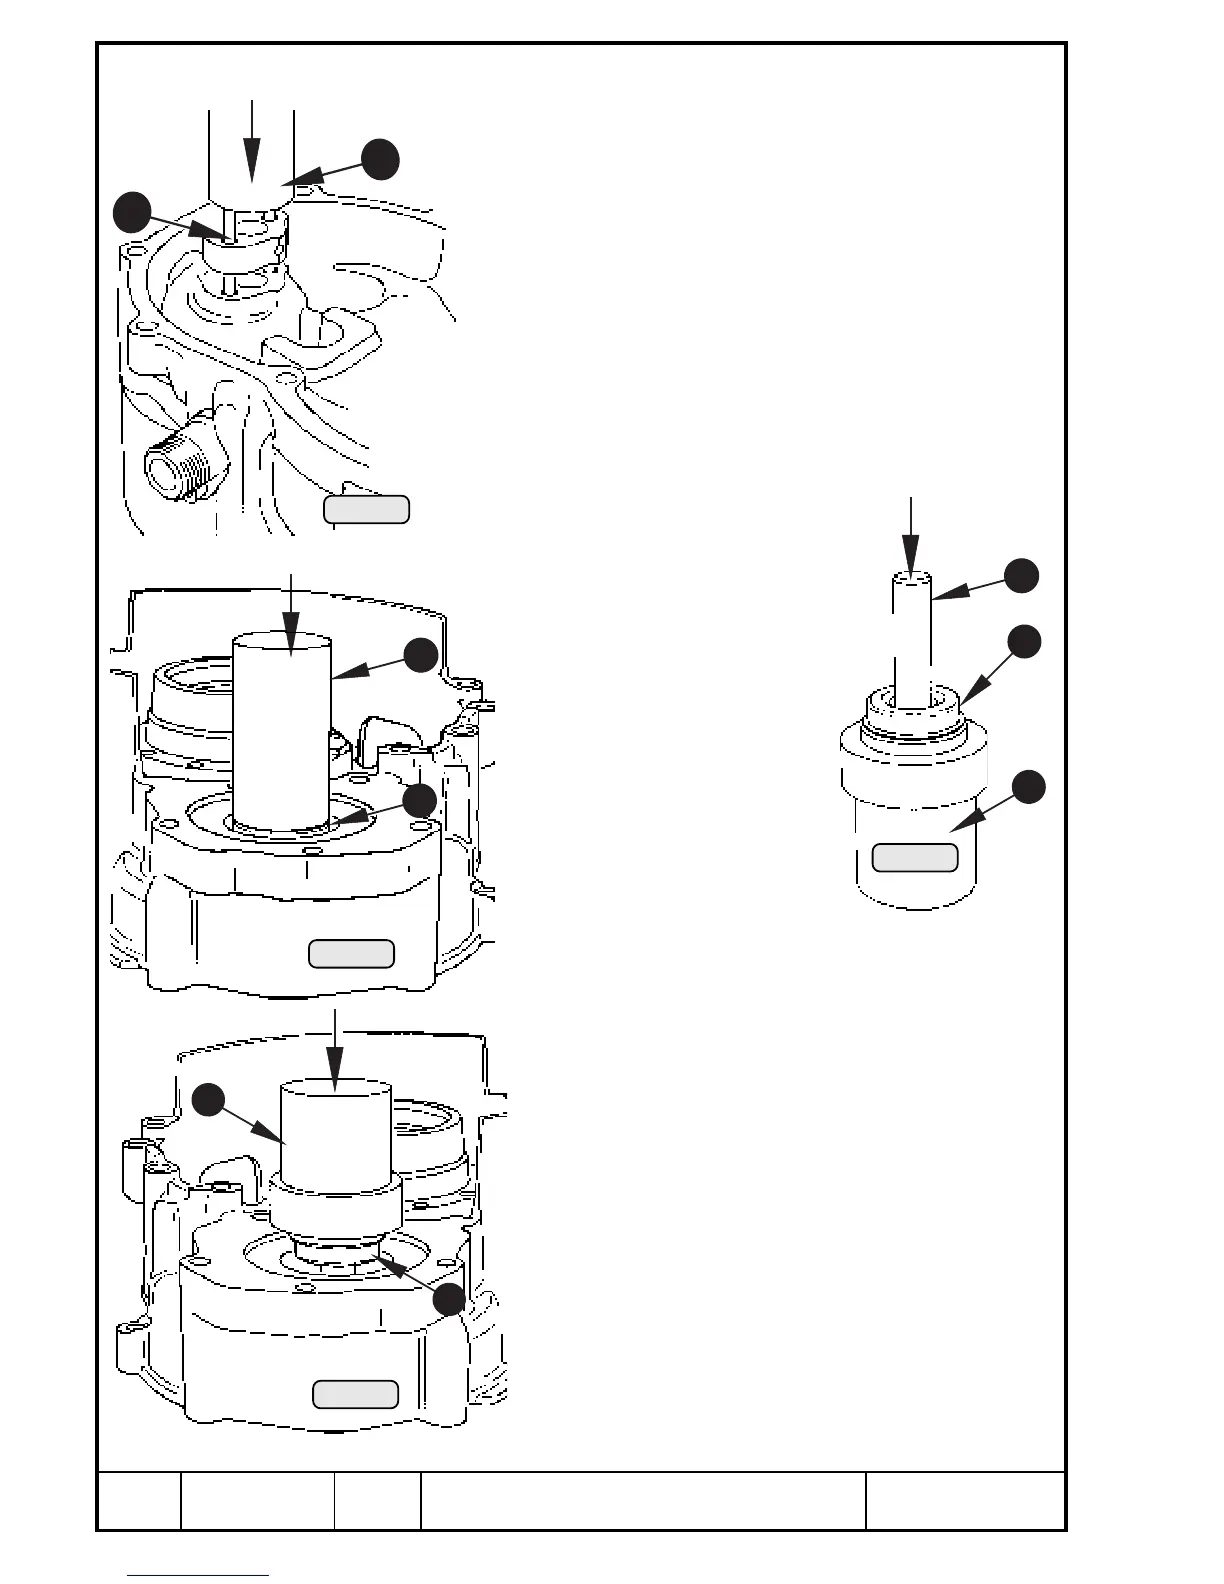
13.3.6) Rotary seal - removal
See Pic. 117.
Remove old oil seal and rotary seal utilizing 2 pins Q 5 mm dia.
(0,2 in.) and suitable punch W. Oil seal and rotary seal will be
destroyed at removal and must be replaced.
13.3.6) Rotary seal - refitting
See Pic. 118/119 and 120
Press new oil seal Q 12x30x7, pre-oiled sealing lip showing
inwards, into ignition cover using punch W, part no. 876 510.
Carefully press rotary seal E on punch R, part no.877 250,
and press the water pump shaft T carefully into the positive
stop of the insertion jig.
Place pump gear with larger collar towards inside into igni-
tion cover. Turn punch R around and push water pump shaft
T with rotary seal E already fitted into
ignition cover. Align drive gear with pump
shaft.
Now place the ignition cover
under a hand press (20 kN /
4400 lb. capacity) on a plane
face and press pump shaft into
position until stop. Then turn
ignition housing and press
water pump shaft back using
10 mm (.4 in.) punch R until
level with sealing face. Turn
water pump shaft for check.
◆ NOTE: The spring of the
rotary seal presses the water
pump shaft outwards towards
the sealing face Y, depending on axial clearance O.
See Pic. 121.
Pic. 119
3
5
4
Pic. 118
2
1
1
2
Pic. 117
Pic. 120
00386
00387
00389
00388

 Loading...


