July, 2007
4-32
WorkCentre 5020
REP 5.1.2, REP 5.1.3
Initial Issue
Repairs and Adjustments
Replacement
1. To install, do the removal steps in reverse order.
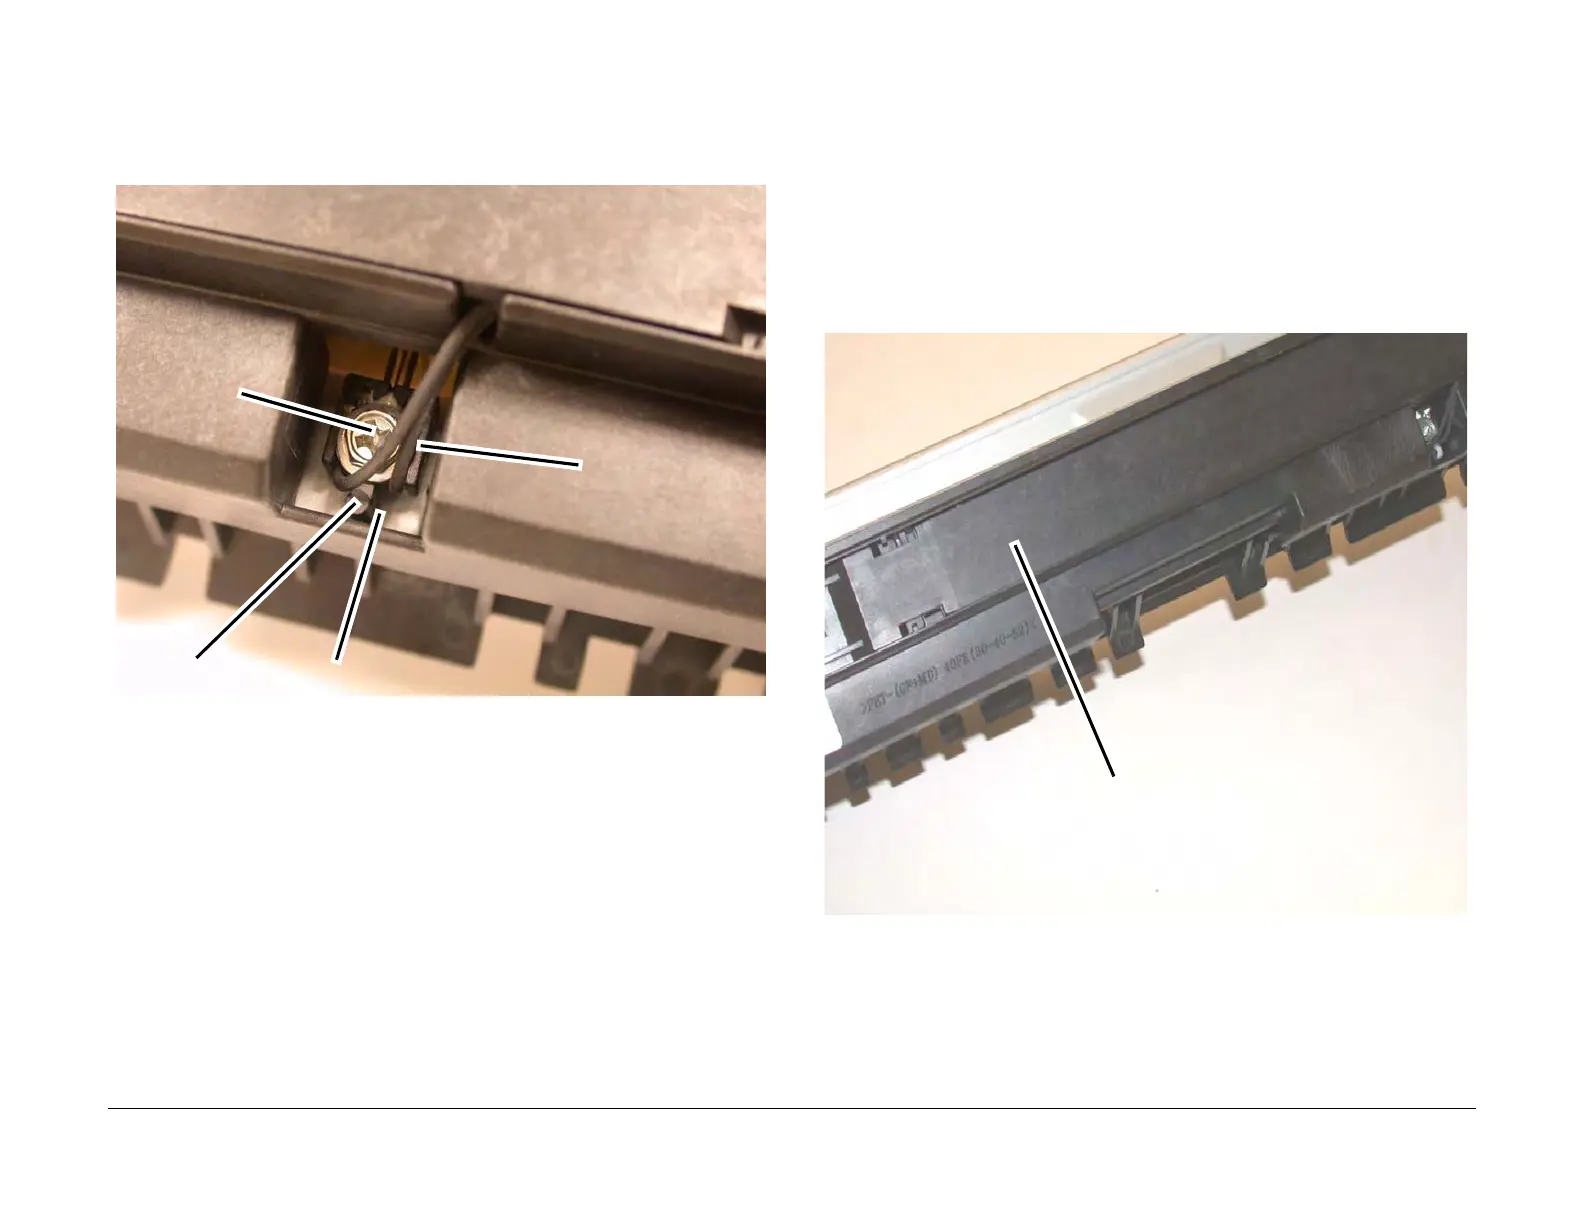
NOTE: Before tightening the Screw, make sure that the Tab on the Sensor Block is
inserted in the notch of the Frame (Figure 3).
Figure 3 Installing the Temperature Control Sensor Assembly
REP 5.1.3 Fuser Lamp
Parts List on PL 5.1
Removal
WARNING
To avoid personal injury or electrical shock, ensure that the machine is completely off
before disassembling or adjusting. Turn OFF the power and unplug the machine.
WARNING
The Fuser and Exit Transport are hot. Do not work on them until they are cool enough.
1. Remove the Fuser (REP 5.1.1).
2. Slide the Cover to the left and remove (Figure 1).
Figure 1 Removing the Cover
Tab
Notch
Screw
Sensor Block
Cover

 Loading...


