4.2 Replacement of Consumables
HA-8190V 4-5
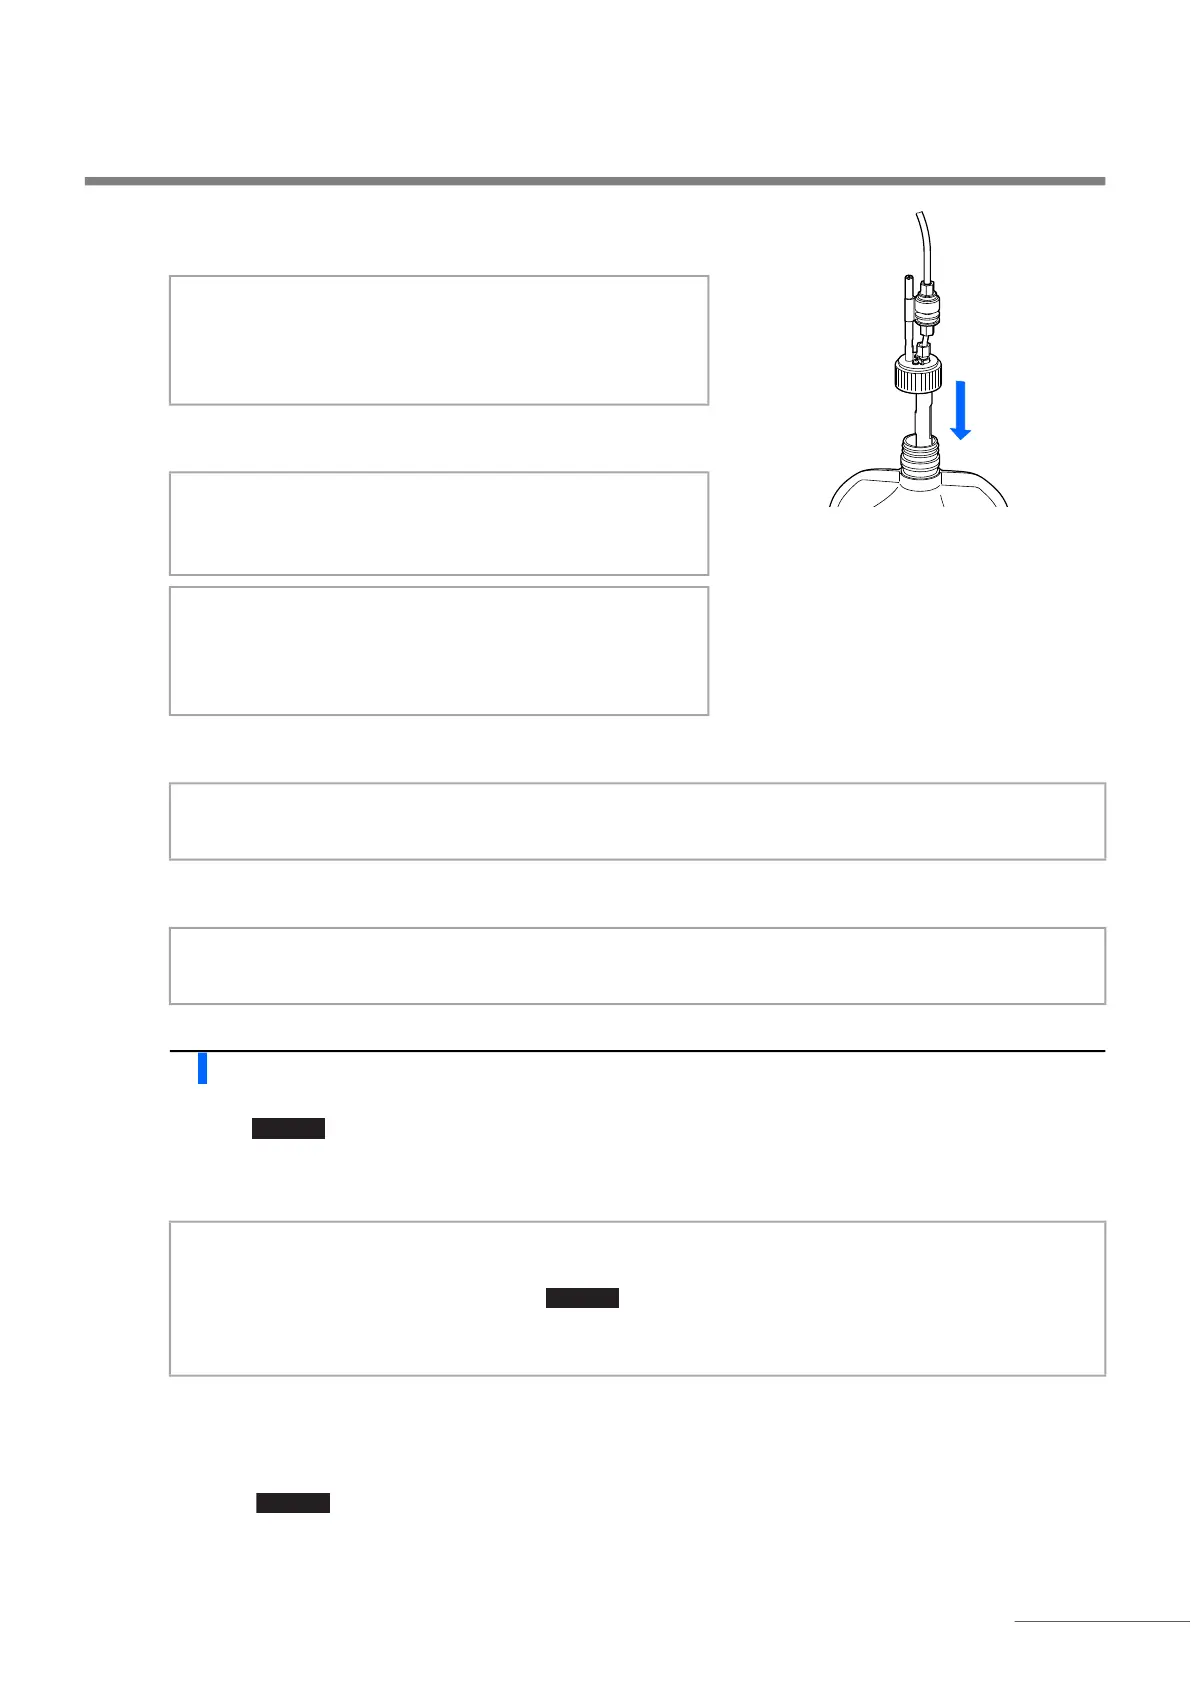
c Insert the nozzle of the bottle cap into the new pack and tighten
the cap securely.
d Check that the cap of the eluent pack is tightened securely.
e Check the type of the new eluent pack and place the pack in the specified position on the bottle tray.
f Shape the eluent pack into a smooth standing position.
5 Reset the remaining reagent quantity for the eluent.
a Touch .
• This resets the remaining reagent quantity for the eluent.
• The [Reagent replace menu] screen will appear again.
NOTE:
Attach the bottle cap with nozzle to the pack somewhere
other than above the instrument. Liquid may spill and
damage the instrument.
IMPORTANT:
If the cap is loose, liquid condensation may rise due to
evaporation, resulting in inaccurate measurement results.
NOTE:
Do not tilt the pack to a large degree once the bottle cap
with nozzle has been attached to the pack. The air inlet on
the cap may clog.
NOTE:
Set the pack between the applicable pack supporters.
NOTE:
Eluent may not be fully aspirated if the pack is bent over or collapses during measurement.
NOTE:
If an error message appears:
The reagent information is invalid. Touch to return to step 2. Check the type, expiration date and
manufacturing date of the eluent, and enter the correct reagent code. To replace with another new eluent pack,
repeat steps 2 to 4.
REFERENCE:
To replace another reagent:
Select the next reagent you want to replace on the [Reagent replace menu] screen at this point. You can then
replace the next reagent without priming the last reagent you replaced. Once all reagents have been replaced,
touch on the [Reagent replace menu] screen to start priming for all of the new reagents.
Finish
 Loading...


