4.2 Replacement of Consumables
HA-8190V 4-13
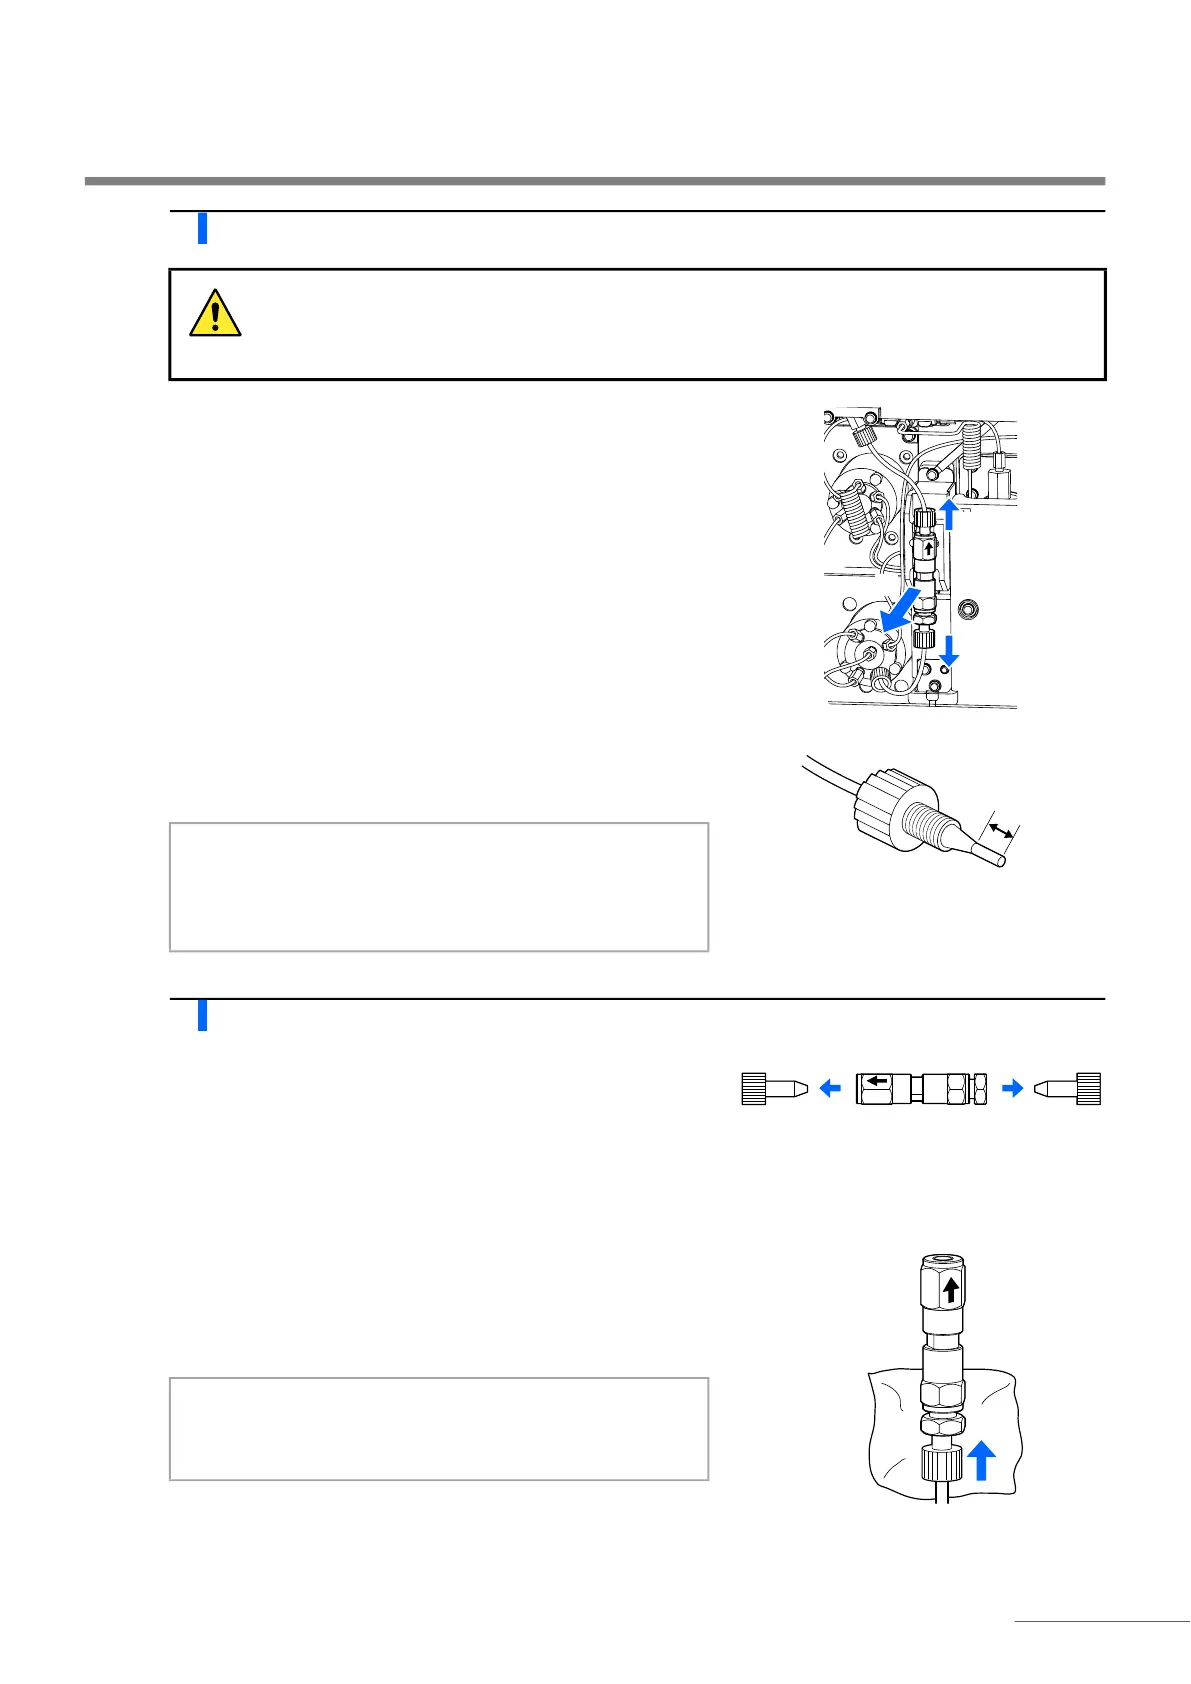
4 Detach the old column.
a Detach the column from the column holder.
• Place your hand behind the column at the top and push the
column to the front.
b Wrap the column with tissue paper and turn the push screw on the
IN side by hand to disconnect it from the column.
c Turn the push screw on the OUT side by hand to disconnect it
from the column.
d Press the tube until it is protruding about 3 mm from the push
screws on both the IN and OUT sides.
5 Install a new column.
a Remove the sealing screws from both ends of a new column.
b Check again that the tube protrudes about 3 mm from the push
screw, fit the push screw over the IN side of the column, and then
tighten the push screw lightly by hand.
• Do not fully tighten the push screw at this point.
c Wrap the connection between the IN side of the column and push screw with tissue paper.
• The tissue paper blots up any liquid that overflows during priming.
The column and column holder may be hot. Before touching the column, place your hand near
to the column to make sure that it is not hot. If the column is hot, the temperature controlling
unit may break. Contact your distributor.
NOTE:
Liquid may leak or an abnormal chromatogram may result
after replacing the column unless the tubes protrude about
3 mm from the push screws.
REFERENCE:
Keep the sealing screws in the accessory case. These screws
should be reused if the instrument is not to be used for
extended periods of time.
IMPORTANT:
Install the column with the arrow to the top. Do not install
the column upside-down.