4.2 Replacement of Consumables
HA-8190V 4-21
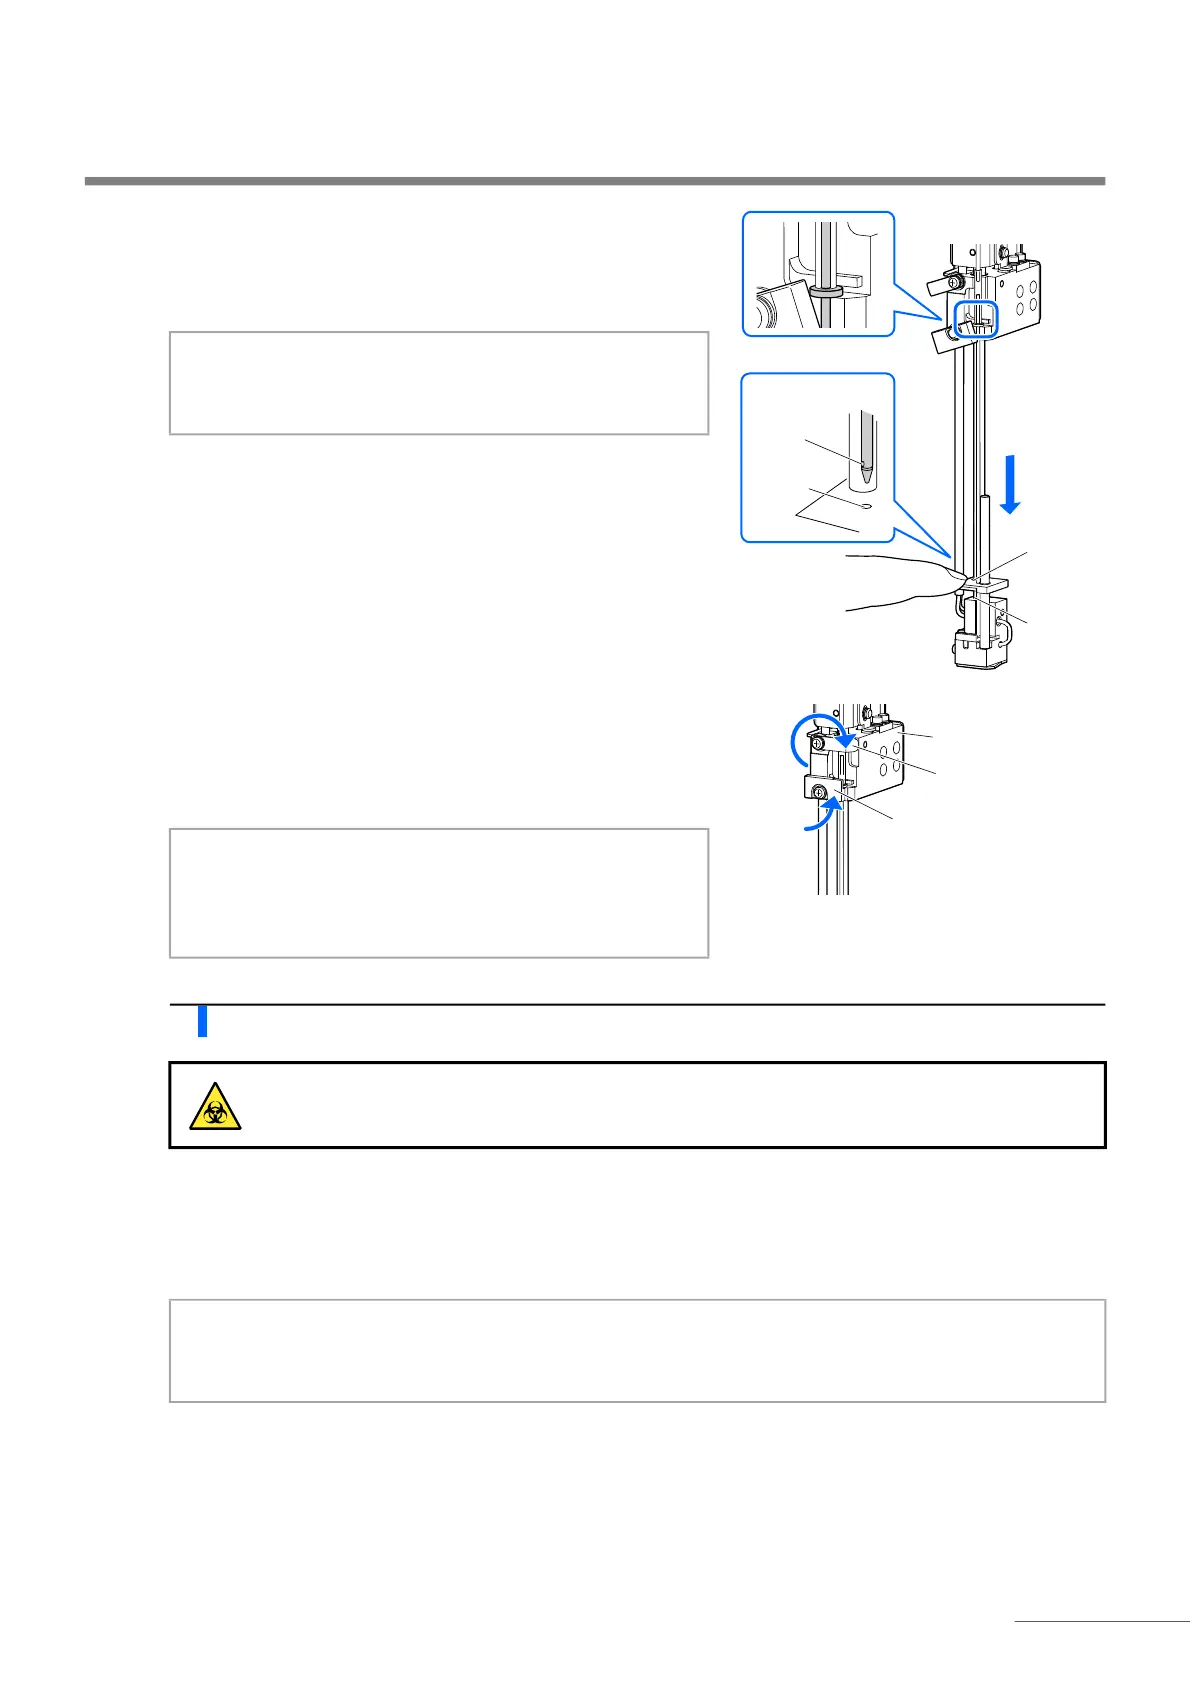
c With the nozzle guide held down to where it stops, pass the tip of
the piercing nozzle through the two installation holes.
• Fit the projection at the top of the piercing nozzle into the recess
in the nozzle holder (a).
d While holding the nozzle drive unit still with one hand, return
both fixing brackets A and B to their original positions and
tighten the screws with the Phillips screwdriver.
• Turn the fixing bracket A clockwise.
7 Attach the STAT port cover.
a Place the STAT port cover in its original position and tighten the knurled screw by hand.
b Close the front cover.
• The mechanical sections will power on and initialize.
Position the
hole to the
left.
Installation
hole
Installation
hole
Installation
hole
b
a
NOTE:
Position the piercing nozzle so that the hole near the tip of
the nozzle faces the left as seen from the front (b).
NOTE:
Tighten the screw of the piercing nozzle securely. If loose,
the screw may come out during measurement and cause
damage to the instrument.
Be sure to attach the STAT port cover. This reduces sample splattering if sample tubes are not
capped.
NOTE:
Close the cover to initialize the mechanical sections even if you are not going to perform measurements or
other operation right away.
 Loading...


