8. Maintenance
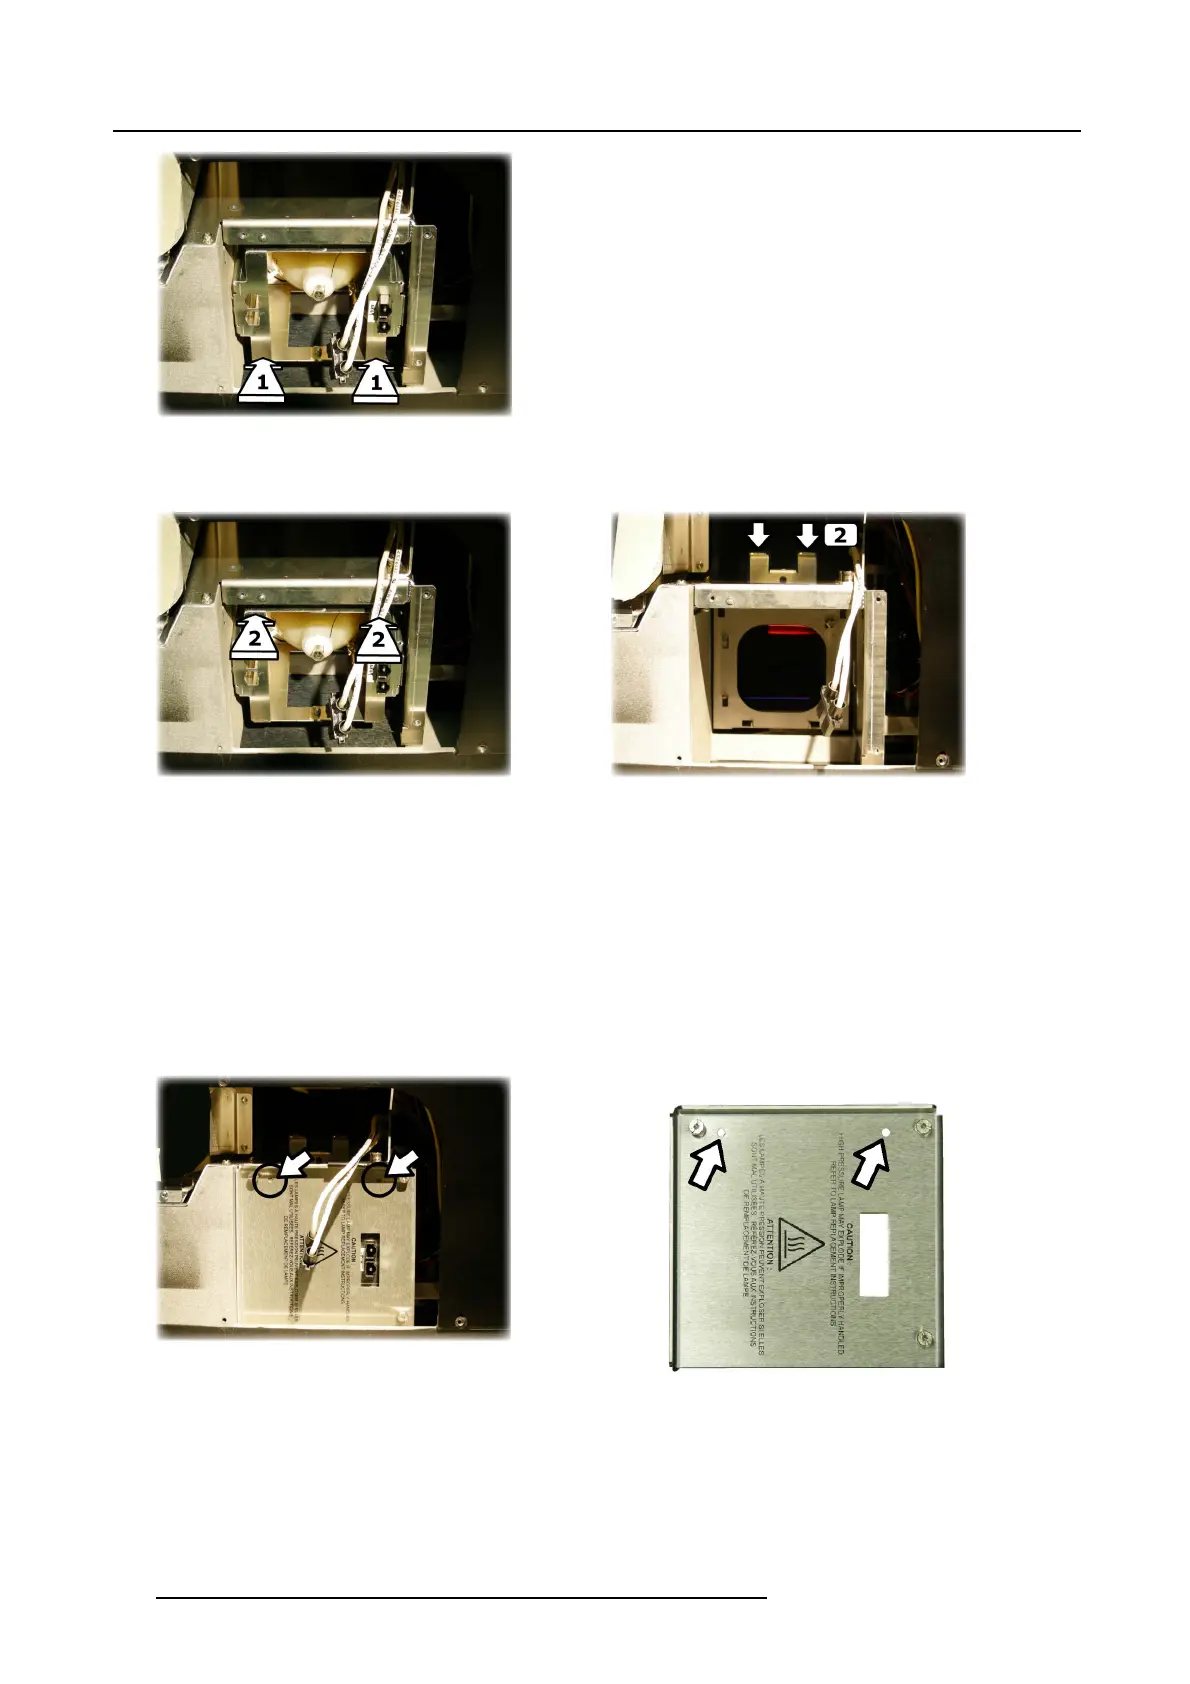
Image 8-29
Lamp inserting: firmly push the bottom side first
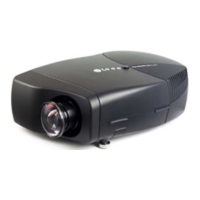
5. Then firmly push the top side of the lamp, while carefully pushing the lamp locking handle down
Image 8-30
Lamp inserting: firmly push the top side...
Image 8-31
Lamp inserting: ... while carefully pushing down the lamp locking handle
6. Check the fixation of the lamp by trying to move it left-right and up-down: it should not move!
8.4.5 Installing the lamp door
Necessary tools
Torx screwdriver T10
How to install the lamp door?
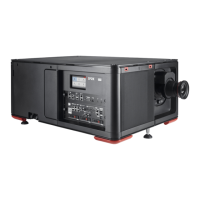
1. Put the lamp door in the right position
Tip: The two positioning points must coincide with the two positioning holes
Image 8-32
Lamp door: positioning points & holes
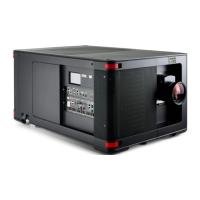
Image 8-33
Lamp door: positioning holes
2. Tighten the three screws
162
R59770198 BARCO SIM 7D 13/02/2013