7. Advanced
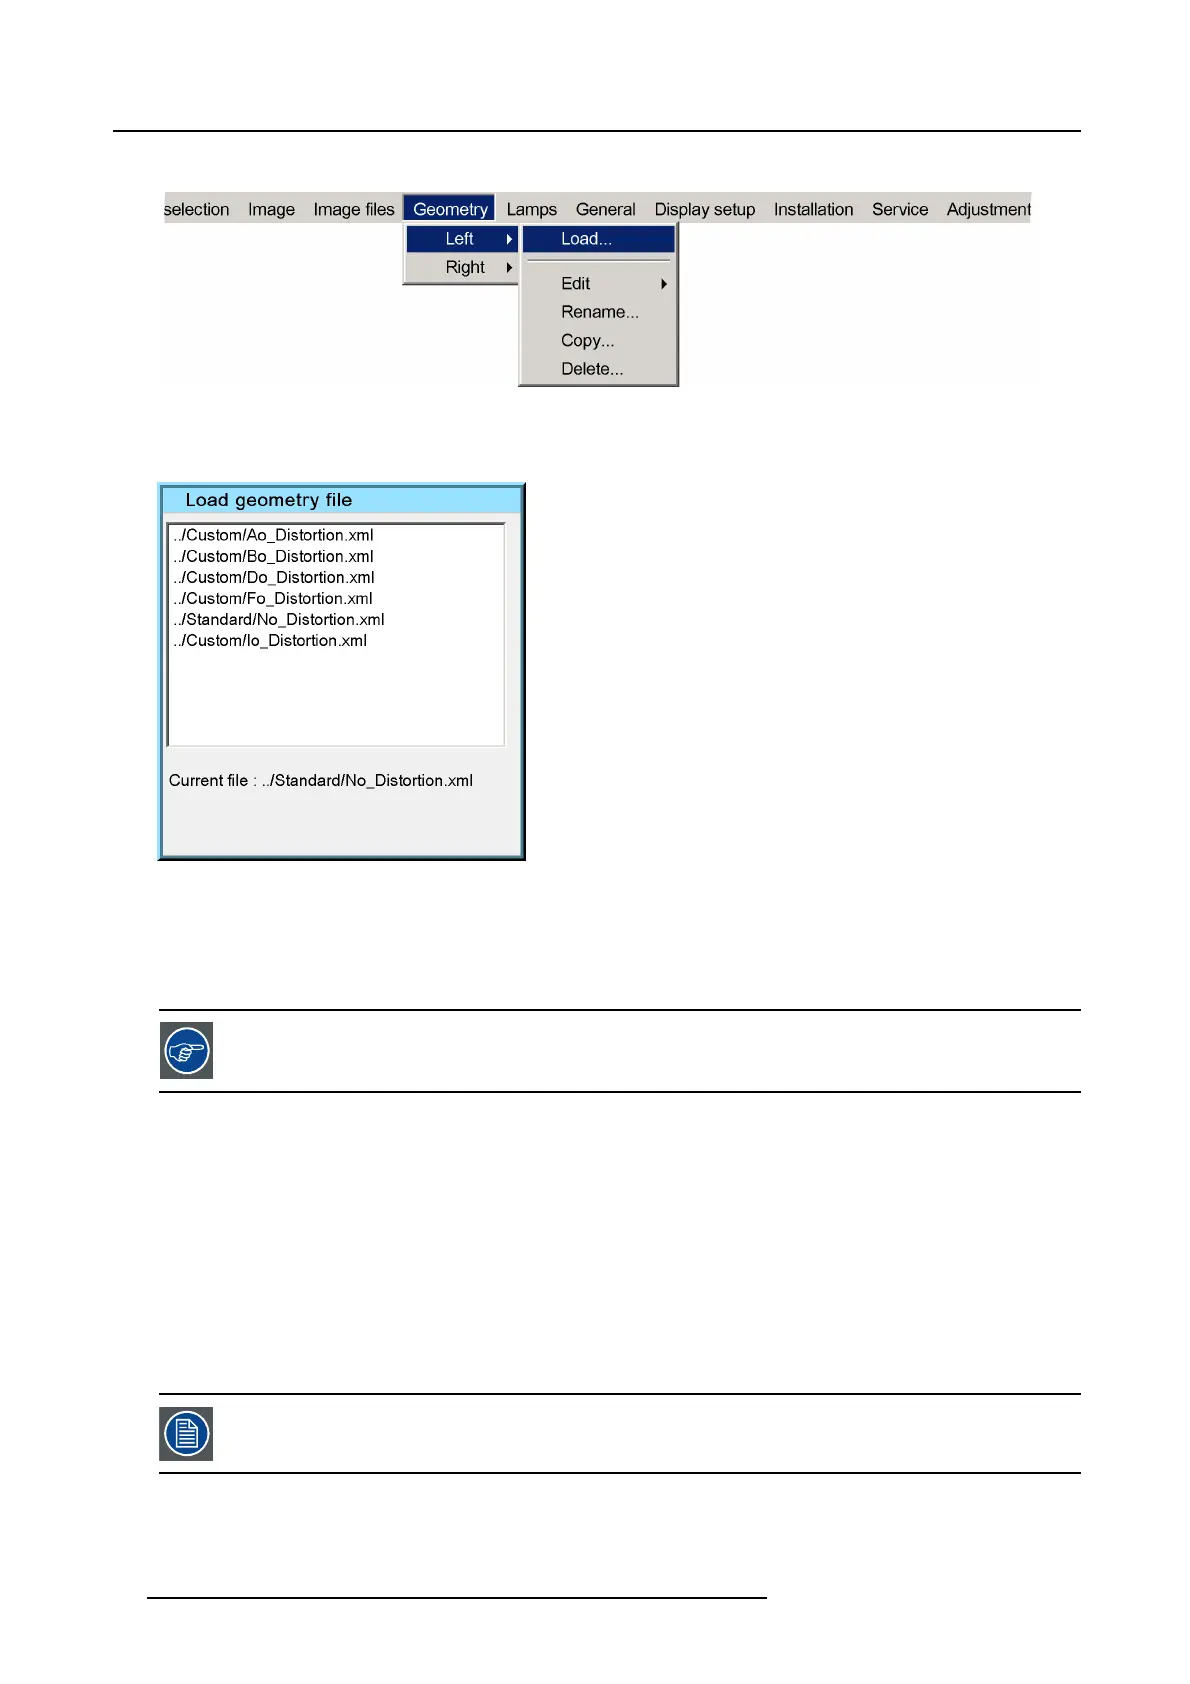
5. Press ↓ to select Loa d
Image 7-35
6. Press ENTER
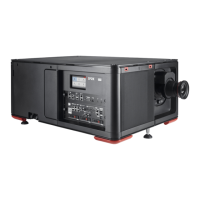
A dialog box is displayed
Image 7-36
7. Use the cursor key ↑ and ↓ to select the desired geometry file
8. Press ENTER
Tip: Tip: W he n starting a new geometry s etup it is advised to select the “No_Distortion” file.
The file is loaded and the geometry settings are adapted.
The procedure is similar for the Right frustum
7.5.6 Edit
Overview
• Accessing the Geometry Edit menu
• Geometry Edit wizard
• Geometry Edit Modes
• Editing a geometry file
• Shift Adjustment
• Transport Delay
• Geometry Reset
The images below show adjustments perfor
med on a hatch pattern generated internally by the projector (see
internal patterns).
72 R59770198 BARCO SIM 7D 13/02/2013