4. Installation
Back focal length adjustment is also needed after the projection lens installation. See "Back focal length
adjustment", page 44 for detailed procedure.
Necessary tools
• Torx screwdriver T10
• Nut spanner or socket spanner 10 mm
• Allenkey2mm
How to prepare the projector lens?
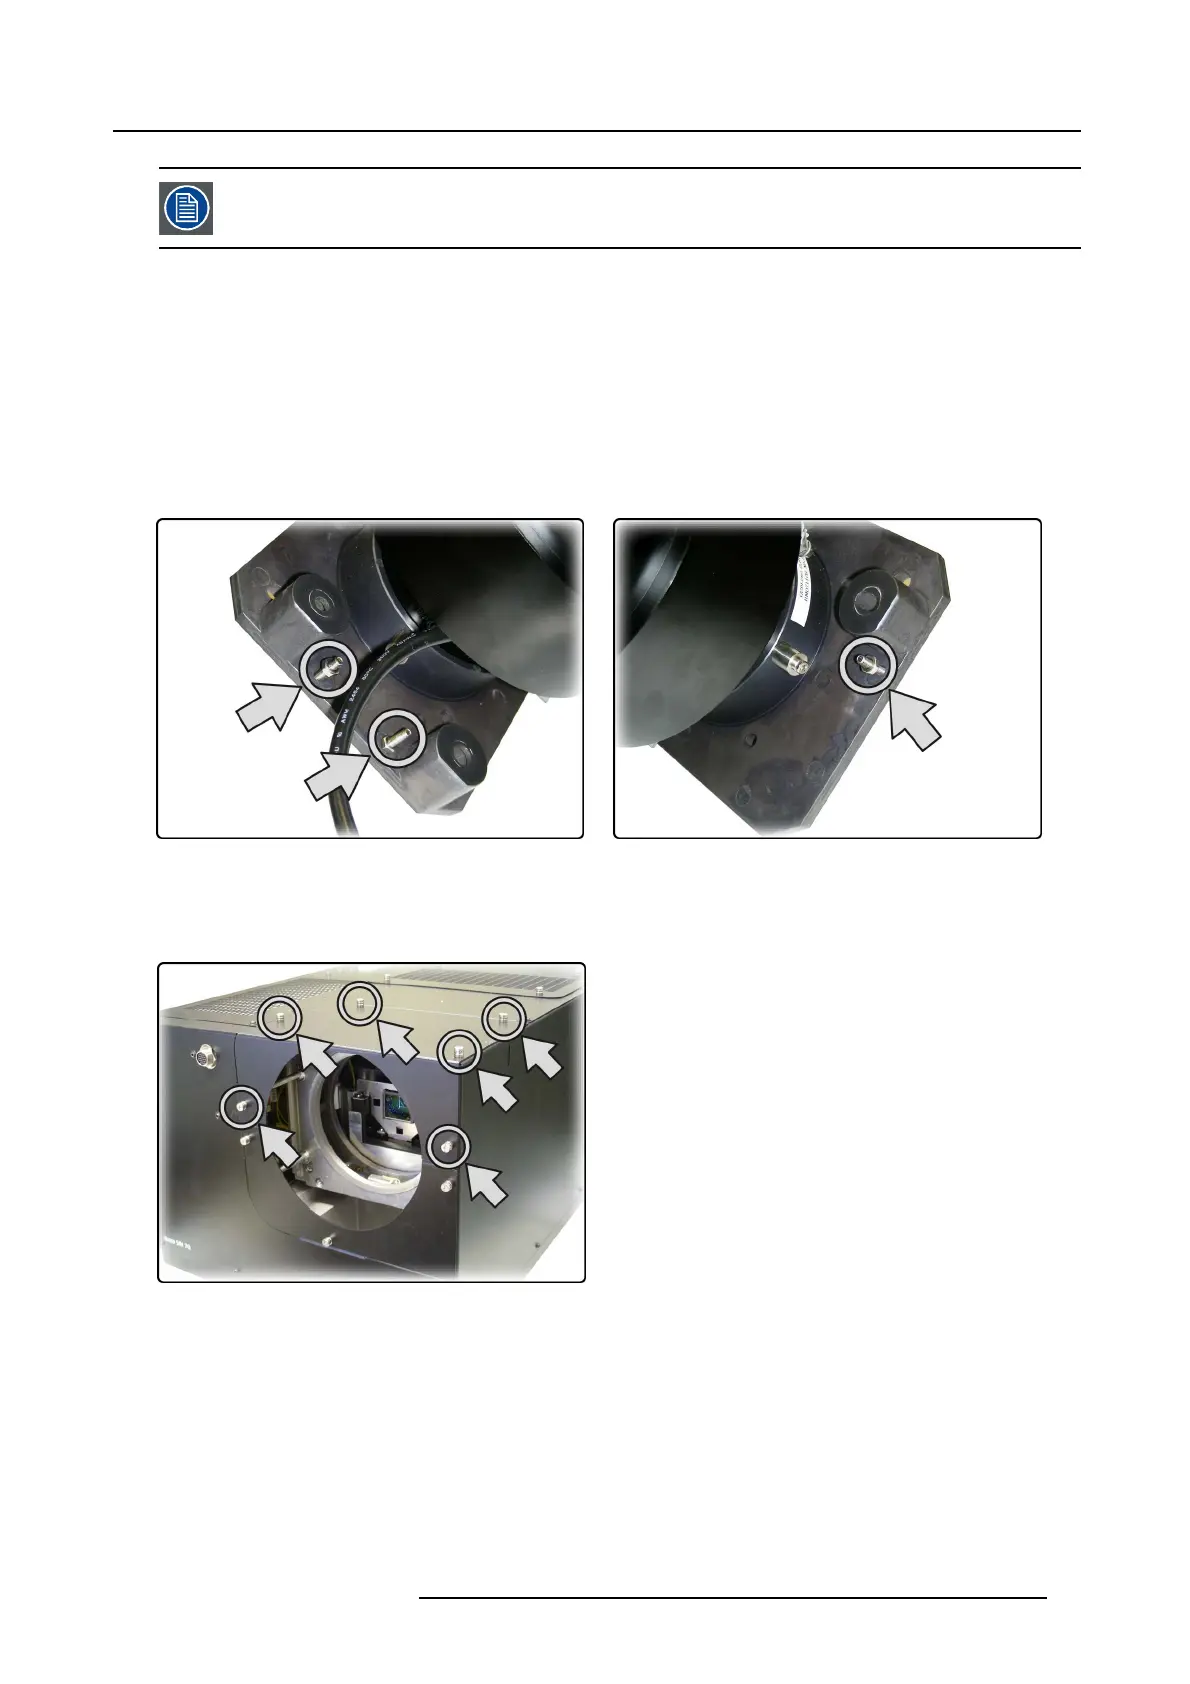
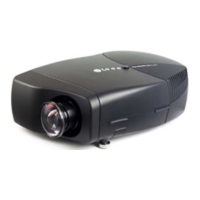
1. Screw in 3 Allen bolts M4 into the lens flange. See image 4-15 and image 4-16
Tip: Mak e sure the bolts do not completely go through the flange.
2. Fix a nut M4 to the Allen bolts. Do not tighten yet.
Image 4-15
Screws to lock the lens scheimpflug settings (left side)
Image 4-16
Screws to lock the lens scheimpflug settings (right side)
How to mount the lens on the projector and adjust the Scheimpflug?
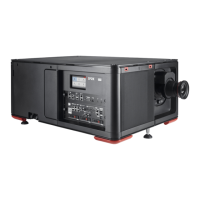
1. Remove the top lens cover (6 screws)
Image 4-17
Top lens cover: fixing screws
2. Remove the bottom lens cover (3 screws)
R59770198 BARCO SIM 7D 13/02/2013
21