SECTION 58 - ATTACHMENTS / HEADERS - CHAPTER 2
58-10
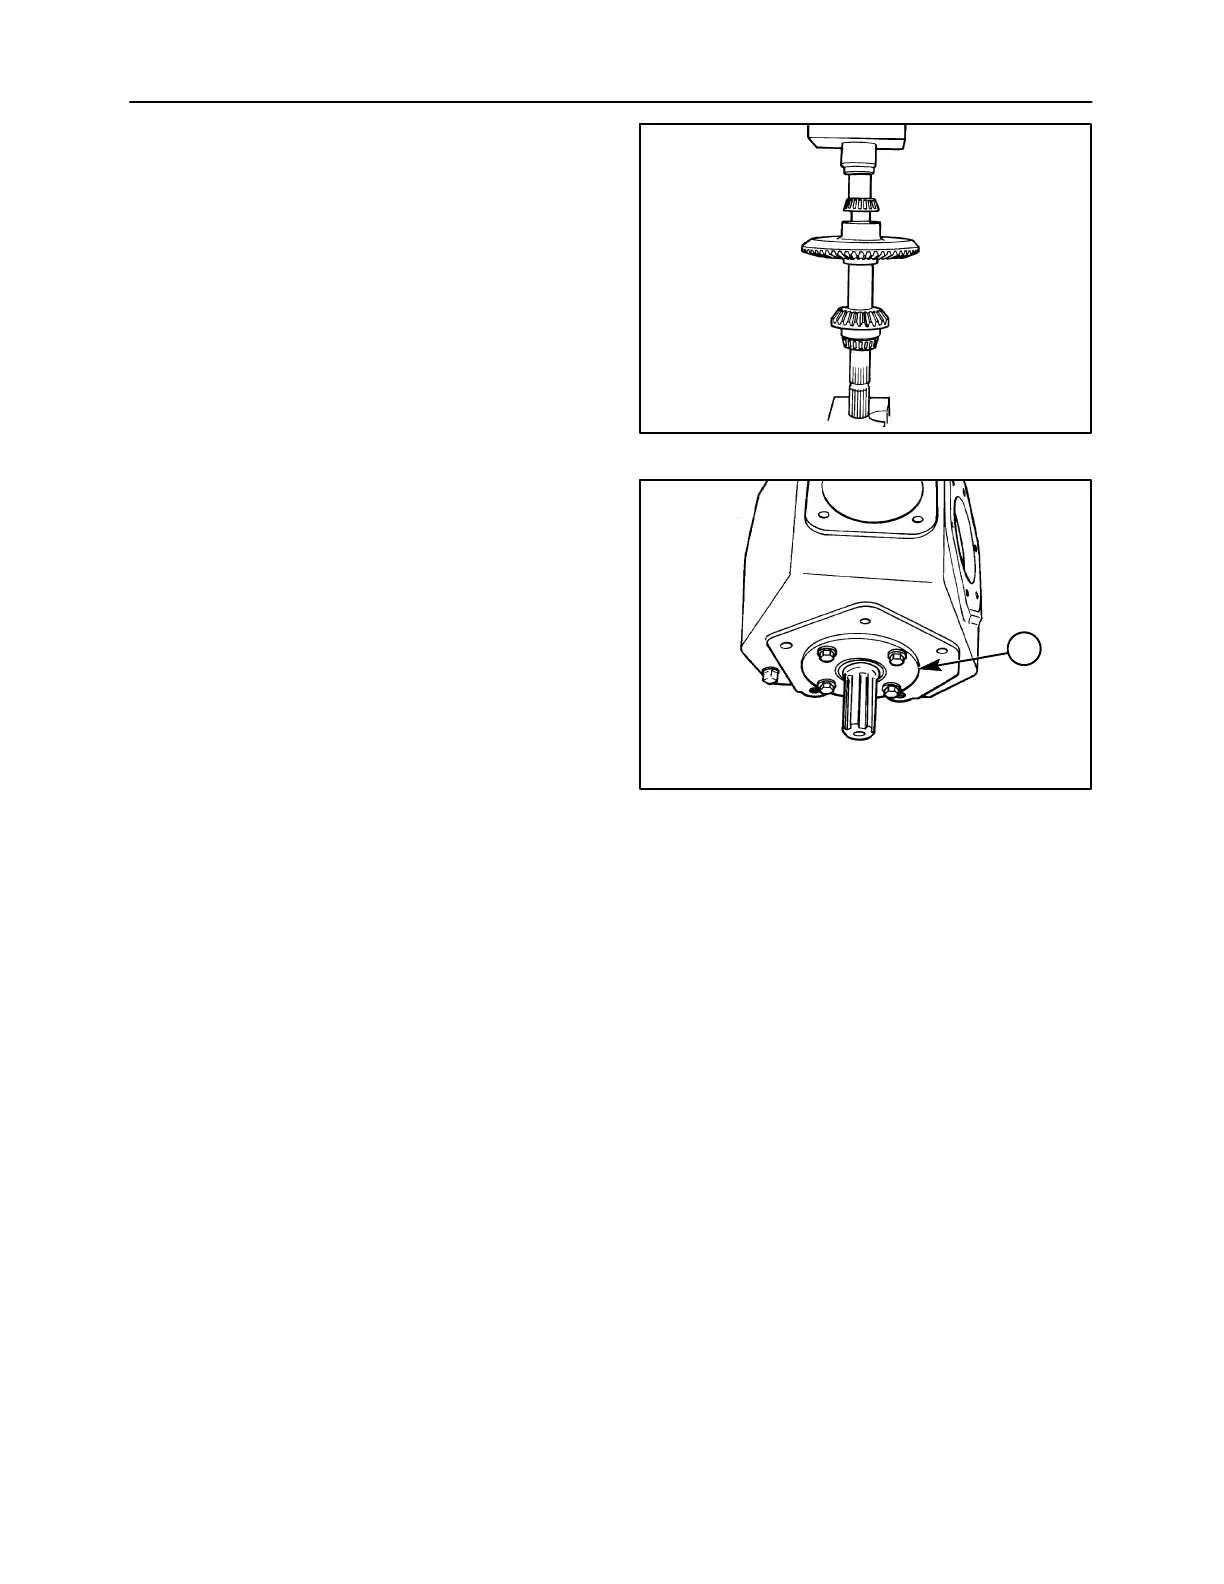
7. Install a 24T gear onto the front of the input shaft,
and press a bearing cone onto shaft until it seats
against shoulder on shaft. Install the 54T gear
onto the end of the shaft and press a bearing
cone onto shaft until the gear seats against the
collar on the shaft. Press bearing cones onto the
output shaft.
8. Install new bearing cups into the input shaft
bearing caps and gearbox housing. Do not install
shaft seals into the input and output shaft bearing
caps at this time.
1411/6-9
20
9. Apply oil to the output shaft bearing cones, and
position the output shaft assembly into the
gearbox housing; install a new bearing cup to
retain shaft. Install the bearing cap, 1, and the
original shim pack using four cap screws and lock
washers. If the original shim pack is destroyed,
or if all new parts are being used, use a starting
shim pack thickness of 0.38 mm (0.015 in).
Check and adjust the output shaft rolling torque
to 0.23 -- 0.68 N⋅m (2 -- 6 in-lb) by shimming under
the bearing cap as required. If the output shaft
rolling torque is initially too tight, tap the shaft
downwards to remove the preload on the
bearings before reinstalling the bearing cap and
revised shim pack.
NOTE: The output shaft rolling torque can be
checked by selecting a socket which fits over the
shaft, and lock it to the shaft by sliding a hex key
wrench between the shaft spline and socket. Attach
an inch-pound torque wrench to socket.
NOTE: Do not install the shaft seal or anti-wrap
shield on the bearing cap prior to checking and
adjusting the rolling torque.
1411/6-4
1
21