SECTION 58 - ATTACHMENTS / HEADERS - CHAPTER 2
58-11
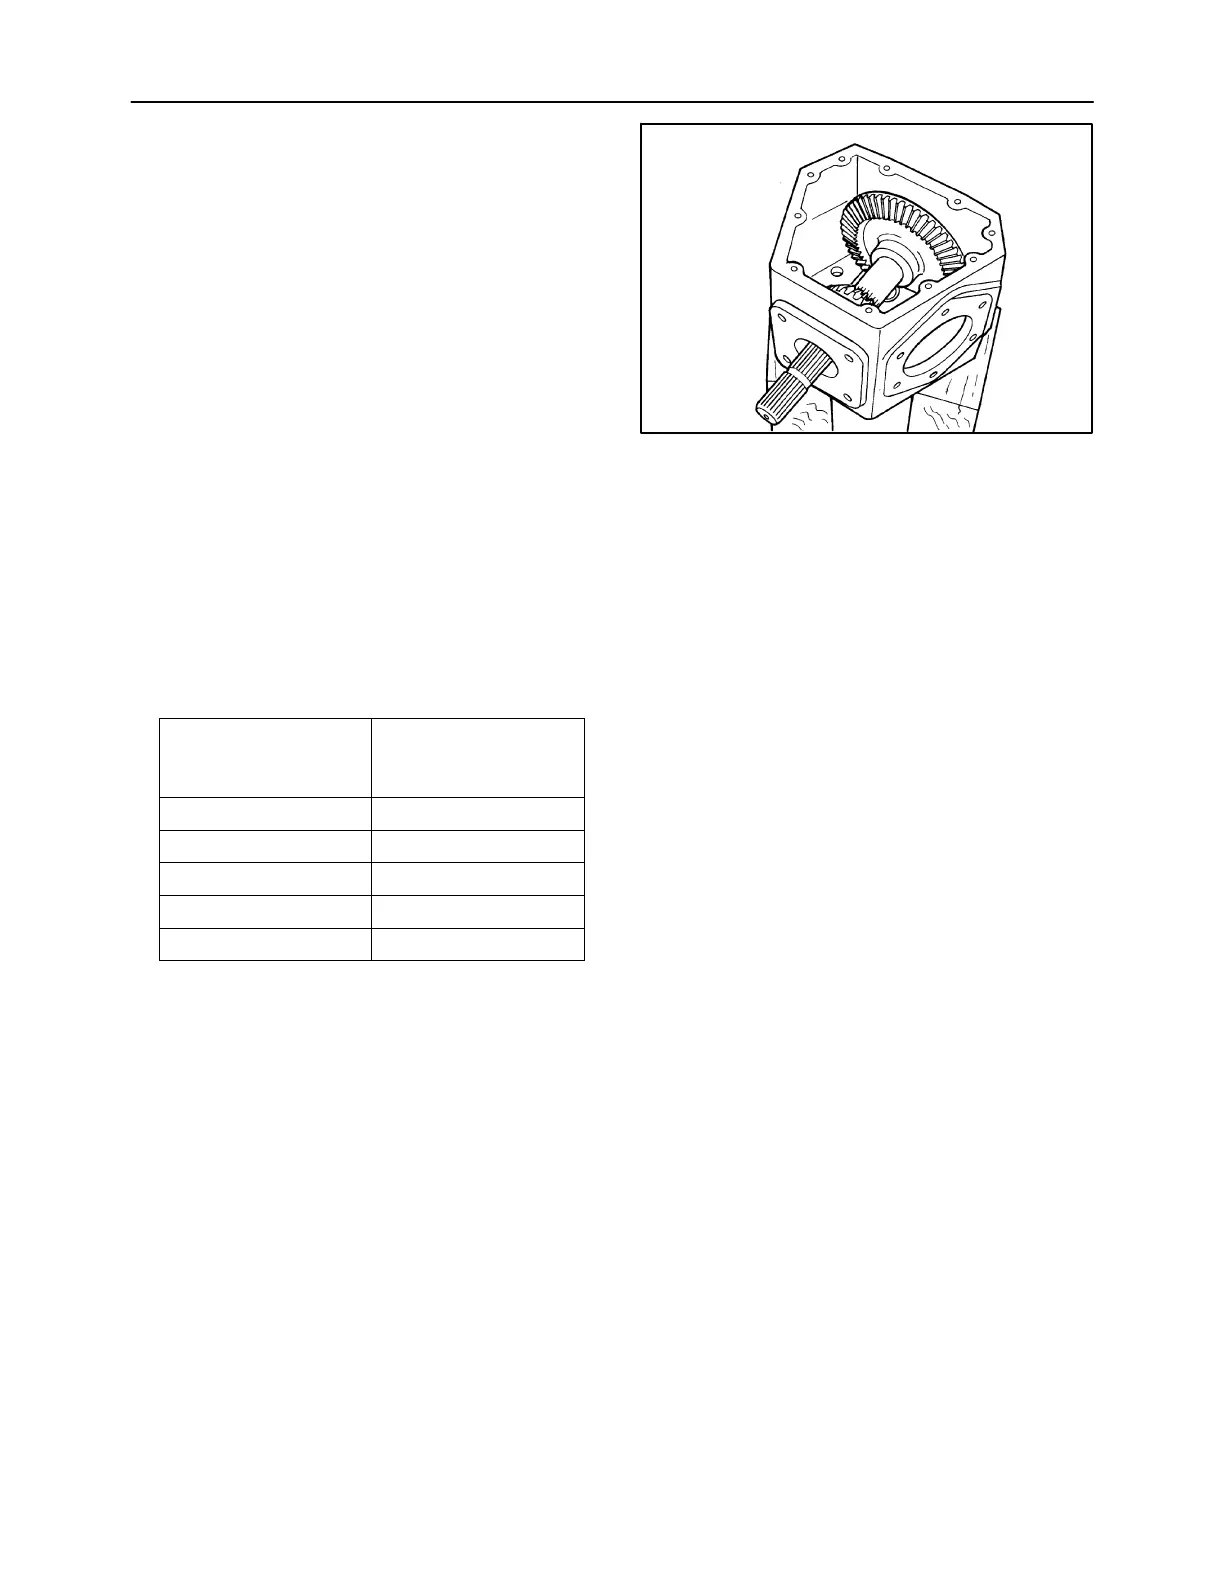
10. Apply oil to the input shaft bearing cones, and
install the input shaft assembly into the housing
by inserting the input end through the front
opening in housing until the 54T gear can be
lowered into the housing.
Apply a thin bead of silicone sealant to the
shoulder on the rear bearing cap, and install it
using four cap screws and lock washers. Apply
silicone sealant to the cap screw threads to seal
them to the housing.
Install the front bearing cap and the original shim
pack using four cap screws and lock washers; do
not apply silicone sealant until after shimming is
completed. If the original shim pack is destroyed,
or if all new parts are being used, use a starting
shim pack thickness of 0.64 -- 0.76 mm (0.025 --
0.030 in).
Install a 1/2″ x3/4″ cap screw into the front of the
input shaft and use a socket and inch-pound
torque wrench to check the input shaft rolling
torque. Adjust the input shaft rolling torque by
adding or removing shims under the bearing cap
to obtain the appropriate rolling torque per the
following chart:
Output Shaft
Input Shaft
o
ng
orque
N⋅m(in-lb)
o
ng
orque
N⋅m(in-lb)
0.23 (2) 0.9 -- 1.36 (8 -- 12)
0.34 (3) 1.24 -- 1.7 (11 -- 15)
0.45 (4) 1.58 -- 2 (14 -- 18)
0.57 (5) 1.9 -- 2.4 (17 -- 21)
0.68 (6) 2.26 -- 2.7 (20 -- 24)
NOTE: Rolling torques shown are without shaft seals
installed. Do not install shaft seals until after rolling
torques are adjusted.
11. After obtaining the correct rolling torque on the
input shaft, remove the front bearing cap and
apply a thin bead of silicone sealant to the
shoulder to seal the cap to the housing. Apply a
small amount of silicone sealant to the end of
each retaining bolt to seal it to the housing also.
1411/6-10
22