190 Eos Apex, Eos Ti, Gio, Gio @5, Ion Xe, Ion Xe 20, and Element 2 User Manual
If you want to remove a parameter: you can use the [Page] keys and {Delete}, to remove a
parameter from the list.
Locked Value
A parameter can be assigned as a locked value. When used, the output address and value will
be locked at the profile level. This option is available under Control in the parameter
dropdown list.
Define Parameters
Once you have added and specified all of the parameters for the new fixture, you can now
define the address requirements, size, and ranges for each of them.
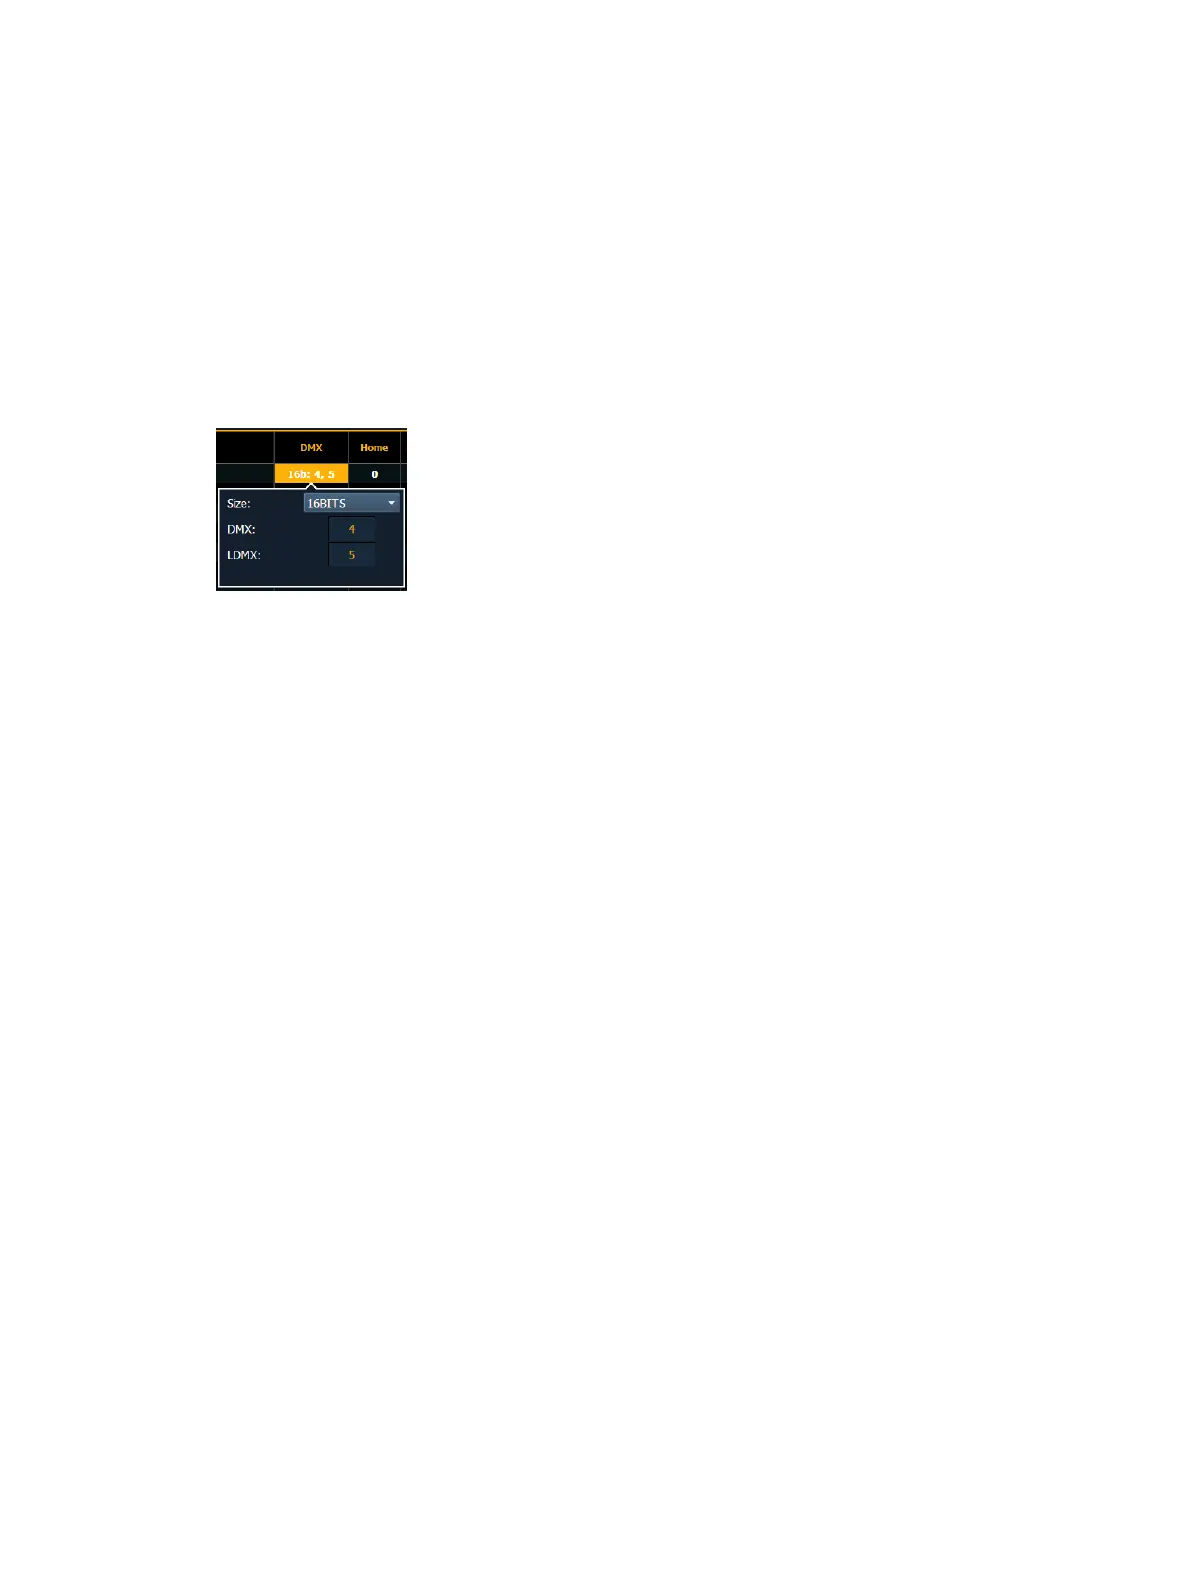
To define the size (8-bit or 16-bit), DMX address, and LDMXaddress of any parameter:
You can alter the default DMX address assigned to any parameter in the list. This is not the
actual address that will be used when patched, but rather it is the order of address for the
parameter relative to the other parameters in the fixture.
LDMX or “low-DMX” is the DMX address for the second half of any 16-bit channel. If used in
Coarse/ Fine determination, the DMX channel defines the “Coarse” adjustment and the LDMX
defines the “Fine” adjustment.
1. Use the [Page] keys to navigate to any parameter that you wish to alter the size of. The
system defaults to 8-bit for any new parameter.
2. When selected, click Size to choose between 8-bit or 16-bit. If 16-bit is selected, the
system automatically displays a LDMX option. This value can be altered.
3. Enter the desired address for the DMX and/ or LDMX addresses using the keypad.
To alter the Home settings for any parameter:
You can define the value for any parameter’s “home” value.
1. Click on the “Home” column of the desired parameter.
2. Enter the desired home value (0 through 255 for 8-bit, and 0 through 65535 for 16-bit)
using the keypad.
To enable the Snap setting for parameters:
You can enable snap for parameters to exempt them from cue timing, so they snap to their
new value. For more information about snap, see
Snap Parameters (on page197)
1. Use the [Page] keys to navigate to the “Snap” column of the desired parameter.
2. Click in the ‘Snap” column for the selected parameter to enable.
Range Editing a Parameter
You can enter the operational ranges for specific slots within any specific parameter (such as
color scroller, color wheel, gobo wheel, and so on). You can do this by either defining each
range individually or you can use the quick action tools to define multiple ranges at once.