Patch 197
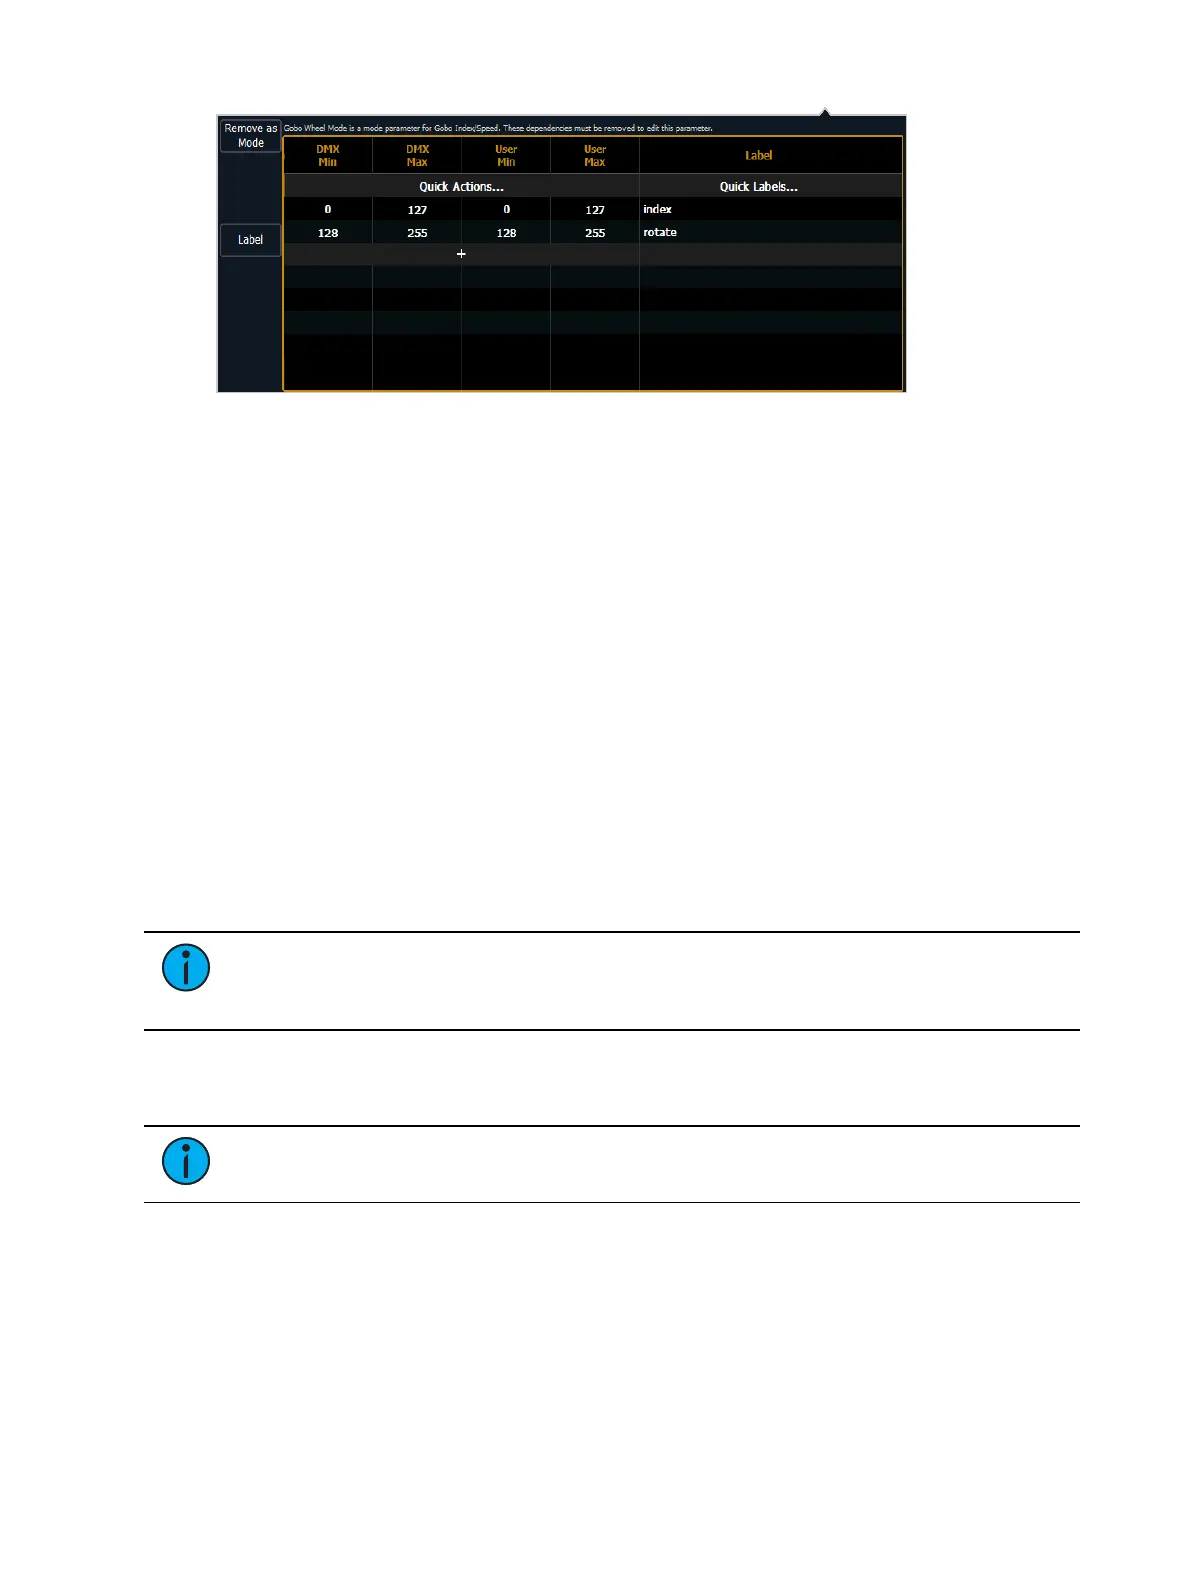
After patching the new fixture, you will be able to check your modes in the encoder display
and MLcontrols. There are now buttons for the modes, and for index, the degree symbol is
displayed with the user value.
Fixture Lamp Controls
For many devices, their lamp and motor control functions can be controlled remotely using
DMX. These will often require use of a timed sequence of DMX levels to control various
functions such as striking the lamp, resetting the fixture, and other specific actions.
To define the lamp controls for a device:
1. With the fixture selected, press {Lamp Ctrls}. The lamp control display will open.
2. Press {New} or {+} to add as many lamp control options as needed.
3. Click on the name in the lamp control column to name it.
4. Click in the Steps columns (#, Time, DMX, and Level).
# - the step number. Each step is tied to a time value, and will execute in order of the
step number.
5. Press {New} or {+} to add as many steps needed for the lamp control.
6. Select the time column to change the timing for each step.
Time (seconds) - Timing is in seconds. The standard time in the Eos Family library is
12 seconds.Hold can be assigned as a timing value.
Note:
It is not recommended that you set the time to Hold unless the DMX value
should permanently remain at that level. In order to alter a level set with a time of
Hold, another lamp control to change that DMX value would need to be created.
7. For each step created, click in the DMXcolumn and press {New} or {+} to add as many
DMX addresses and levels as needed. You may setup as many levels as needed for each
step.
Note:
While a step is active, the DMX levels for the channel will be held. When a
step is no longer active, the levels will be released back to their playback levels.
DMX - the DMX offset of the parameter you wish to control. DMXcan be set to All
Offsets, which means that all DMXparameters for the fixture will be held at the
specified level.
Level - the 0-255 level of the parameter.
Snap Parameters
Certain parameters may not want to be subjected to cue timing. Those parameters can be set
to snap. By default, Eos will snap the parameters listed in the following table: