200 Eos Apex, Eos Ti, Gio, Gio @5, Ion Xe, Ion Xe 20, and Element 2 User Manual
Create Multicell
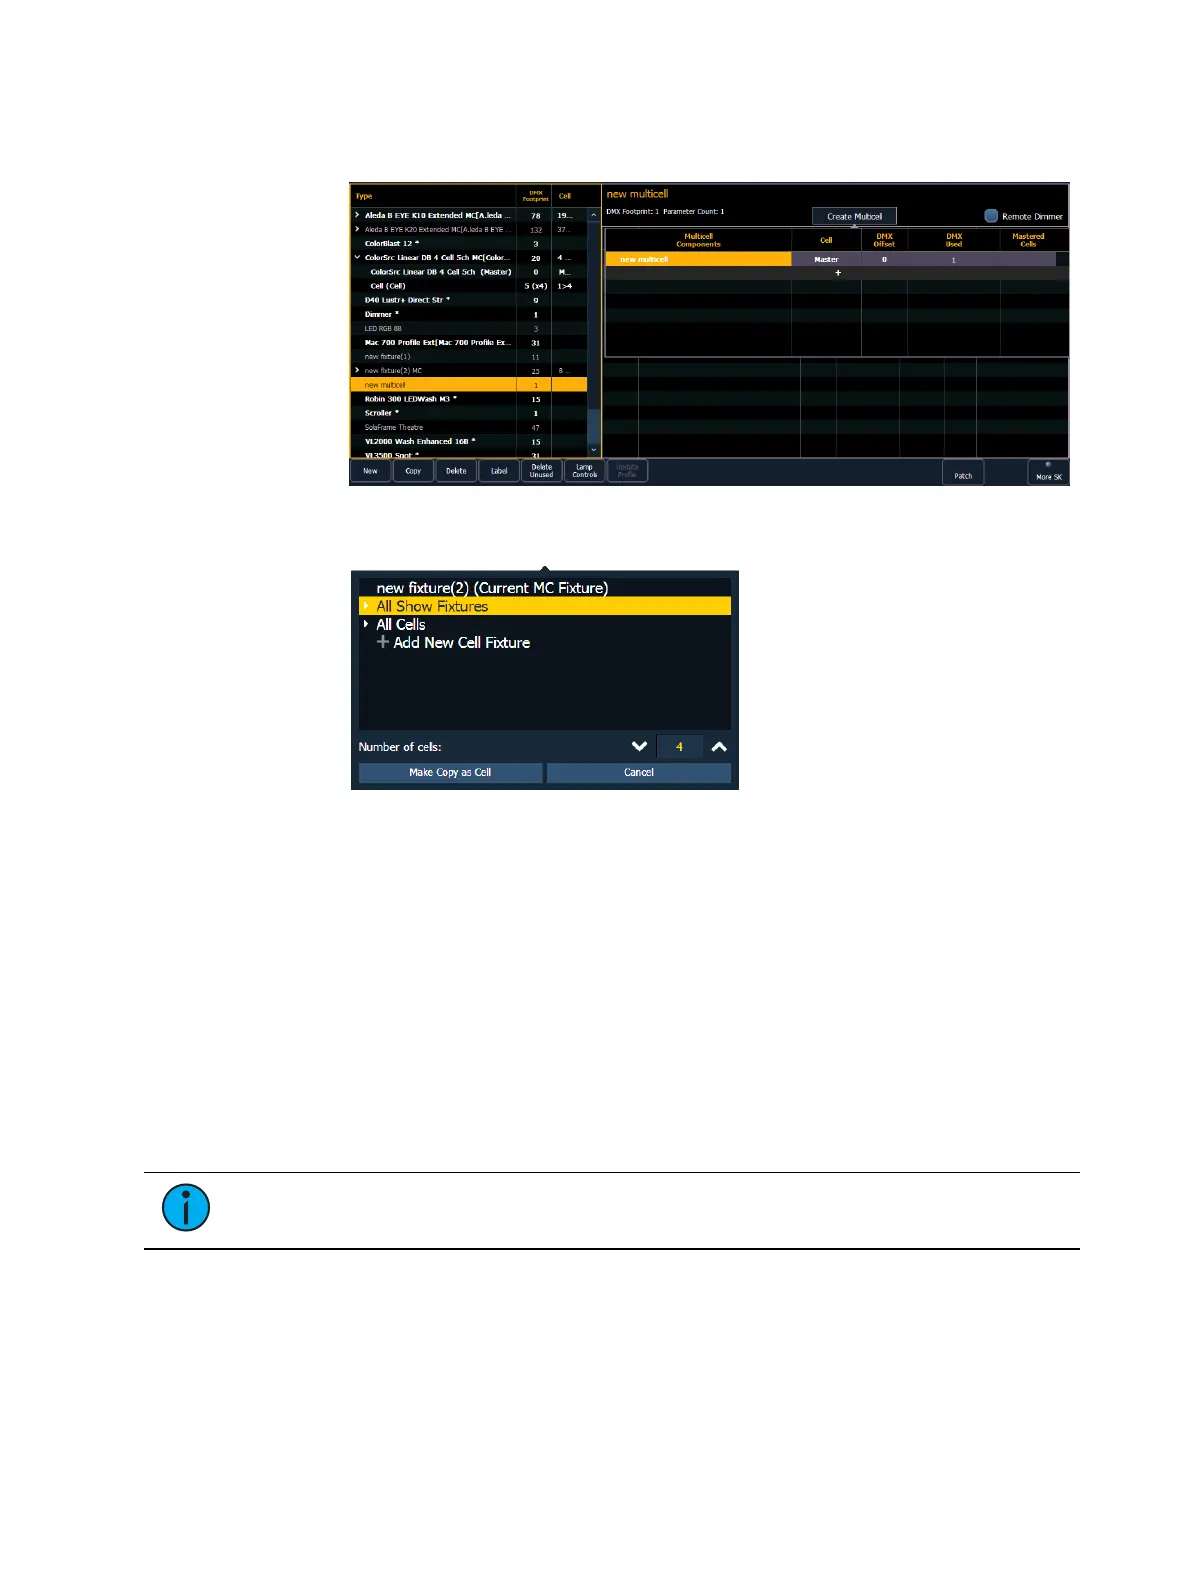
1. With the new fixture selected, press {Create Multicell}.
2. Press {+} to add cells. This will open a fixture list display. Only fixtures added to your
fixture list will be here.
3. Select a fixture, a cell profile from an existing multicell fixture, or create a new cell
profile by selecting + Add New Cell Profile.
4. Select the number of cells.
5. Press {Ok} . When selecting a fixture, you will need to select {Make Copy as Cell} or
{Convert to Cell}.
{Make Copy as Cell} - makes a copy of the existing fixture profile and patches the
copy as a cell. This will break any references to the original profile.
{Convert to Cell} - converts to the fixture into a cell. This option will not be available
for any library fixture or fixture currently patched in the show file.
6. Make any changes needed to cell numbers, DMX offset, or mastered cells. These settings
can be edited later by selecting the {Edit Multicell}button. See
Editing Multicell Fixtures
(on page170)
for more information.
7. Press {Save Fixture} to save your changes or {Cancel Edit}to remove the changes and
exit.
Note:
If you need to delete a cell profile that has been accidently selected, select the
cell and set the number of cells to 0.
You can now add or edit parameters as needed. See
Editing Multicell Fixtures (on page170)
for more information.
Editing Fixtures
You can view and edit existing fixtures in the Fixture Editor. Edited fixtures will display with an
"*" beside their name.