Augment3d 521
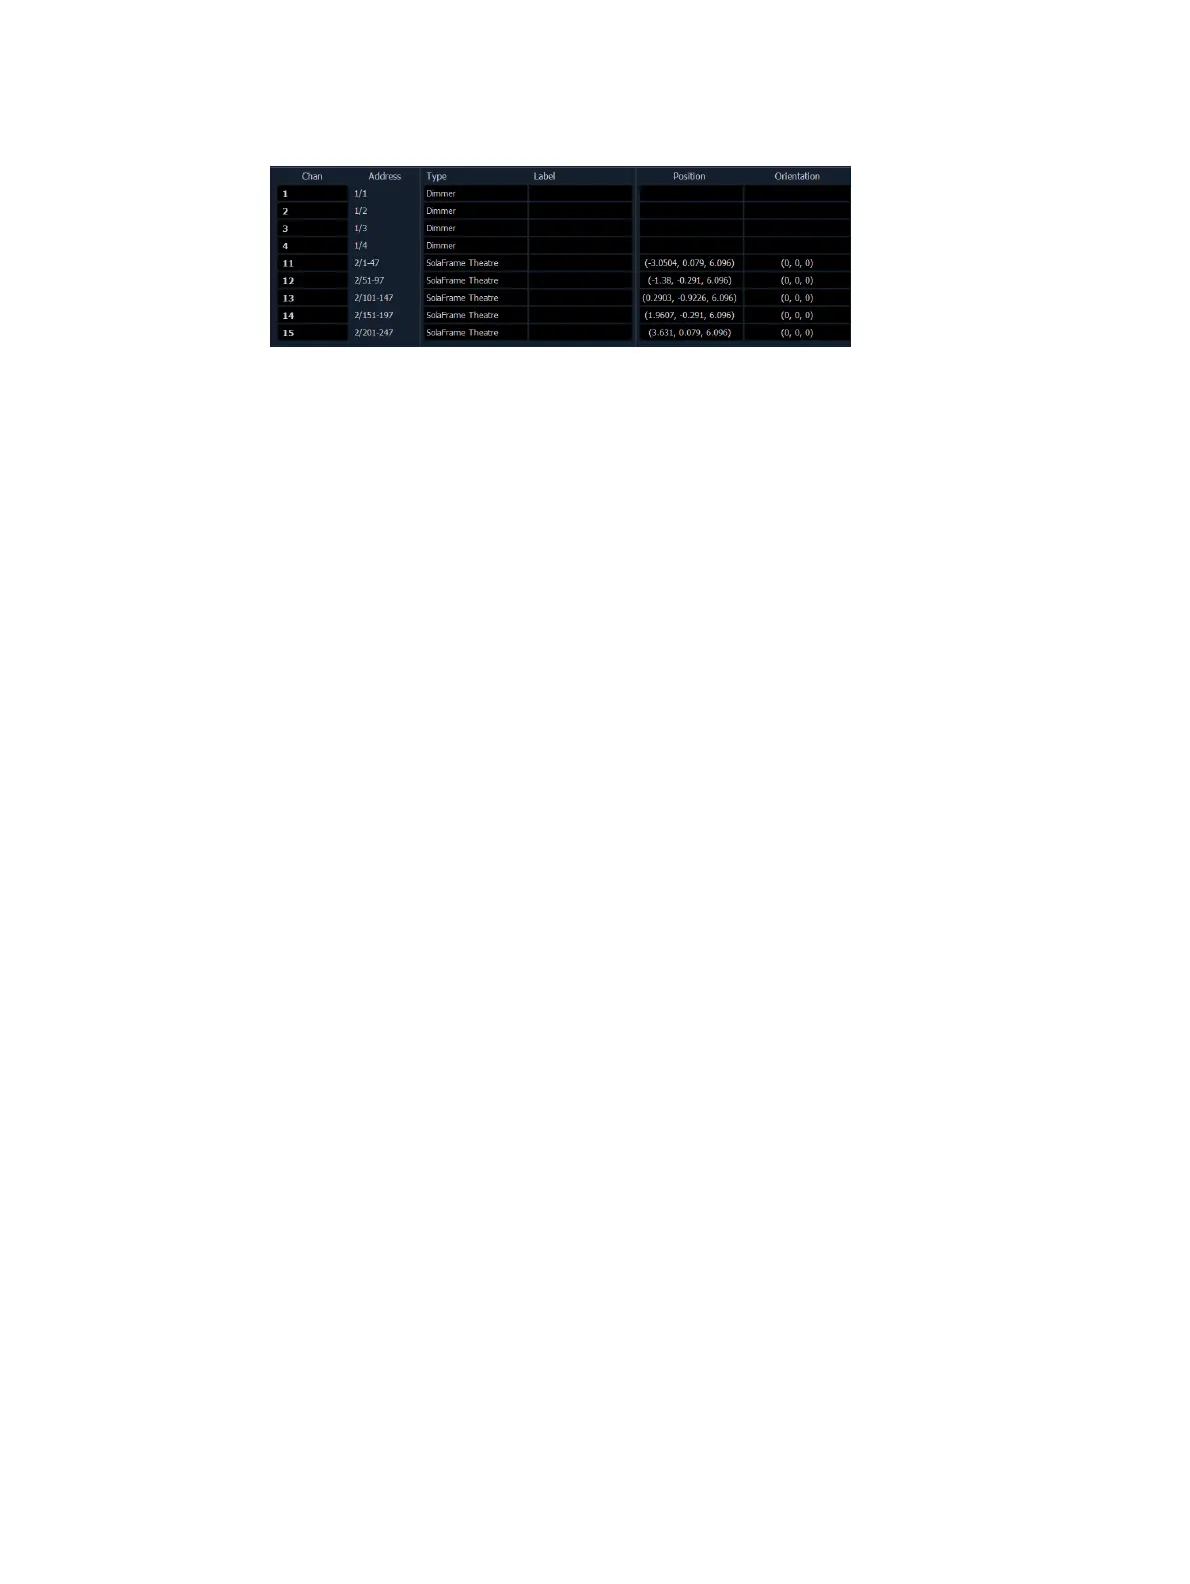
6. When complete, click {Done}, then {OK}.Your devices and their associated position
information will now appear in Patch and Augment3d.
Options
The following options are available before import:
Starting / Ending Channel - defines a specific range of channels to be imported
Overwrite - overwrites the data in the show file when enabled, and merges the data
when disabled
Do not update fixture types - disables the updating of fixture types in the show file
Only import Augment3d XYZlocation - enables import of just Augment3d location data
Import Text/Notes/Labels/Gels Only - enables import of just the patch database text
Exporting Scenery
The Vectorworks Augment3d Plug-in only supports the export of fixtures.
Follow the steps below if you have scenery in your Vectorworks file that you would also like to
export.
1. Hide all fixtures in the Vectorworks workspace.
2. Expose only the scenery you wish to export, then export as a Collada file by navigating to
File >Export >Export COLLADA(3DOnly).
3. In Augment3d, import the Collada file. For more information on importing Augment3d
objects, refer to the Eos Family Operations Manual chapter on Augment3d.