17 - 21
Toolbar Menu
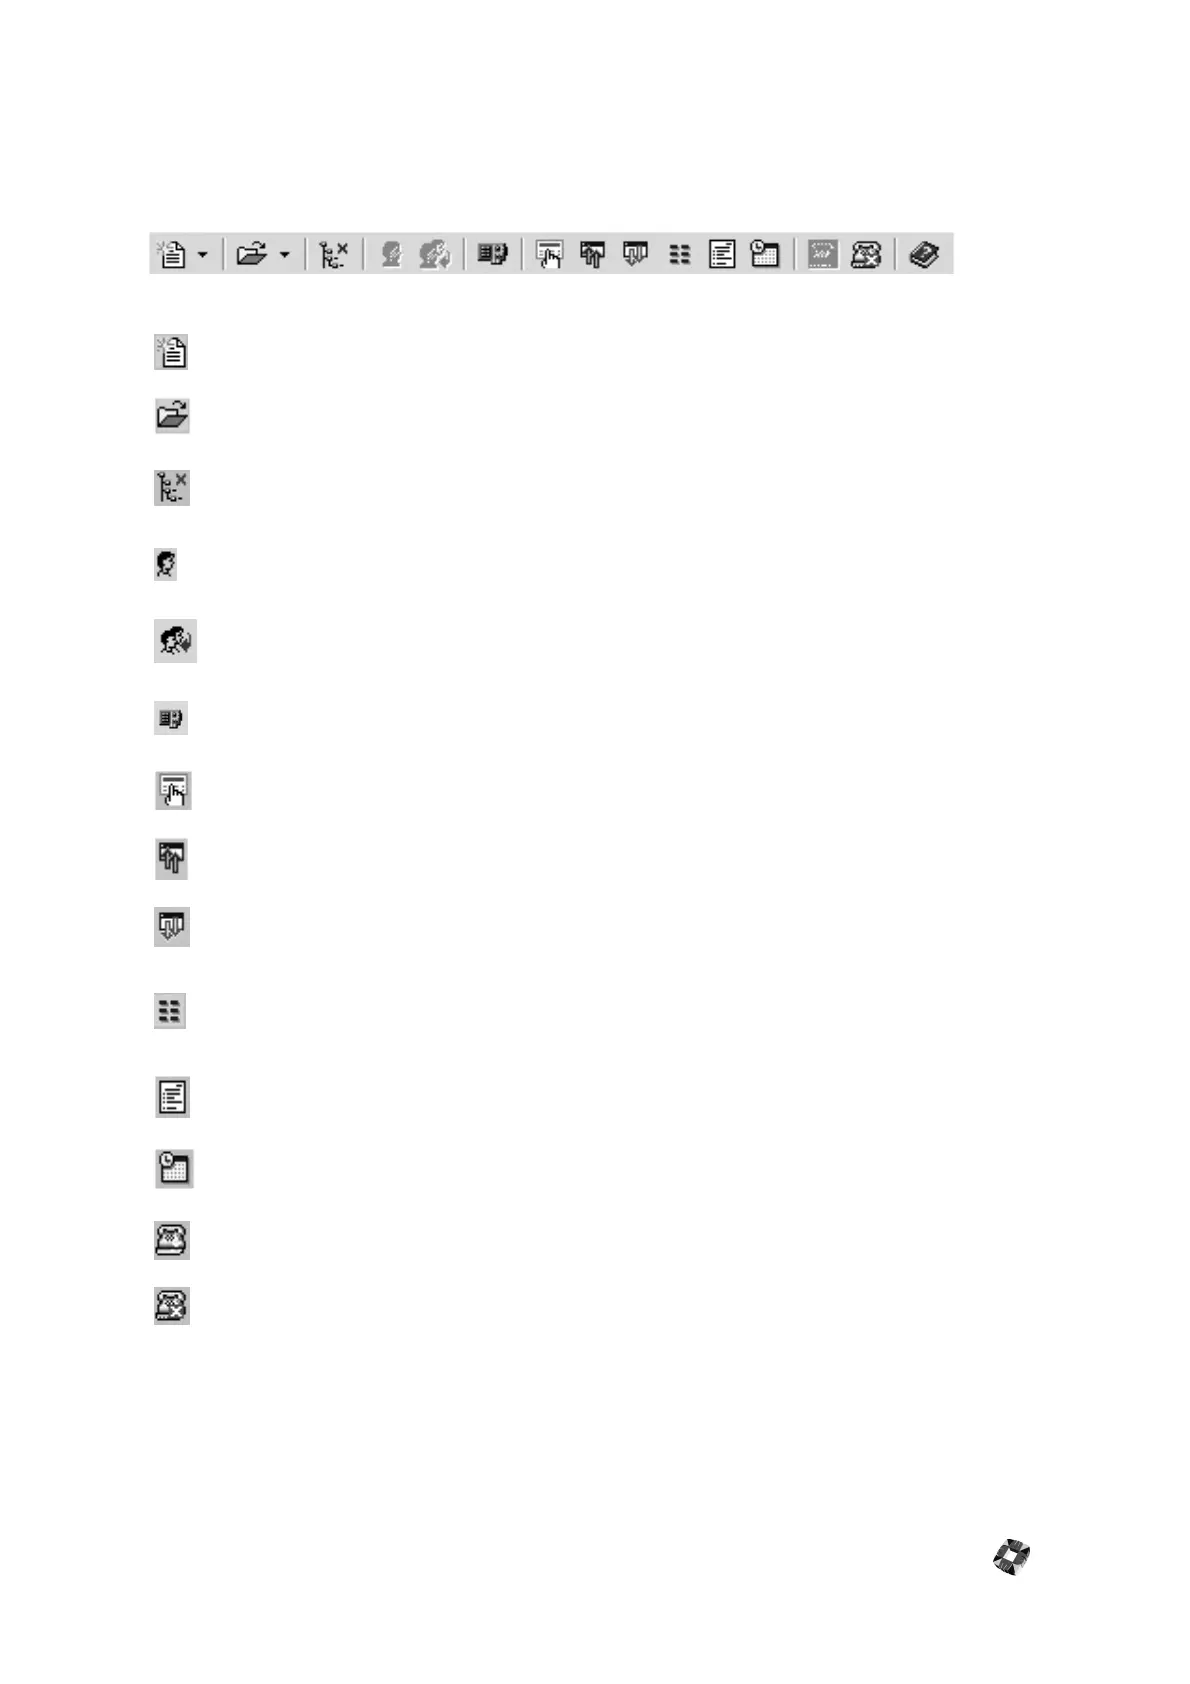
The toolbar lies across the top of the screen below the menu bar and contains shortcut icons for accessing menus for
the main functions.
The toolbar features the following icons:
Create New Installation/Account. Select Installation or Account from the drop-down menu.
Open Installation/Account. Select Installation or Account from the drop-down menu.
Remove Installation from Treeview. When you select a panel in the Treeview pane, click this
button to remove it from Treeview.
Operator Settings. Click to configure the settings for this operator. Note that this function is
not available in V. 1.32 or earlier versions.
Change Operator. Click to select a new operator from the list. Note that this function is not
available in V. 1.32 or earlier versions.
CiTeC Config. Click to run the CiTeC configuration tool. For CiTeC configuration, please see
your CiTeC Installation Manual.
Keypad. Click to enable the virtual desktop keypad for the panel.
Main Upload. Click to upload installation settings from the main panel.
Main Download. Click to download installation settings to the main panel.
Area Setup. Click to open the Area Setup/Area Descriptions window for the panel. Note that
the Area Description function is not available in some versions of 3GS controller software (for
example, certain versions of v.4).
Reports. Click to open the Reports window.
Set Date & Time. Click to synchronize the panel date and time with the system date and
time.
Connect. Click to connect to the installation selected.
Disconnect. Click to disconnect from the installation selected.