237
Program description - Telemetry
Otherwise, the settings superimpose one another,
which can lead to complexity or even problems in
the later operation.
• The channel assignment function, called “Channel
mapping”, integrated into the »Telemetry« menu
of the
mc-16 HoTT and mc-20 HoTT trans-
mitters can also freely distribute control functions
over multiple receivers or even distribute a sin-
gle control function over multiple receiver outputs,
such as two servos per aileron instead of only one
individual servo, etc.
We also recommend exercising extreme dur-
ing the programming.
Telemetry
The menus gathered under the heading »Telemetry«
can be called up from the
mc-16 HoTT and mc-
20 HoTT transmitter’s basic display with a tap of
about one second duration on the centre ESC key of
the left four-way button. The same menus can, like
other transmitter menus, also be opened in the multi-
function menu with a tap on the centre SET key of the
right four-way button:
Tx. output swap
Profi trim
Teacher / pupil
Trim memory
Telemetry
Channel sequence
Basic operation
Operating the »Telemetry« menu is essentially the
same as for the remaining
mc-16 HoTT and mc-
20 HoTT transmitter menus. The few differences are
described in the following:
The selection keys of the left or right four-way but-
ton can be used to switch between individual pages of
the Telemetry menu. Corresponding directional indica-
tors can be found at top right of each display page in
the form of angled brackets ( ), refer to the fi gures
below. If only one angled bracket is visible, you are
on either the fi rst or last respective page. In this case,
changing pages is only possible in the indicated direc-
tion.
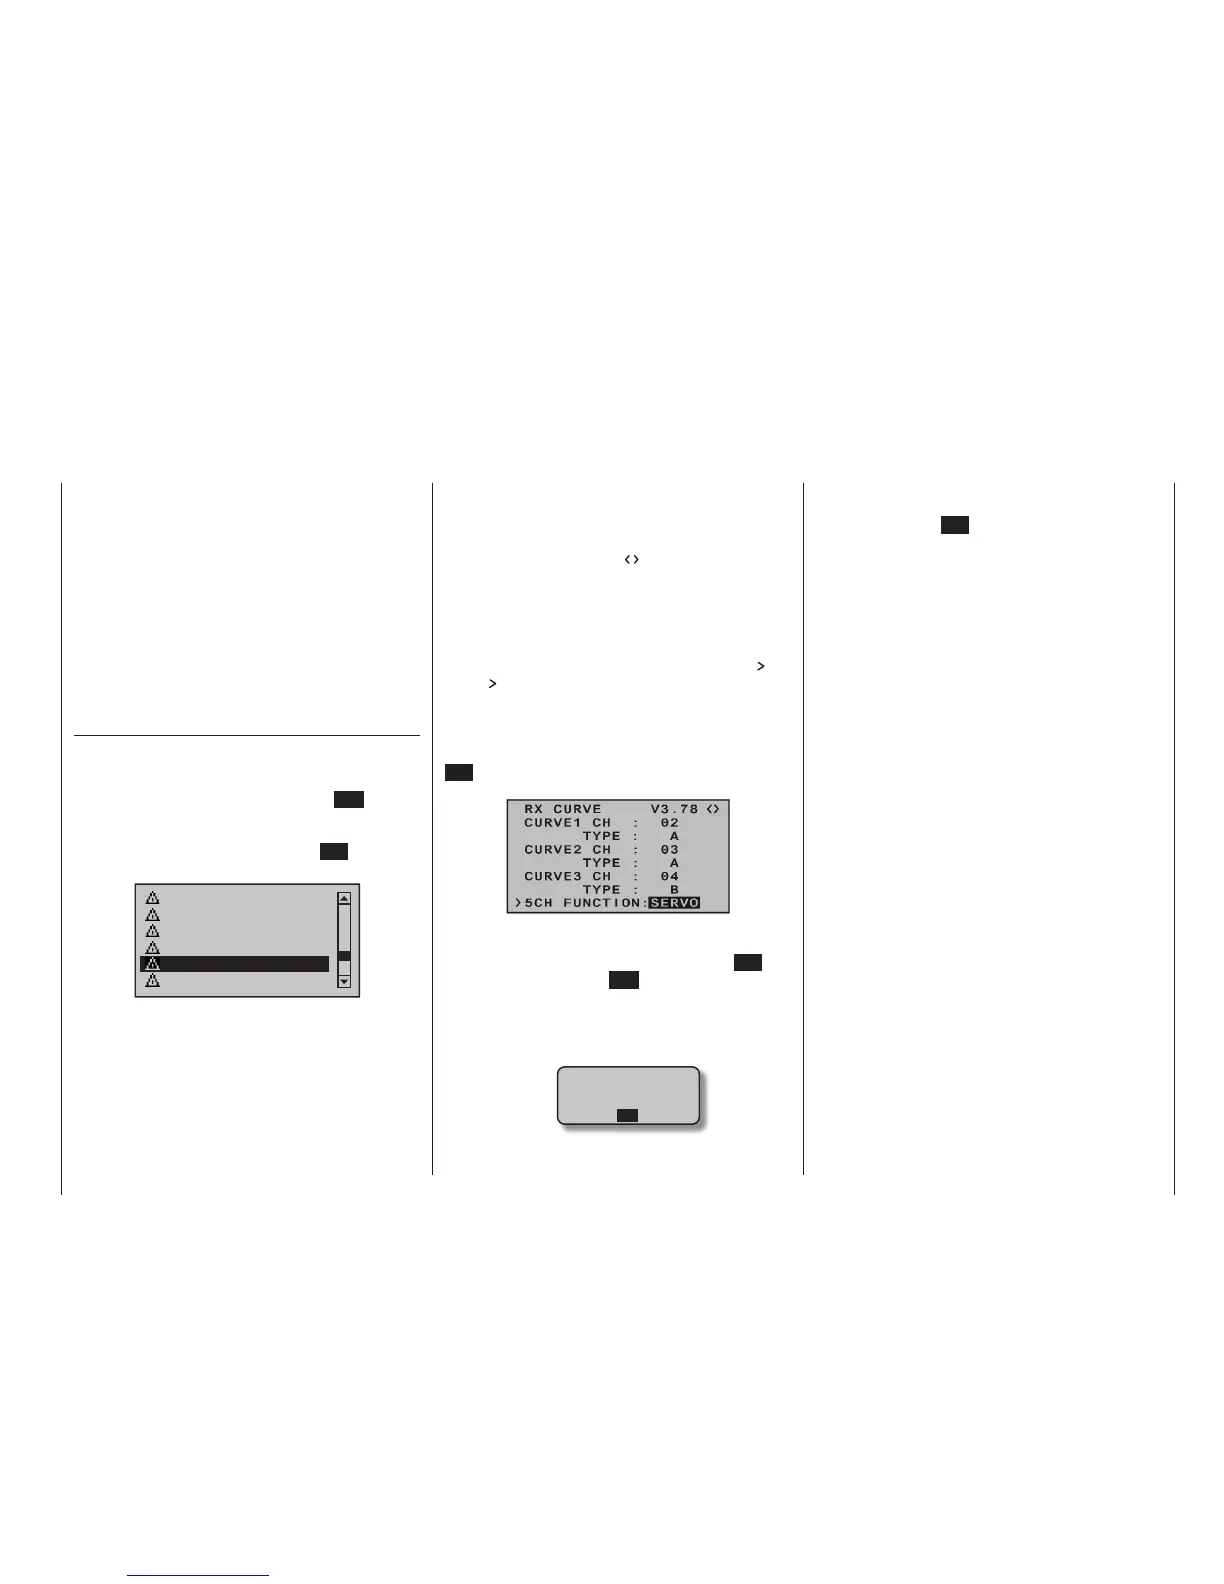
Menu lines in which parameters can be changed are
identifi ed with the aforementioned angled bracket (
). The “ ” pointer will jump a line forward or back with
a tap on the selection keys of the left or right four-
way button. Lines to which a jump cannot be made
areunalterable.
In order to change a parameter, briefl y touch the centre
SET key of the right four-way button (the parameter will
be displayed in inverse video),...
... change the value within the permissible adjustment
range via the selection keys of the right four-way button
and adopt the value with another tap on the SET key.
A brief tap on the centre ESC key of the left four-way
button will cause a return to the starting position again.
Now use the selection keys of the left or right four-
way button to pick the desired sub-menu. However, if
the message …
CAN‘T
RECEIVE
DATA
OK
… appears instead of the desired sub-menu after
touching the centre SET key of the right four-way
button then no connection has been established with
a receiver. Therefore, switch on your receiver system
or, if applicable reconnect the addressed receiver
as described on page 80 or 90 or activate it as
described under “Important Notices” on the previous
page.

 Loading...


