258
Program description - Multichannel
MC1
MC2
Multichannel
SET
SEL
OFF
OFF
MUL4CH
5CH
SEL
6CH
MUL8CH
Afterward, use the right arrow symbol at the bottom
line’s right end to switch over to the second page of
settings for the »Multichannel« menu. On this second
page you can now enter the individual settings sepa-
rately for “MC1” (Multichannel 1” …
INPUT2
INPUT3
Multichannel 1
SEL offset
INPUT1
INPUT4
–––
0%
––– 0%
––– 0%
––– 0%
fr
fr
fr
fr
… and “MC2“ (Multichannel 2) …
INPUT2
INPUT3
Multichannel 2
SEL offset
INPUT1
INPUT4
–––
0%
––– 0%
––– 0%
––– 0%
INPUT5 ––– 0%
INPUT6
––– 0%
INPUT7
––– 0%
INPUT8
––– 0%
fr
fr
fr
fr
fr
fr
fr
fr
Column 3 “Switch”
INPUT2
INPUT3
Multichannel 1
SEL offset
INPUT1
INPUT4
–––
0%
––– 0%
––– 0%
––– 0%
fr
fr
fr
fr
Move desired switch
to ON position
(ext. switch: SET)
This column is used to assign each of the inputs used,
1 through 8 (maximum), to any switch available on the
transmitter. These assignments are done as described
in the section “Physical control, switch and control
switch assignments“ on page 60:
Any controls which were previously assigned in the
second column will be erased. In this case, instead of
SEL, the switch symbol
will be displayed at the
bottom of the 2nd column such that now a second
“normal” switch, or even a transmitter control switch,
logical switch, … can be assigned as needed from the
group of “expanded switches”. In general it is sufficient
to assign a simple switch or transmitter control.
INPUT2
INPUT3
Multichannel 1
offset
INPUT1
INPUT4
–––
0%
––– 0%
––– 0%
––– 0%
fr
fr
fr
2
Erasing transmitter controls or switches
With transmitter control / switch assignment active,
simultaneously pressing the or buttons of the
right-hand four-way button (CLEAR) – see screen-shots
above – resets the corresponding input to “fr” and “---”.
Column 2 “Control”
INPUT2
INPUT3
Multichannel 1
SEL offset
INPUT1
INPUT4
–––
0%
––– 0%
––– 0%
––– 0%
fr
fr
fr
fr
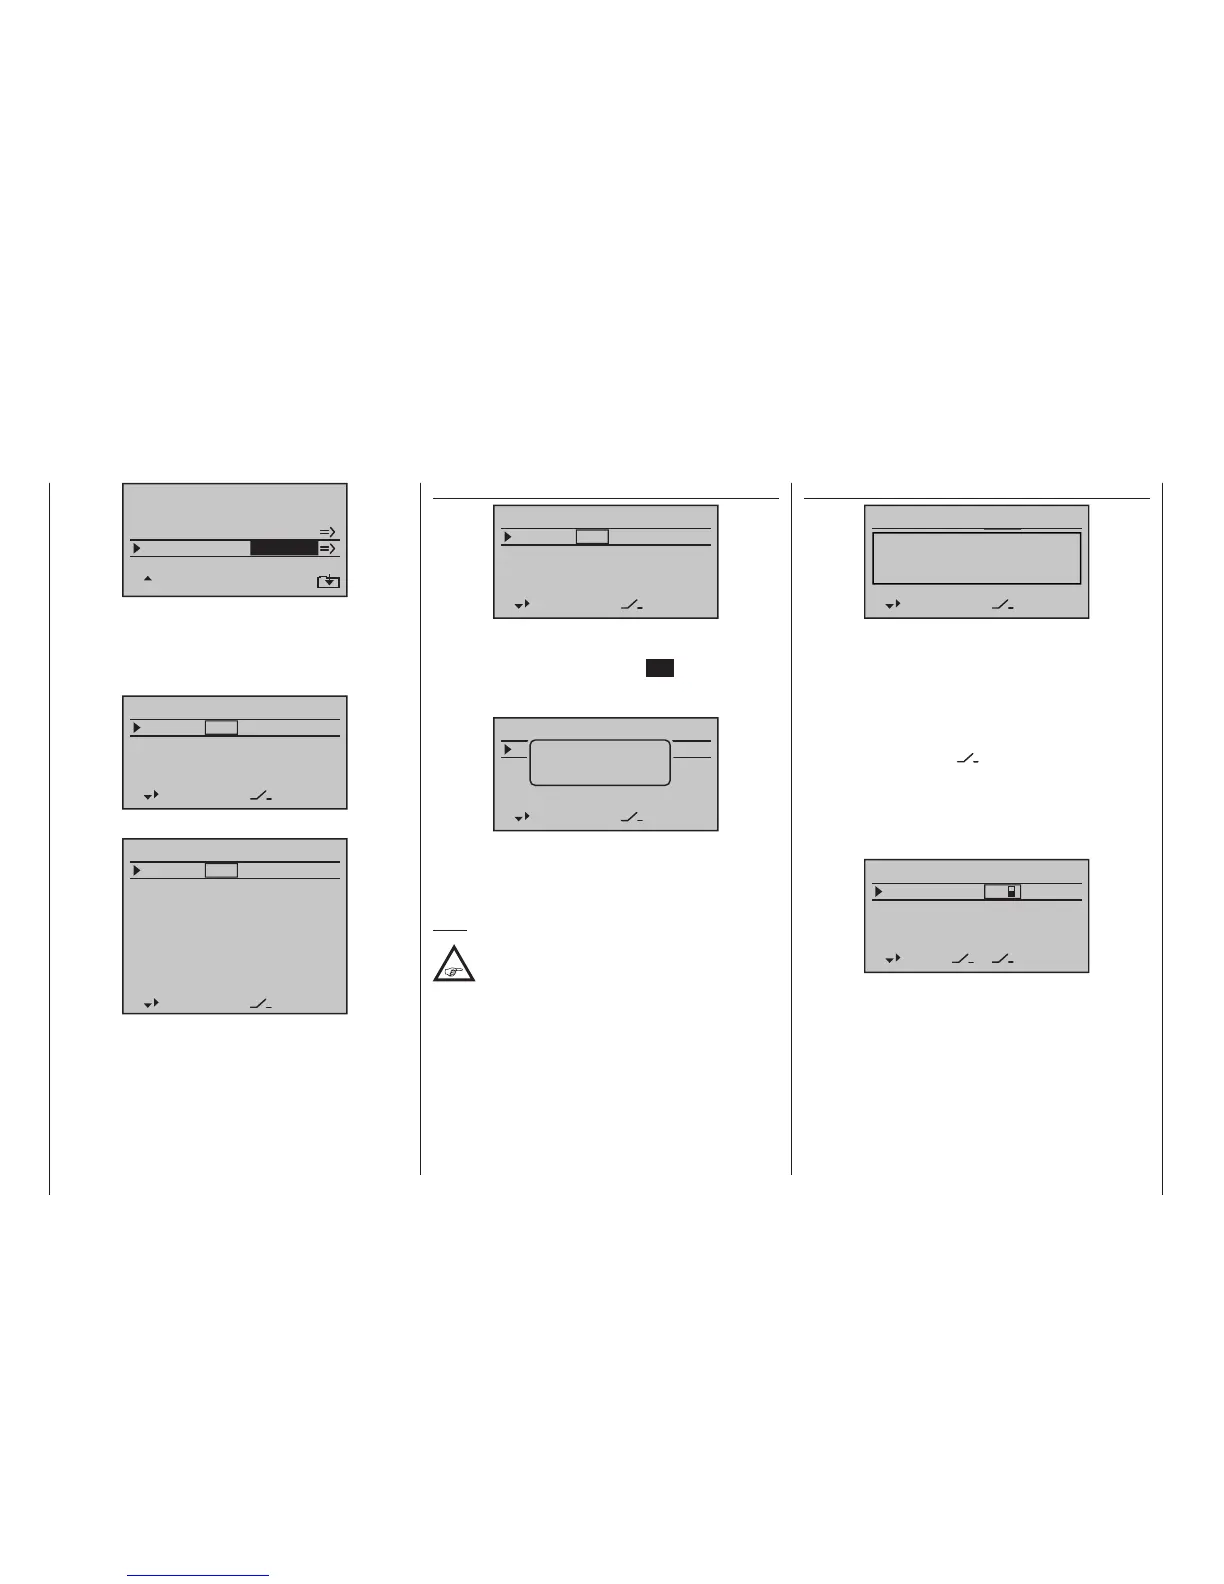
Use the arrow keys to move to the column over SEL.
After completing the activation of transmitter control
assignment by tapping the centre SET key of the right
four-way button, the message shown below will appear
in the display:
INPUT2
INPUT3
Multichannel 1
SEL offset
INPUT1
INPUT4
–––
0%
––– 0%
––– 0%
––– 0%
fr
fr
fr
fr
Move desired
control adj.
Now operate the transmitter control you wish to use:
the information window closes, and instead the Value
field displays the name of the transmitter control you
have chosen.
Note:
If you are using the Nautic-Expert switch
module, No. 4159, any proportional controls
you assign act like switches when close to
their end-points.

 Loading...


