91
Program description - Base setup models | Helicopter models
the same time appear in the line “module” of the dis-
play again “n / a”. If necessary, change the positions of
the antennas involved and repeat the entire procedure.
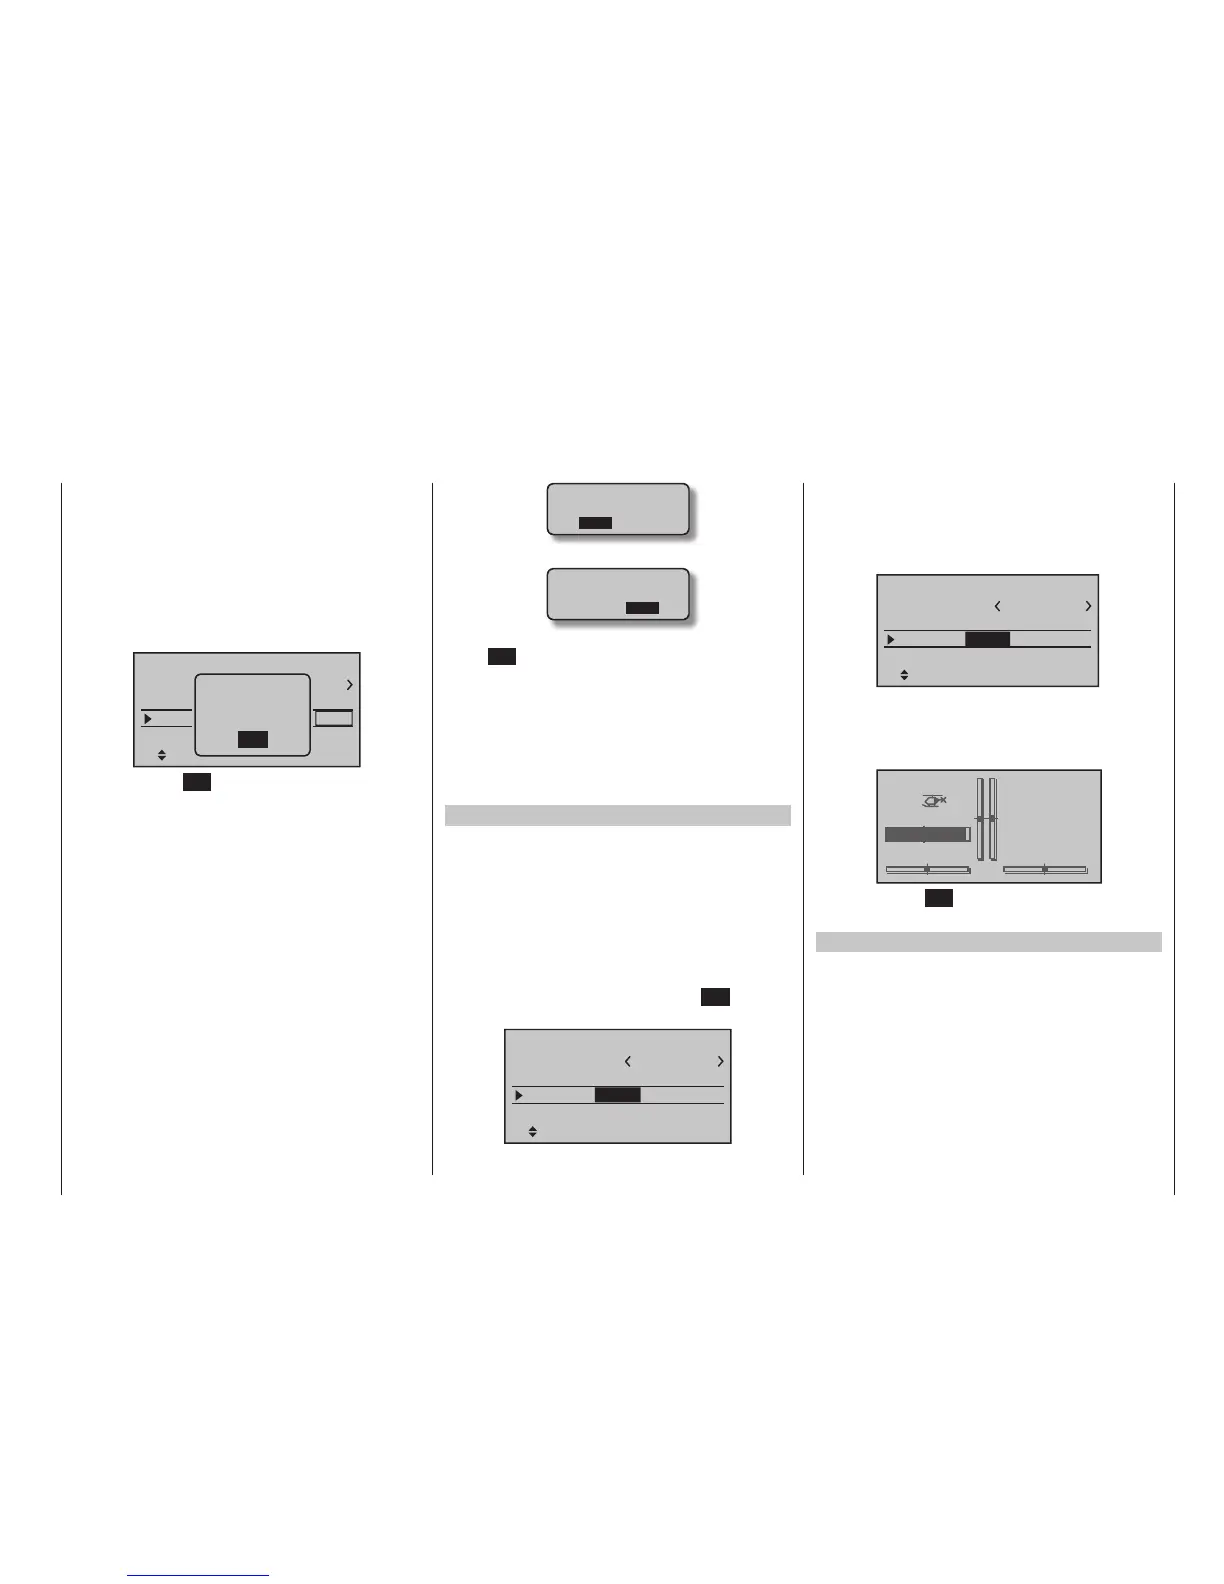
Binding other receivers
The binding channel you have chosen is already bound
(as indicated by the “bind” status). This binding is to be
replaced by another. After initiating the RF bind pro-
cess, instead of displaying “BINDING”, the message
shown below appears:
1
bind
bind
BD1
STARLET
BD2
Rcv Ch Map R12
R08
HoTT
Mod.name
Stick mode
module
Base setup model
RF
must be
OFF
OK
Press the central SET button of the right-hand four-
way button to erase the message.
Drop down two lines in the screen and switch off the
RF module as described on the page in section “RF
module”. Afterward, return again to the “Module” line
and restart the binding process as described above.
Alternatively, the transmitter can be switched off briefl y
then, after switching it back on again, respond to the
message window that appears …
Please select
RF on/off?
ON OFF
… with “OFF” …
Please select
RF on/off?
ON OFF
… then confi rm the selection with a brief tap on the
centre SET key of the right four-way button. From the
base screen jump again into the “Module” line of the
»Basic settings, model« menu and restart the binding
process.
Dissolving a bond
Proceed as described above to initiate the binding
process but WITHOUT fi rst putting a receiver in binding
readiness.
EXT. (PPMsignalatDSC socket)
If your transmitter is fi tted with a non-Graupner exter-
nal RF module connected to the DSC / Data socket,
you can switch between the standard internal HoTT
RF module and the external module when you switch
model memories in the “Module” line by choosing
either “HoTT”, “EXT.”, or “SP.”, as described in the fol-
lowing section.
You can now use the arrow button of the right-hand
four-way button to move to the fi rst Value fi eld in the
“Module” line before pressing the central SET button of
the right-hand four-way button:
1
bind
bind
BD1
STARLET
BD2
Rcv Ch Map R12
R08
Mod.name
Stick mode
module
Base setup model
HoTT
In the active Value fi eld you should now use the Select
buttons to choose “EXT.” or – if appropriate – the “SP.”
mode (described below) instead of “HoTT”.
When you select “EXT.”, the HoTT-specifi c value fi elds
are replaced by the modulation type already selected in
the “DSC output” line; see page 95:
1
PPM10
STARLET
EXT.PPM sig.
normal
Mod.name
Stick mode
module
Base setup model
EXT.
SEL
The lines of the “Receiver output” and “Range test” op-
tions (described below) are also suppressed, as are all
the HoTT-specifi c displays in the base display; “PPM” is
also superimposed instead of “HoTT”:
STARLET
#02
0:12h
Stp
Flt
«normal »
K78
0:00
0:00
4.0V
PPM
Press the central SET button of the right-hand four-
way button to conclude the Select process.
SP. (digitalsignalatData socket)
However, if you require a special digital signal instead of
the analogue PPM signal for the non-Graupner exter-
nal RF module, then connect this to the DATA socket
and select “SP.” in the “Module” line:

 Loading...


