To enable communication between the management device and the services gateway,
port 0/1 is preconfigured with the IP address 192.168.1.1 and uses DHCP to assign an IP
address in the 192.168.1.0/24 network to any connected device.
To connect a management device to built-in Ethernet port 0/1:
1. Ensure that the IP address for the Ethernet port on the management device is
configured in one of the following ways:
•
The IP address is assigned by DHCP.
•
The IP address is on the 192.168.1.0/24 subnetwork (but is not 192.168.1.1).
2. Turn off the power to the management device.
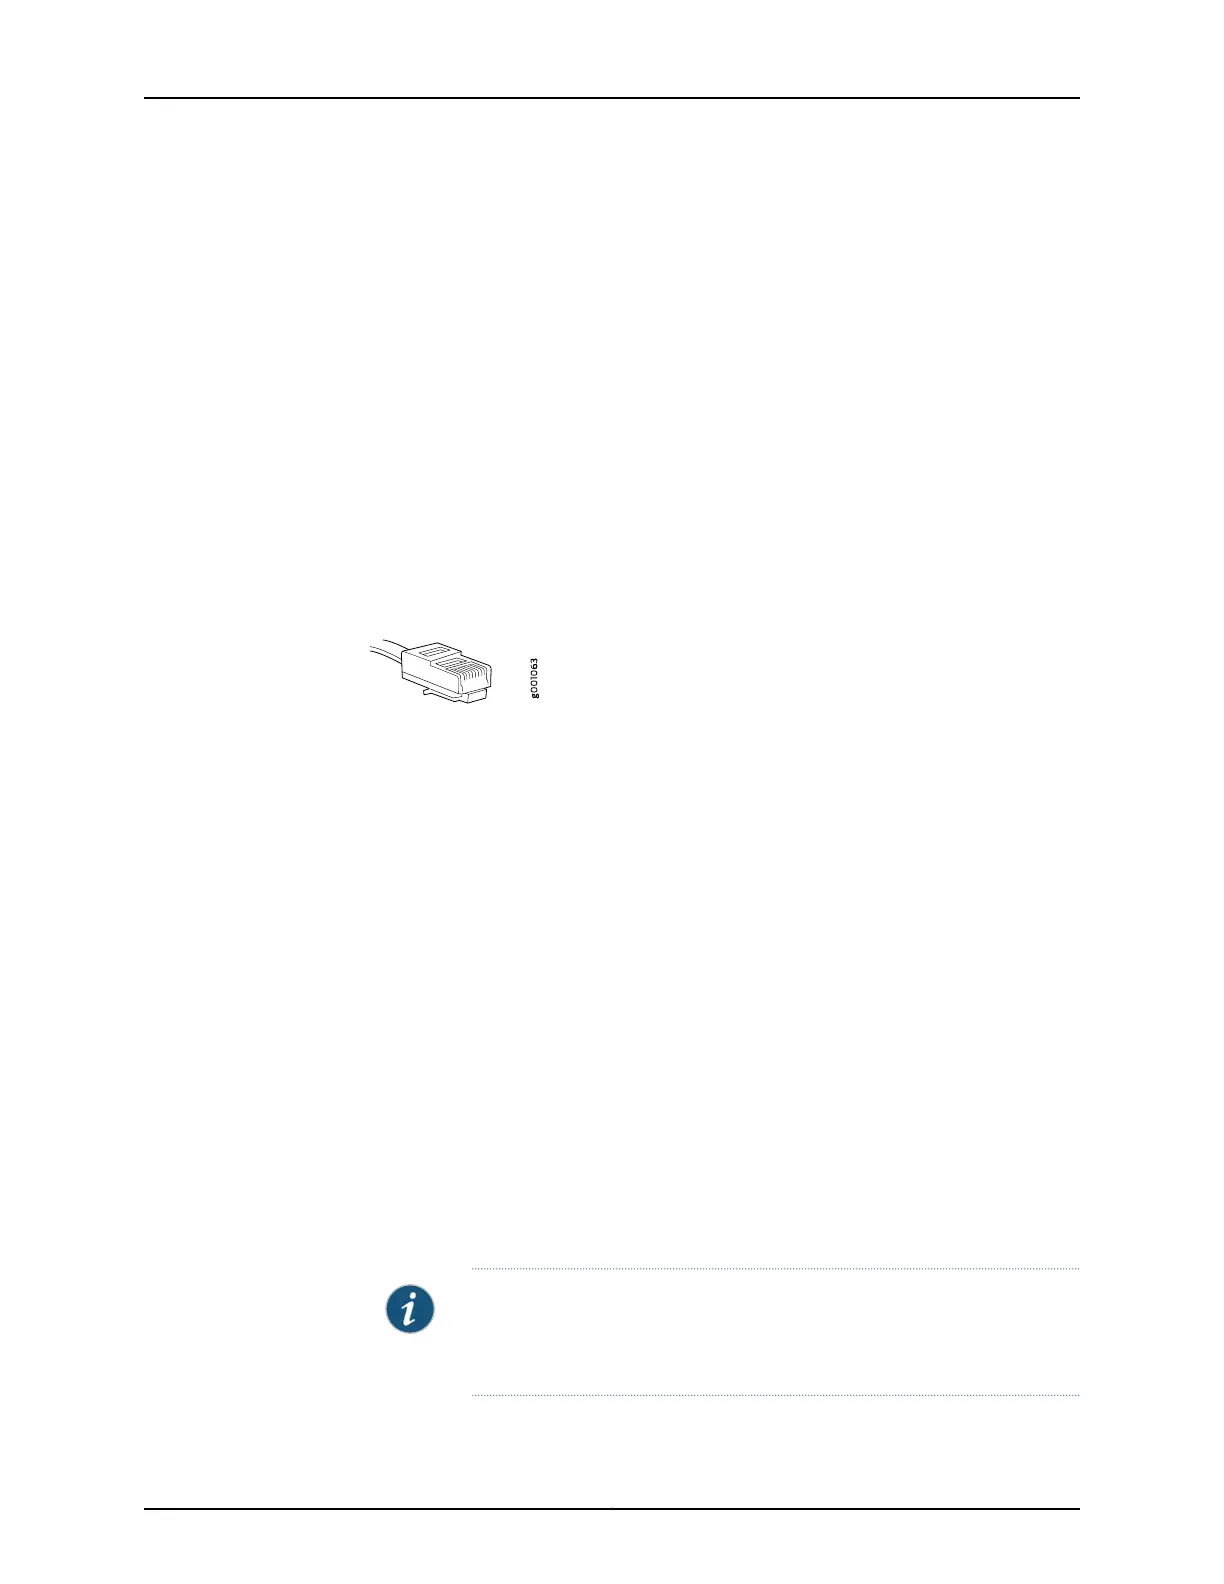
3. Plug one end of the Ethernet cable (Figure 21 on page 101 shows the connector) into
the Ethernet port on the management device.
Figure 21: Ethernet Cable Connector (RJ-45)
4. Connect the other end of the Ethernet cable to built-in Ethernet port 0/1 on the services
gateway.
5. Power on the services gateway by connecting the power cord or by pressing the Power
button on the front of the services gateway.
6. Wait until the STATUS LED on the front panel turns solid green.
7. Turn on the power to the management device. The services gateway assigns an IP
address to the management device within the 192.168.1.0/24 subnetwork if the
management device is configured to use DHCP.
8. To access the setup wizard, open a Web browser on the management device and
enter the IP address 192.168.1.1 in the address field.
9. Specify the default username as root. Do not enter any value in the Password field.
10. Press Enter. The J-Web setup wizard appears.
NOTE: The upper left area of the wizard page shows where you are in the
setup process. Click a field in the wizardpage todisplayinformation about
that field in the lower left area of the page.
101Copyright © 2018, Juniper Networks, Inc.
Chapter 19: Performing Initial Configuration