Installing a DC Power Supply on the SRX650 Services Gateway
To install a DC power supply:
1. Ensure that the voltage across the DC power source cable leads is 0 V and that there
is no chance that the cable leads might become active during installation. To ensure
that all power is off, locate the circuit breaker on the panel board that services the DC
circuit, switch the circuit breaker to off position (O), and tape the switch handle of the
circuit breaker in the off position.
2. Attach an electrostatic discharge (ESD) grounding strap to your bare wrist and connect
the strap to one of the ESD points on the chassis. For more information about ESD,
see “Preventing Electrostatic Discharge Damage to the SRX650 Services Gateway”
on page 168.
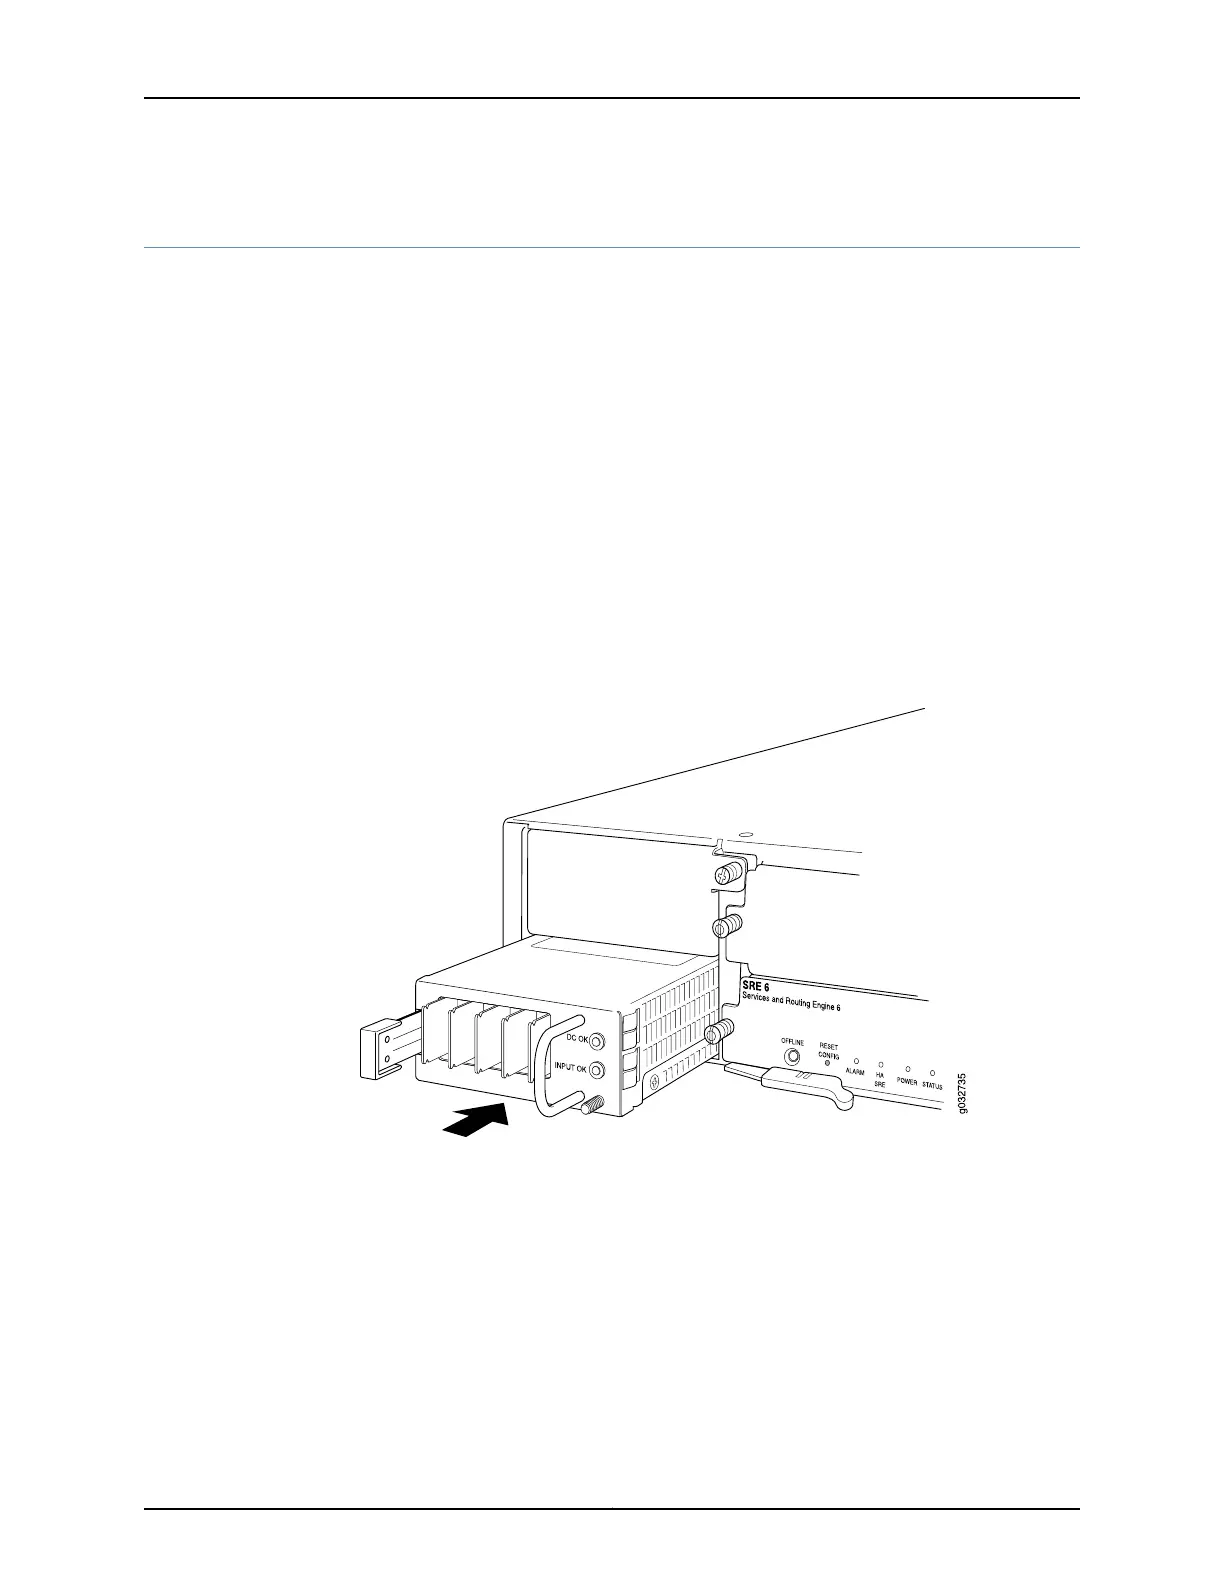
3. Orient the power supply so that the locking lever is on the left as shown in
Figure 18 on page 78.
Figure 18: Installing a DC Power Supply on an SRX650 Services Gateway
4. Using both hands, slide the power supply straight into the chassis until the power
supply is fully seated in the chassis slot. The power supply faceplate should be flush
with any adjacent power supply faceplate.
5. Tighten the captive screws on the lower edge of the power supply faceplate.
6. Remove the clear plastic cover protecting the terminal studs on the faceplate.
Copyright © 2018, Juniper Networks, Inc.78
SRX650 Services Gateway Hardware Guide