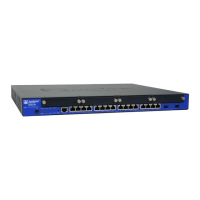
Removing a DC Power Supply on the SRX650 Services Gateway
Up to two power supplies can be located at the rear of the chassis on the right side. Each
DC power supply weighs approximately 2 lbs, 13.4 oz (1.29 kg).
CAUTION: Do not leave a power supply slot empty for more than 30 minutes
whilethe services gatewayis operational. For proper airflow, the power supply
must remain in the chassis, or a blank panel must be used in an empty slot.
NOTE: After powering off a power supply, wait at least 60 seconds before
turning it back on.
To remove a DC power supply, see Figure 25 on page 148.
1. Switch off the dedicated facility circuit breaker for the power supply. Follow the
electrostatic discharge (ESD) and disconnection instructions for your site.
2. Make sure that the voltage across the DC power source cable leads is 0 V and that
there is no chance that the cables might become active during the removal process.
3. Attach an ESD grounding strap to your bare wrist and connect the strap to one of the
ESD points on the chassis. For more information about ESD, see “Preventing
Electrostatic Discharge Damage to the SRX650 Services Gateway” on page 168.
4. Remove the clear plastic cover protecting the terminal studs on the faceplate.
5. Remove the screws and washers from the terminals. Use a number 2 Phillips
screwdriver to loosen and remove the screws.
6. Remove the cable lugs from the terminal studs.
7. Carefully move the power cables out of the way.
8. Push the tab on the left edge of the power supply to the right.
9. Pull the power supply straight out of the chassis.
147Copyright © 2018, Juniper Networks, Inc.
Chapter 24: Replacing Power System Components