4.3 Establishing the connecon between the inverter and »EASY Starter«
The »EASY Starter« PC software can be found on the Internet.
Carry out the following steps if the inverter is to be commissioned using »EASY Starter«.
Requirements:
•
The funconal test described in the mounng and s
witch-on instrucons has been comple-
ted successfully (without any errors or faults).
•
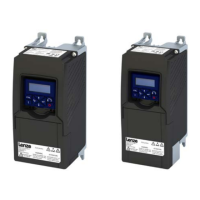
The inverter is ready for operaon (mains voltage is switched on).
Accessories required for commissioning:
•
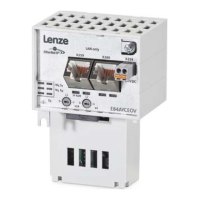
USB module
•
USB 2.0 cable (A-plug on micro B-plug)
•
PC with installed »EASY Starter« soware
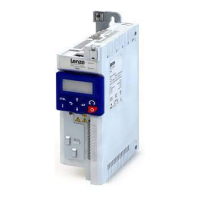
1.Connect USB module to interface X16 on the front of the inverter.
2.Use a USB cable to connect the inverter to the PC on which »EASY Starter« is installed:
a)Plug the micro B plug of the USB cable into the socket of the USB module.
b)Plug the other end into a free USB type A-socket of the PC.
3.Start »EASY Starter«.
The "Add devices" dialog is shown.
4.Select the "USB - diagnoscs via I0MAXDU00000S adapter" connecon:
5.Click the Insert buon.
»EASY Starter« searches f
or connected devices via the communicaon path selected. When the
connecon has been established successfully, the inverter is shown in the device list of »EASY
Starter«. The inverter parameters can now be accessed via the tabs of »EASY Starter«.
Commissioning
Establishing the connecon between the inv
erter and »EASY Starter«
15

 Loading...