MASSO
MASSO Documentation
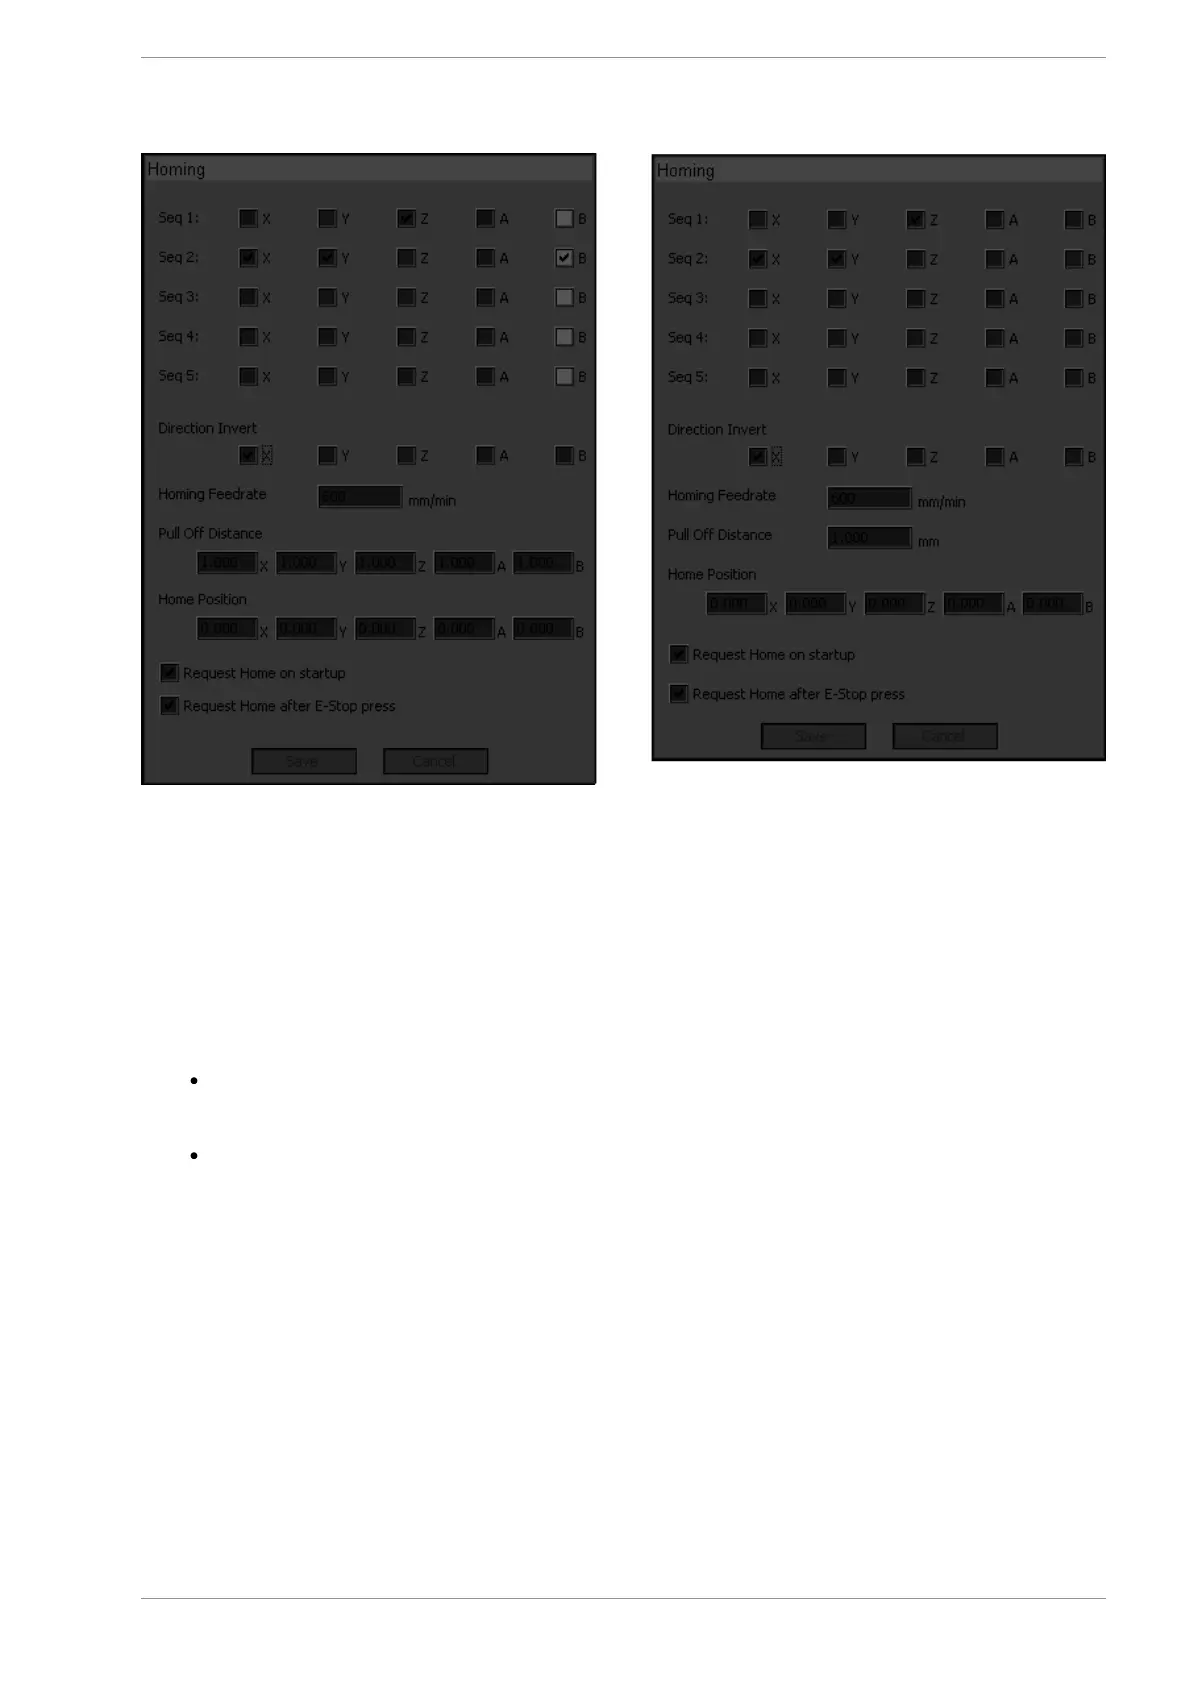
Step 5: Pull off Distance
Once Masso finds the homing sensor it will stop and back off the sensor until the sensor logic returns to Low.
It will them back off the sensor by the distance specified in the pull off distance setting on the homing screen.
The new position will be assigned the Home position value
On the Masso G3 (above left) separate pull off distances can be specified for each axis. Please
ensure that you enter the same distance values for axis that make up a slaved pair or the axis will
skew.
On the Masso G2 (above right) a single pull off distance is specified which is applied to all axis.
Step 6: Specifying homing location
As the homing sensors/switches can be mounted on either side of the axis,
the position of the homing sensor/switch needs to be entered. If the sensor/switch is mounted on the 0.00
location as per the above example then enter Home Position as 0.00. If the sensor/switch is mounted on
the other side, for example the axis travel is 400mm and the sensor/switch is mounted at 400mm location
then set Home Position as 400.0
v5.18 - 08 Apr,2021
www.masso.com.au Page 338 of 477