Vertical Setups Probe Setup Control Window
Continue to learn about the Vertical Setup controls. (see page 951)
Probe Setup Control Window
From the Vertical menu, select Probe Cal.
Overview
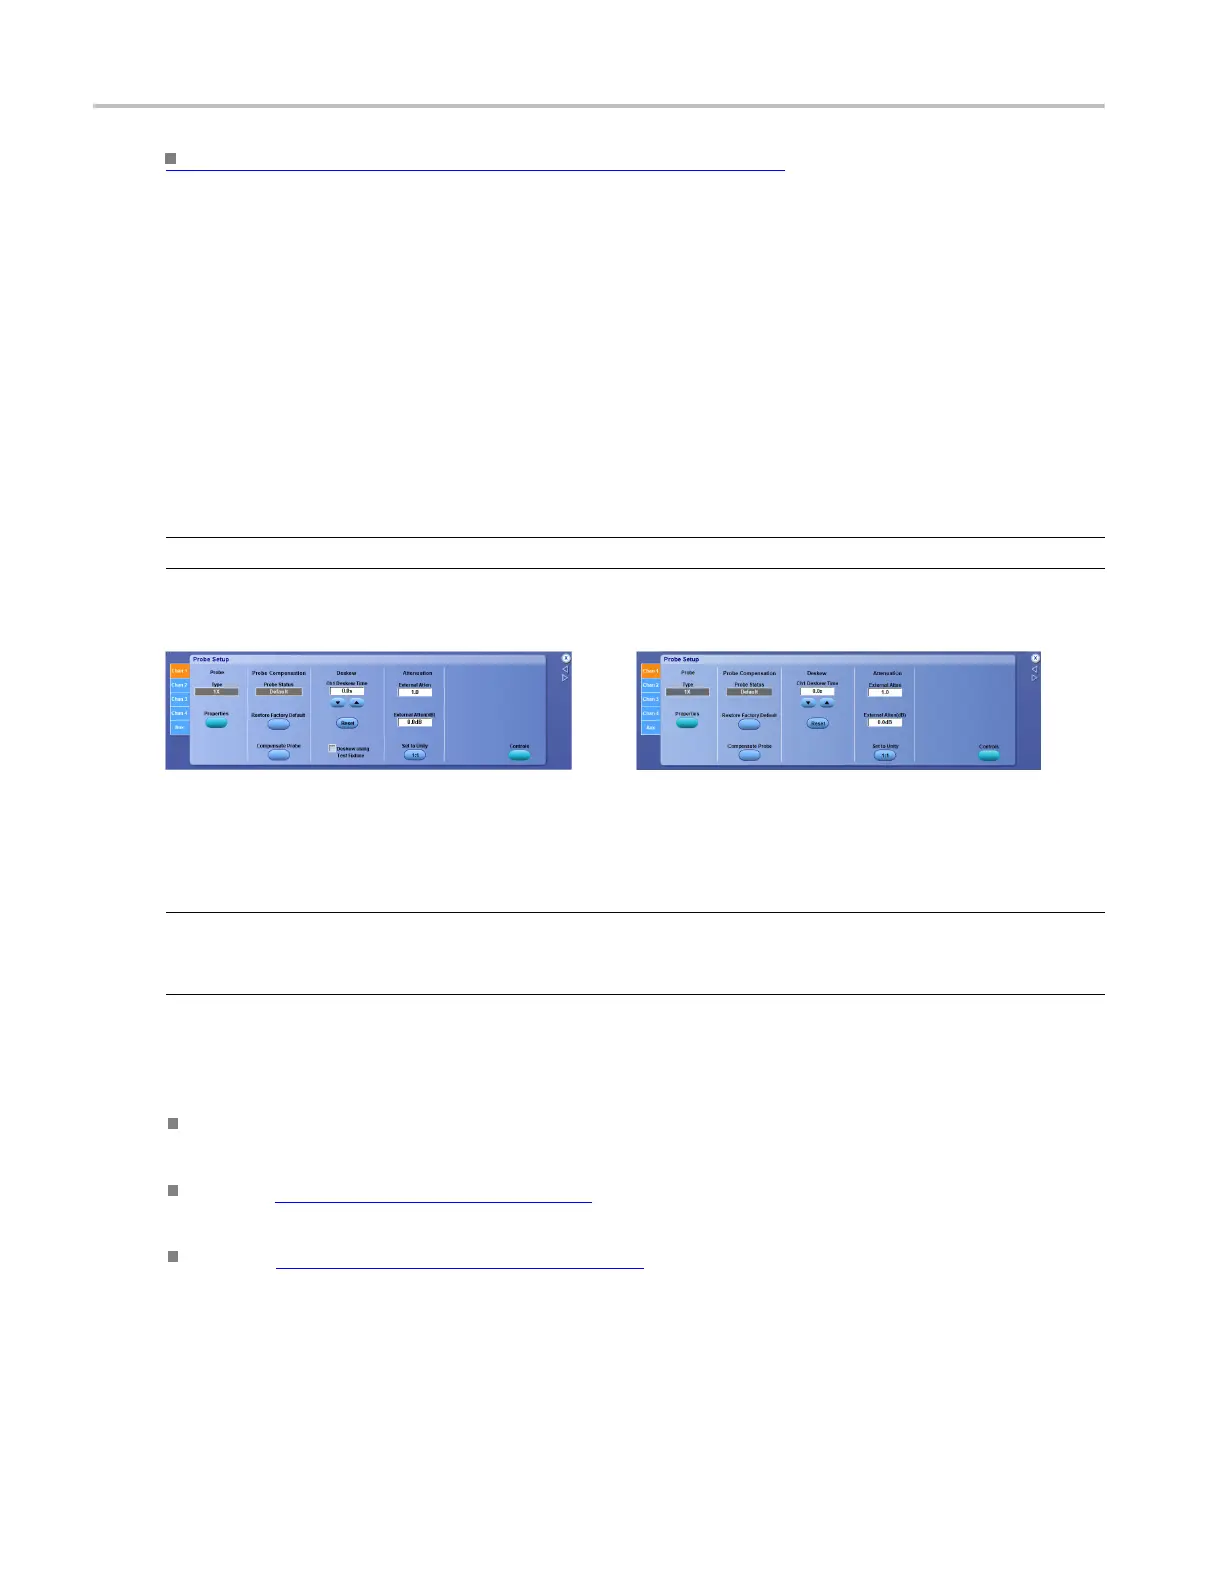
Use the Probe Setup control window to compensate and check probe status and to compensate the entire
signal path. This will improve the probe gain and offset accuracy. Probe compensation is one of several
features y
ou can use to optimize measurement accuracy.
NOTE. The example windows below do not show the controls for the attached probes.
Click for <4 GHz instruments: Click for ≥4 GHz instruments:
xxx
For in
formation on the Probe Setup controls, click the buttons.
NOTE
. The Probe Status control indicates the status of probe compensation for the selected channel. If the
probe status does not indicate Pass, the instrument may not take accurate measurements. You may want to
perform the probe compensation procedure before taking any measurements with the selected probe.
In addition to the probe setup above, it is recommended that you do the following to assure measurement
quality:
Use the correct probe tip for your probe. This will ensure that the correct bandwidth filter is applied
and performance is extended to the probe tip.
Use the Probe Compensation (see page 573) procedure to compensate passive probes. This will ensure
maximum distortion-free inputs to the instrument and avoid high frequency amplitude errors.
Use the Signal Path Compensation (see page 511) procedure to compensate the internal signal path
used to acquire waveforms based on the ambient temperature.
498 DSA/DPO70000D, MSO/DPO/DSA70000C, DPO7000C, and MSO/DPO5000 Series
 Loading...

