Vertical Setups Probe Setup Con trol Window: Probe Attenuation
The fixtures may require a user-supplied pulse generator.
To use
1. Connect the probes to a signal source.
2. Use the horizontal and vertical controls to center the fastest signal on the screen.
3. Click a Chan <1–4> tab to select the slower channel.
4. Click in the Deskew Time entry box, and use a multipurpose knob to adjust the deskew time so that
the two signals align.
5. To clear the deskew value, click the Set To 0.0 s button.
Behavior
Each input channel has its own deskew settings. Deskew compensates individual channels for probes or
cables of different lengths. The instrument applies the delay values after each completed acquisition. The
deskew values, which have a range of ±75 ns, do not affect triggering. Deskew is available for Sample
and Ave
rage acquisition modes only.
The deskew values are saved as part of the instrument s etup. The deskew values for the selected channel
will b
e retained until you change the probe, you restore a saved setup, or you recall the factory setup.
What do you want to do next?
Go to a step-by-step procedure to deskew the probes. (see page 574)
Learn m ore about the Vertical controls. (see page 506)
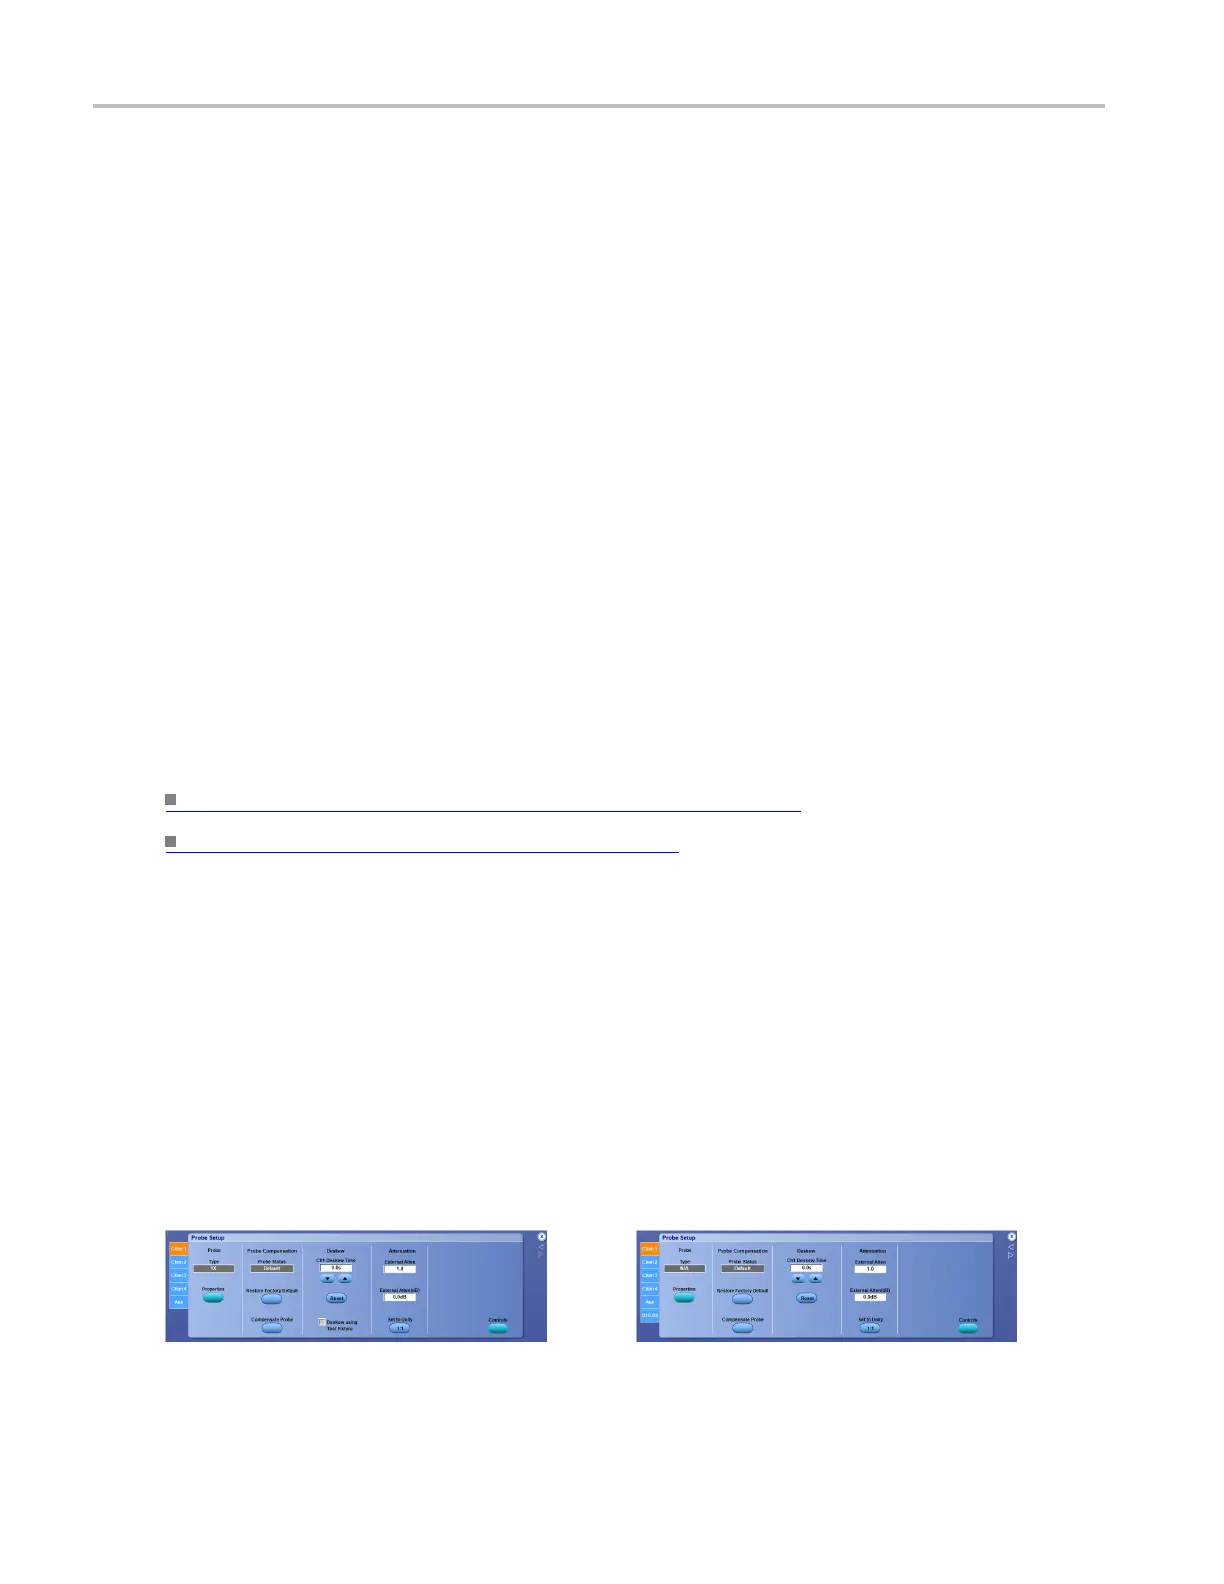
Probe Setup Control Window: Probe Attenuation
From the Vertical menu, select Attenuation.
Overview
Use the Probe Setup control window to describe the input/output ratio of any external attenuation or gain
between the signal and input channels
.
Click for <4 GHz instruments: Click for ≥4 GHz instruments:
xxx
506 DSA/DPO70000D, MSO/DPO/DSA70000C, DPO7000C, and MSO/DPO5000 Series
 Loading...

