Setting User Constants
4.2.7 Autotuning Mode
4-30
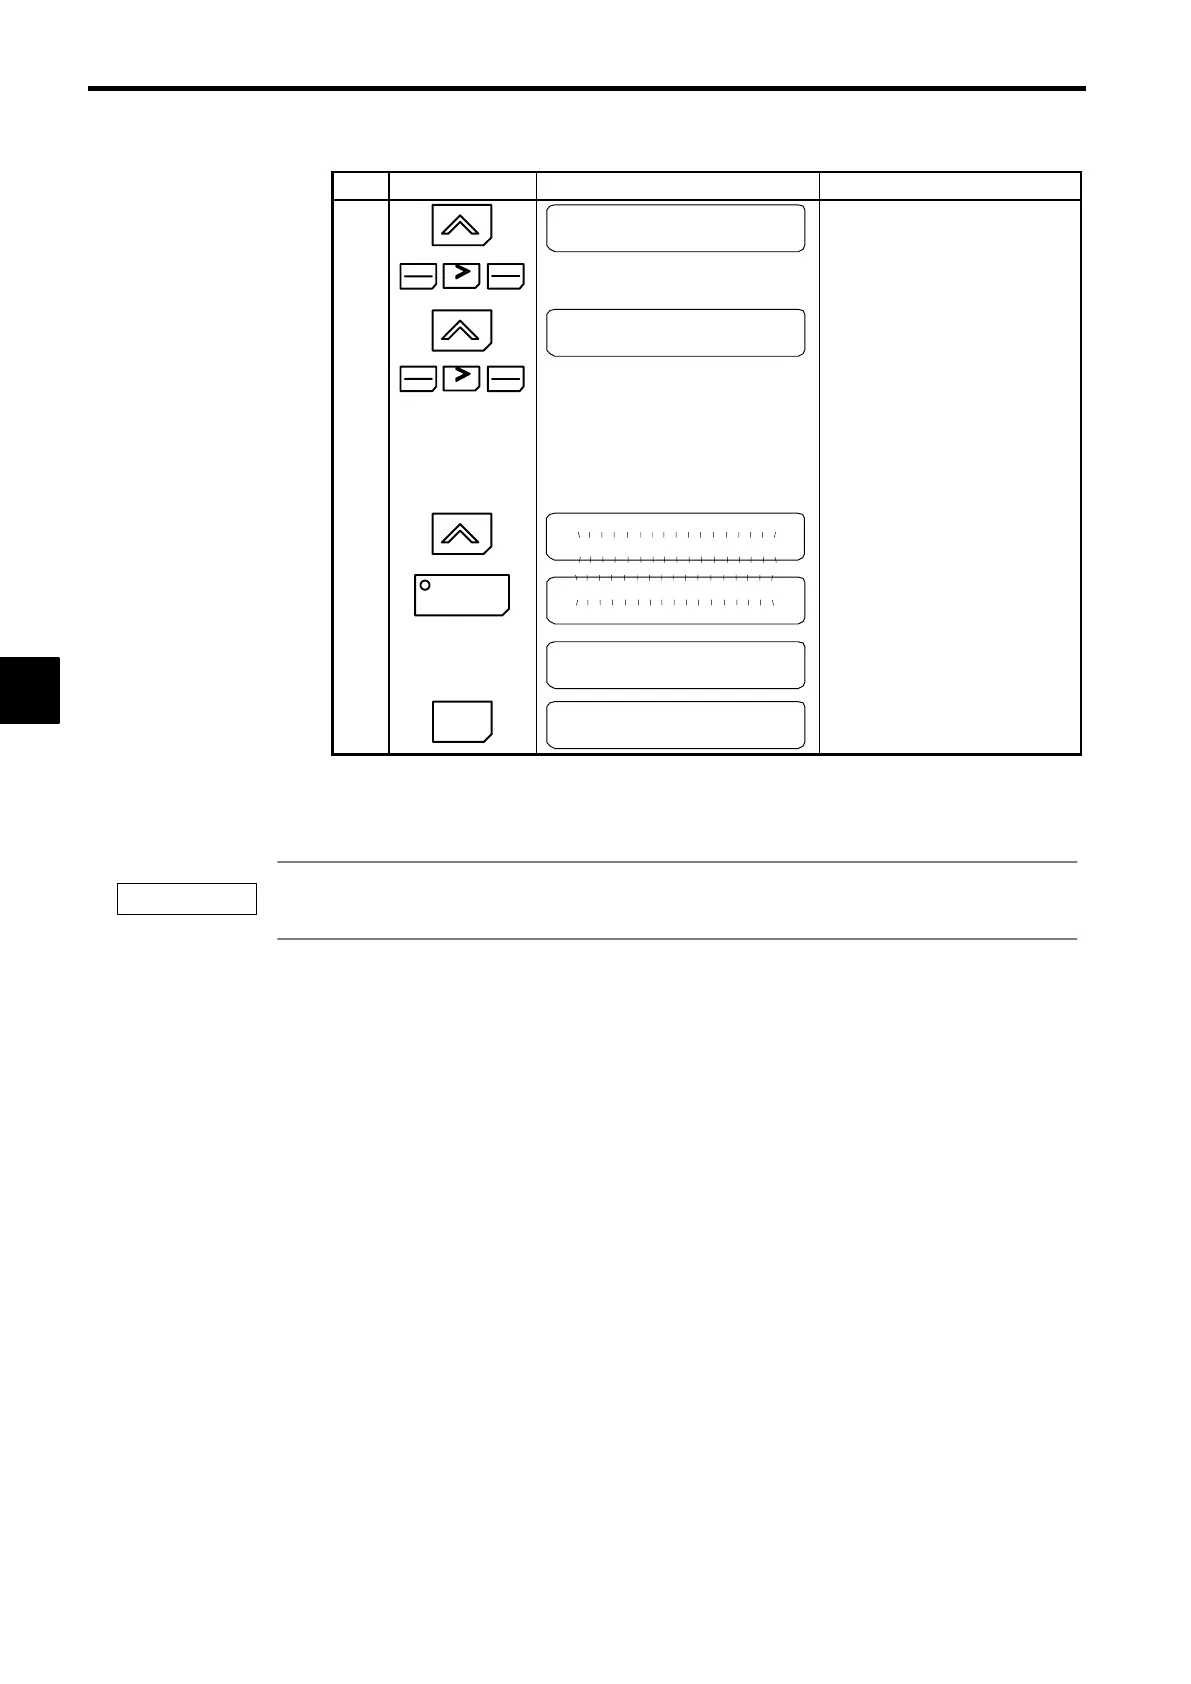
Step
Key Sequence Digital Operator Display Remarks
13
Number of Poles
4
14
RESET
DATA
ENTER
DATA
ENTER
Press the keys as in steps 4, 5, 6 of
rated voltage setting.
15
Select Motor 1/2
1
16
RESET
DATA
ENTER
DATA
ENTER
Press the keys as in steps 4, 5, 6 of
rated voltage setting.
Leave the setting at 1 to set the value
for motor 1 (the motor contacts nor-
mally used.)
Select “2” to store the autotuning re-
sults for motor 2.
17
Tuning Ready?
Press RUN Key
18
RUN
Tune Processing
VHzVVVVA
Autotuning starts and the motor ro-
tates for approx. one minute.
Tune Successful
Then the motor stops automatically.
19
MENU
G5: Main Menu :
Operation
Returns to the operation mode display.
∗
The rated voltage for vector control motors may be 10% to 20% lower than that for general-purpose mo-
tors. Check the voltage on the nameplate or in the test reports.
If a fault occurs during autotuning, refer to Table 5.1 Troubleshooting Autotuning Faults.
4
IMPORTANT
 Loading...