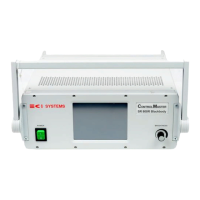
CI Systems SR-800R
4.3.2.2 19" Rack Mount Configuration
This procedure provides step-by-step instructions for installing the SR-800R in a rack.
To install:
1. Unpack the SR-800R.
2. Install the SR-800R on the rack:
a. Remove two screws from each side, tightening the carrying handle to the SR-
800R, and remove the carrying handle (see Figure 4-3).
b. Instead of the removed carrying handle, install the rack adapters by using the
removed four screws (see Figure 4-3).
c. Install the SR-800R in the rack.
Figure 4-3: 19" Rack Mount Configuration (typical)
Carrying Handle
Tightening Screw (x4)
Rack Adapter
(x2)
Removal
Installation
3. Connect the cables (see Figure 4-2):
d. Connect the HEAD cable between the SR-800R-HEAD connector and the
Blackbody connector.
e. Connect all the other cables you might use (such as AXES 1/2, AXES 3/4,
I/O, LAN, RS232 and GPIB).
f. Connect the power cable between the SR-800R-110/230V connector and
Mains.
4. Power-on the SR-800R (see Section 3.1).
You have completed installation of the SR-800R in a rack. The SR-800R is ready for
operation.
605-7040 Operation Manual
Rev D 4-4
June 2013
Artisan Technology Group - Quality Instrumentation ... Guaranteed | (888) 88-SOURCE | www.artisantg.com