EPSON EPL-N4000/EPL-N4000+ Chapter 4 Disassembly and Assembly
Rev.B 141
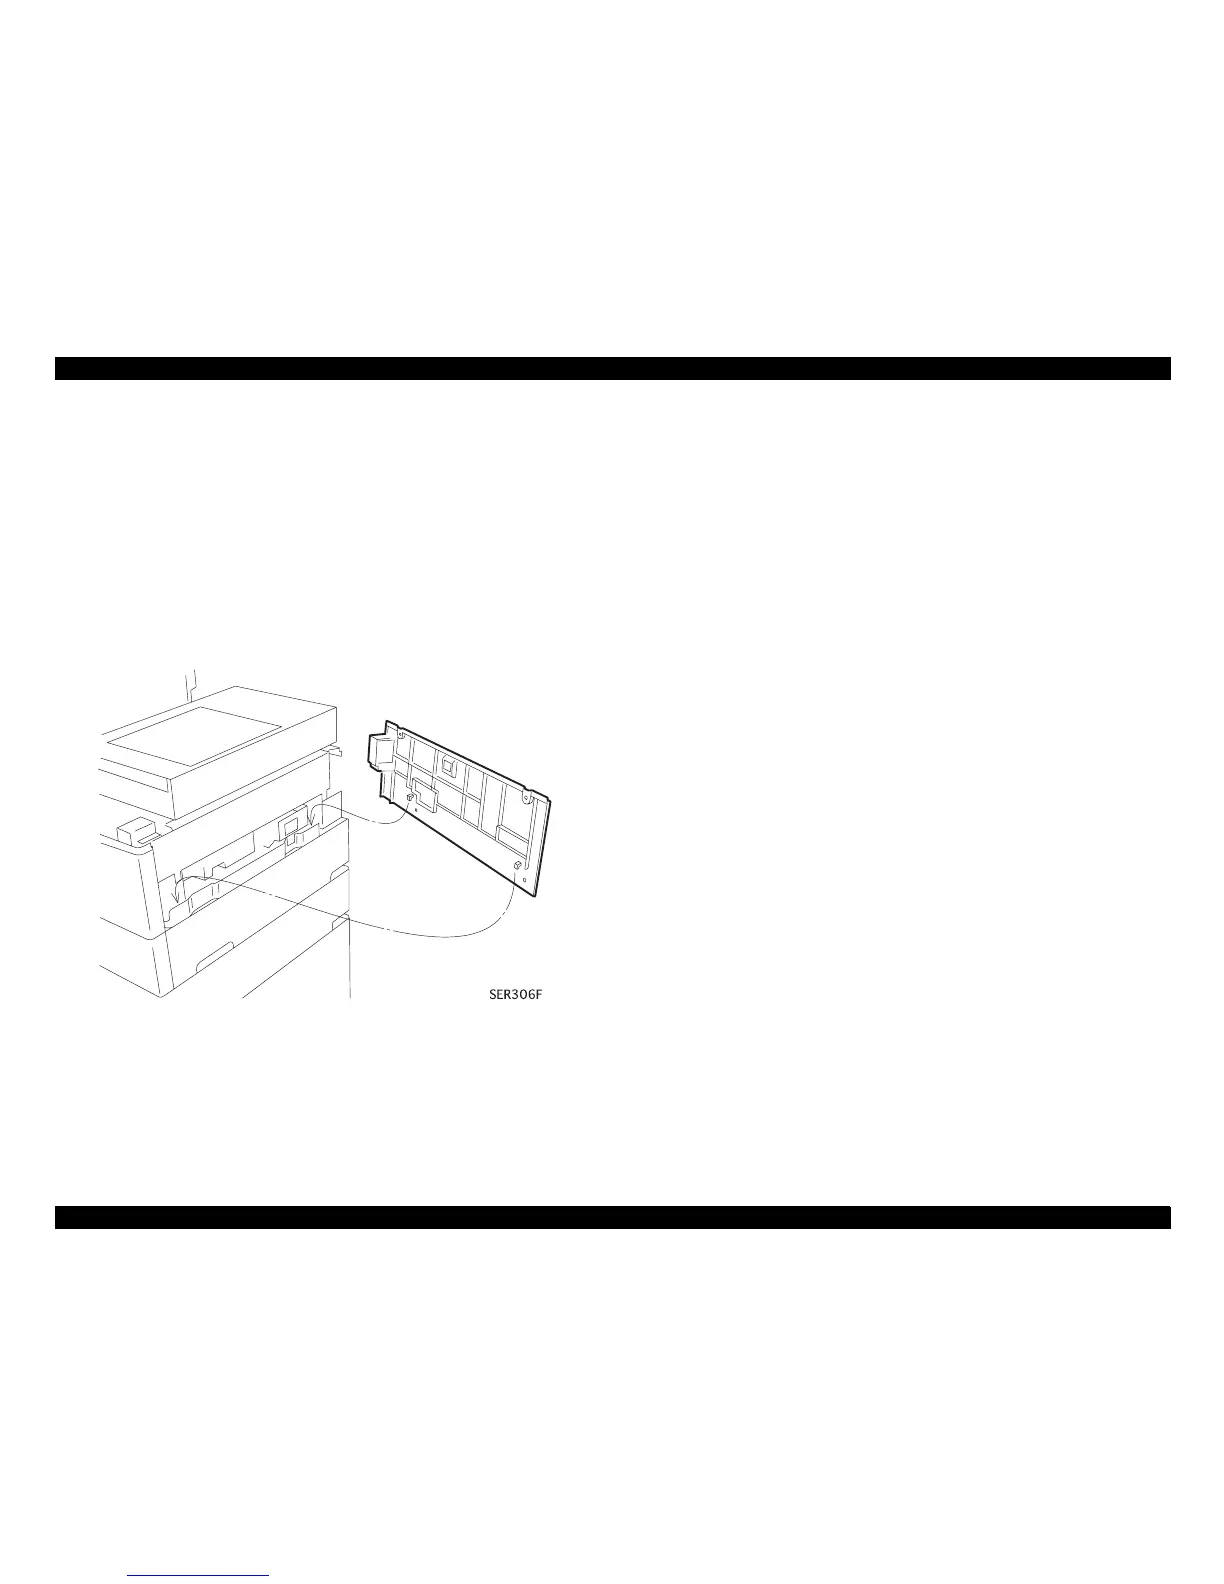
4.2.4 Right Cover
(See “Rear, Left and Ri
e -255)
4.2.4.1 Removal
1. Remove the two screws securin
ht Cover.
2. Carefully raise the ri
ht end of the Top Cover and at the same time
lift the Ri
ht Cover up and away from the printer frame.
Figure 4-11. Removal of Right Cover
4.2.4.2 Installation
1. Raise the ri
ht end of the Top Cover.
2. Press the Ri
ainst the printer frame and slide the Cover
down until the two hooks at the bottom lip of the Cover are hooked
in place under the Tray 1 Cover.
3. Press the top of the Ri
ainst the printer frame while you
lower the Top Cover. Make sure the Top Cover screw tabs rest on
top of the Ri
ht Cover.
4. Use two screws to secure the Ri
ht Cover (and Top Cover) to the
printer frame.