366 Eos Apex, Eos Ti, Gio, Gio @5, Ion Xe, Ion Xe 20, and Element 2 User Manual
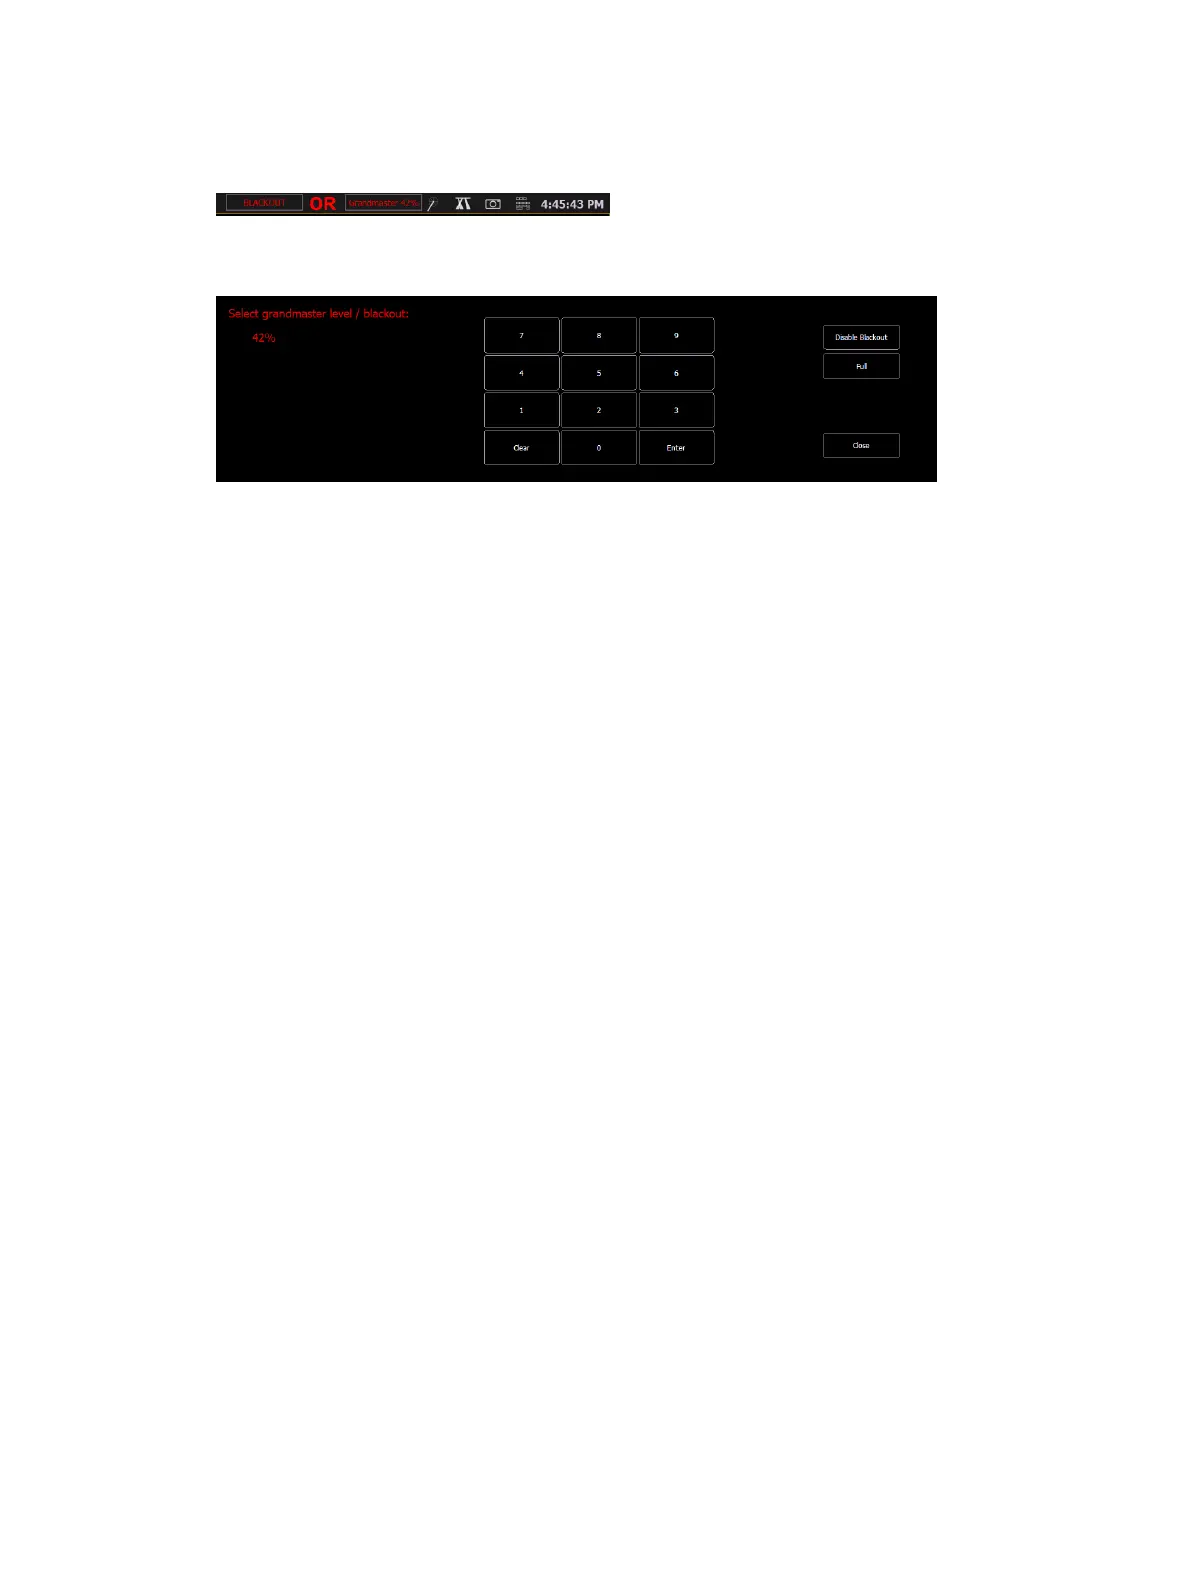
If a grandmaster is set to a value other than 100%, a grandmaster button with the set value
will be shown at the top of each display. If blackout is currently on, a blackout button will be
shown at the top of the displays.
Clicking on either button will open a new display which will allow you to turn off blackout and
set the grandmaster to a different level.
[Go To Cue 0]
You can use [Go To Cue 0], located with the playback controls, in conjunction with a fader
load button to send a specific cue list to cue 0. This action does not use the command line.
Simply press [Go To Cue 0] & [Load] for the desired fader.
On Element 2, you can use the [Go To Cue] [0] [Enter] command to send the cue list to cue 0.
This drives all cue intensities to zero, while leaving non-intensity parameters as currently set
but no longer under cue control.
For more information on this action, see
Using Go To Cue 0 (on page343)
Using Assert (Playback Button)
Note:
There are two [Assert] buttons. This section uses the [Assert] button that is located in
the playback fader controls area. On Element 2, {Assert} is a softkey accessed via [Live] {Fader
Control}.
Use [Assert] & [Load] for the associated fader to re-run the active cue in that fader, following
the same rules as [Go To Cue]. Assert can be used to regain control of all cue contents, apply a
newly set priority state to the associated fader, or make any changes in blind to an active cue
on stage.
When [Assert] & [Load] are used together, the entire contents of the cue are replayed. You
can assert just certain elements of a cue by using the command line. See
Using Assert (on
page341)
Using Timing Disable
The [Timing Disable] button, used with [Load], causes timing data to be ignored for any cues
that are activated on the associated playback fader. When a playback fader is in timing disable
mode, you will notice “TD” in the associated fader display, and the [Timing Disable] button
will be red.
To release the playback fader from time disable mode, press [Timing Disable] & [Load] again.
You can also cut the next cue in by pressing [Timing Disable] & [Go] or the last cue by pressing
[Timing Disable] & [Back].
On Element 2, {Timing Disable} is a softkey accessed via [Live] {Fader Control}.
 Loading...