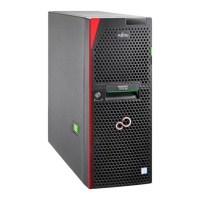
Installing HDD modules into the 4x 3.5-inch HDD extension box
▶
Install HDD modules or HDD dummy modules into the additional HDD bays,
see "Installing a 3.5-inch HDD module" on page 187
and "Installing a 3.5-
inch dummy module" on page 190.
For detailed information on HDD mounting order, see "3.5-inch HDD
configurations" on page 181.
Concluding steps
▶
If applicable, convert your standard power supply to a redundant power
supply, see
"Converting a standard power supply to a redundant power
supply" on page 164.
▶
"Reassembling" on page 66.
▶
"Connecting the power cord" on page 79.
▶
"Switching on the server" on page 81.
▶
Update the system information of your server using the Chassis ID Prom
Tool, see "Using the Chassis ID Prom Tool" on page 126. Select the
corresponding system name.
▶
"Resuming BitLocker functionality" on page 121
7.6.5 Removing the 4x 3.5-inch HDD extension box
Upgrade and Repair Unit
(URU)
Hardware: 10 minutes
Software: 10 minutes
Tools: tool-less
Preliminary steps
▶
"Suspending BitLocker functionality" on page 99
.
▶
"Shutting down the server" on page 47.
▶
"Disconnecting the power cord" on page 48.
Hard disk drive (HDD) / solid state disk (SSD)
260 Upgrade and Maintenance Manual TX1330 M4
 Loading...
