Upload certificate for the built-in http server and override the existing one.
Note: The size of your certificate must be under 2MB. This is the certificate
file (*.pem format only) for TLS connection and it will be renamed as
"certificate.pem" automatically. It contains private key for the client and
signed certificate for the server.
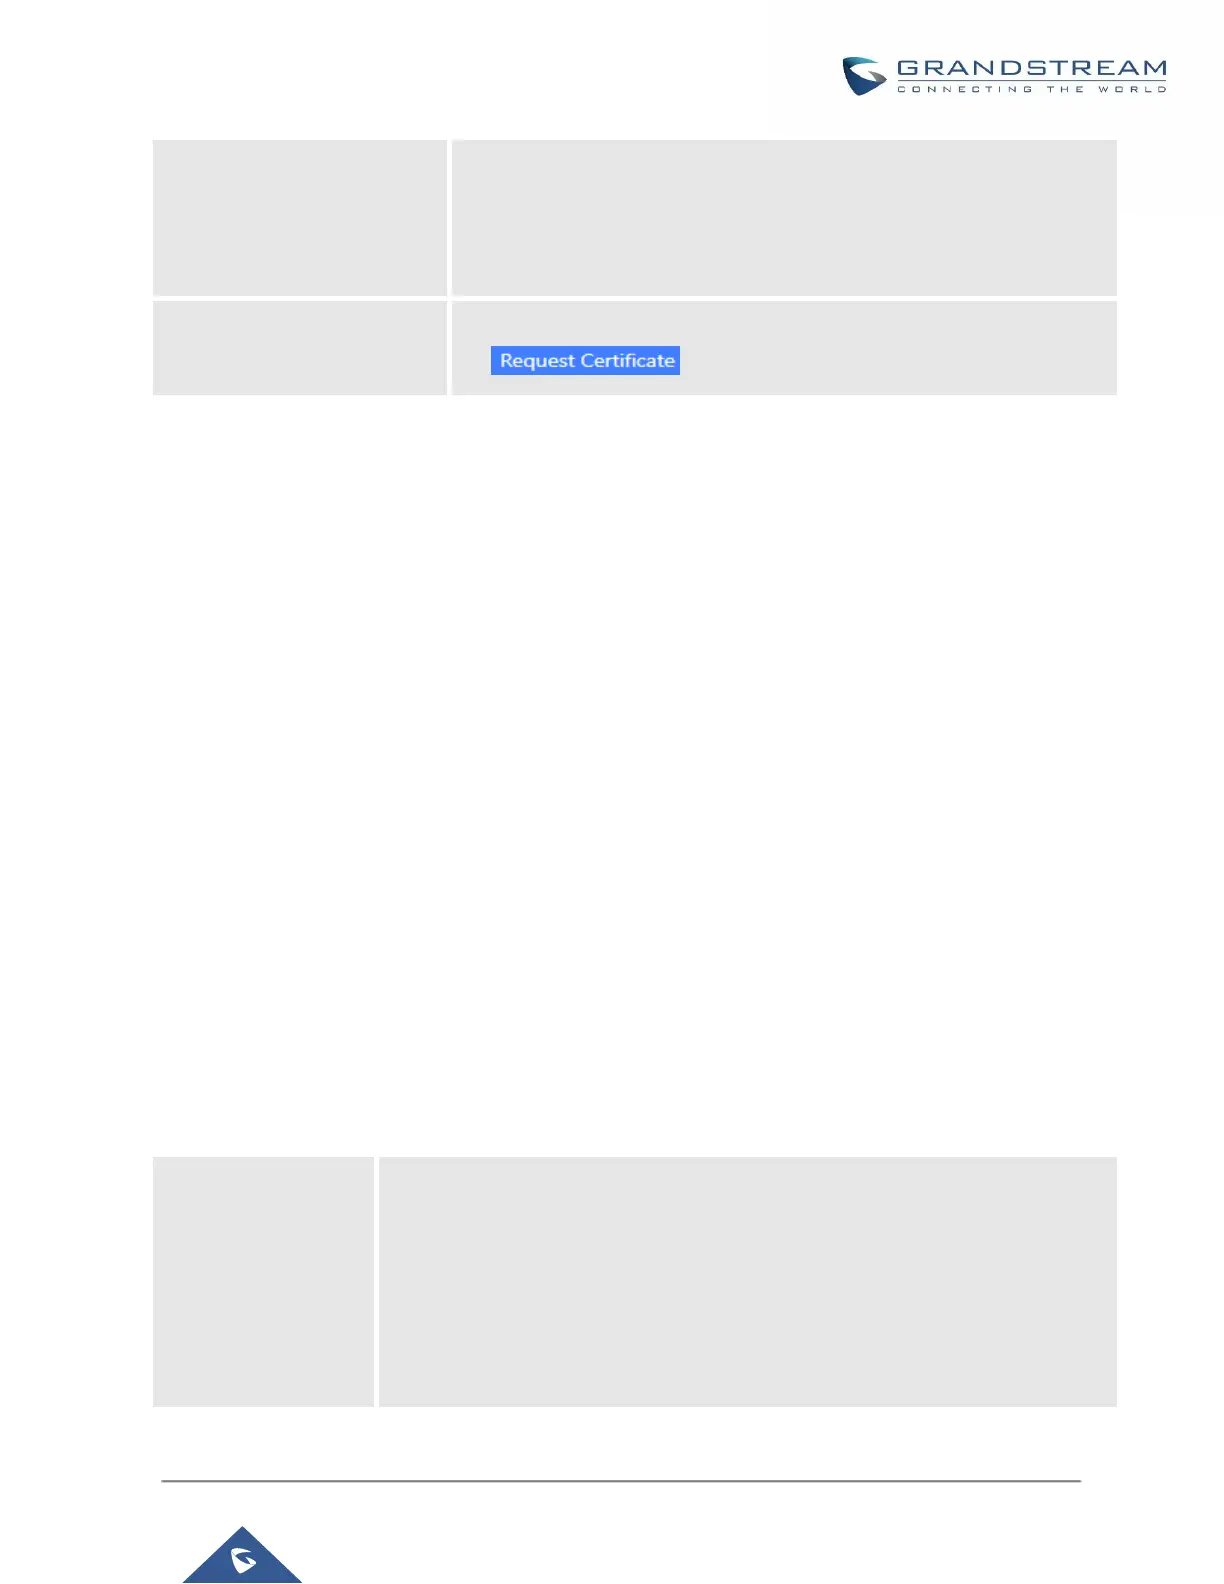
Enter the domain name from which to request certificate files then press
on in order to request the files.
Once the change is saved, the web page will be redirected to the login page using the new URL. Enter the
username and password to login again.
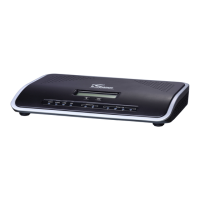
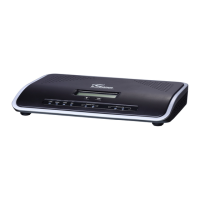
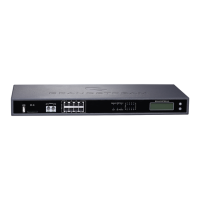
Network Settings
After successfully connecting the UCM6100 to the network for the first time, users could login the Web GUI and
go to System Settings→Network Settings to configure the network parameters for the device.
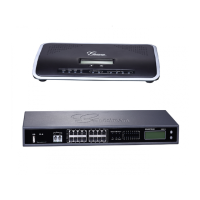
The network setting options are similar for UCM6108 and UCM6116. Additional network functions and settings
are available for UCM6102 and UCM6104:
• UCM6102 supports Route/Switch/Dual mode functions.
• UCM6104 supports Switch/Dual mode functions.
In this section, all the available network setting options are listed for each model. Select each tab in web
GUI→System Settings→Network Settings page to configure LAN settings, WAN settings (UCM6102 only),
802.1X and Port Forwarding (UCM6102 only).
Basic Settings
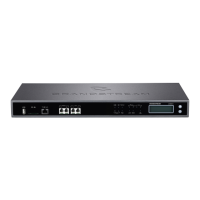
Please refer to the following tables for basic network configuration parameters on UCM6102, UCM6104, and
UCM6108/UCM6116 respectively.
Table 7: UCM6102 Network Settings→Basic Settings
Select "Route", "Switch" or "Dual" mode on the network interface of UCM6102.
The default setting is "Route".
• Route
WAN port interface will be used for uplink connection. LAN port interface will
be used to serve as router.
• Switch
WAN port interface will be used for uplink connection. LAN port interface will
be used as bridge for PC connection.
 Loading...