FC2250-UM-251-9370 8-25
8. ELECTRICAL ADJUSTMENTS
8.15 Adjusting the Offset of the Registration Mark Sensor
(1) Set the plotting conditions to the following settings:
Force: 12, Speed: 40, Quality: 1, Tool: Pen
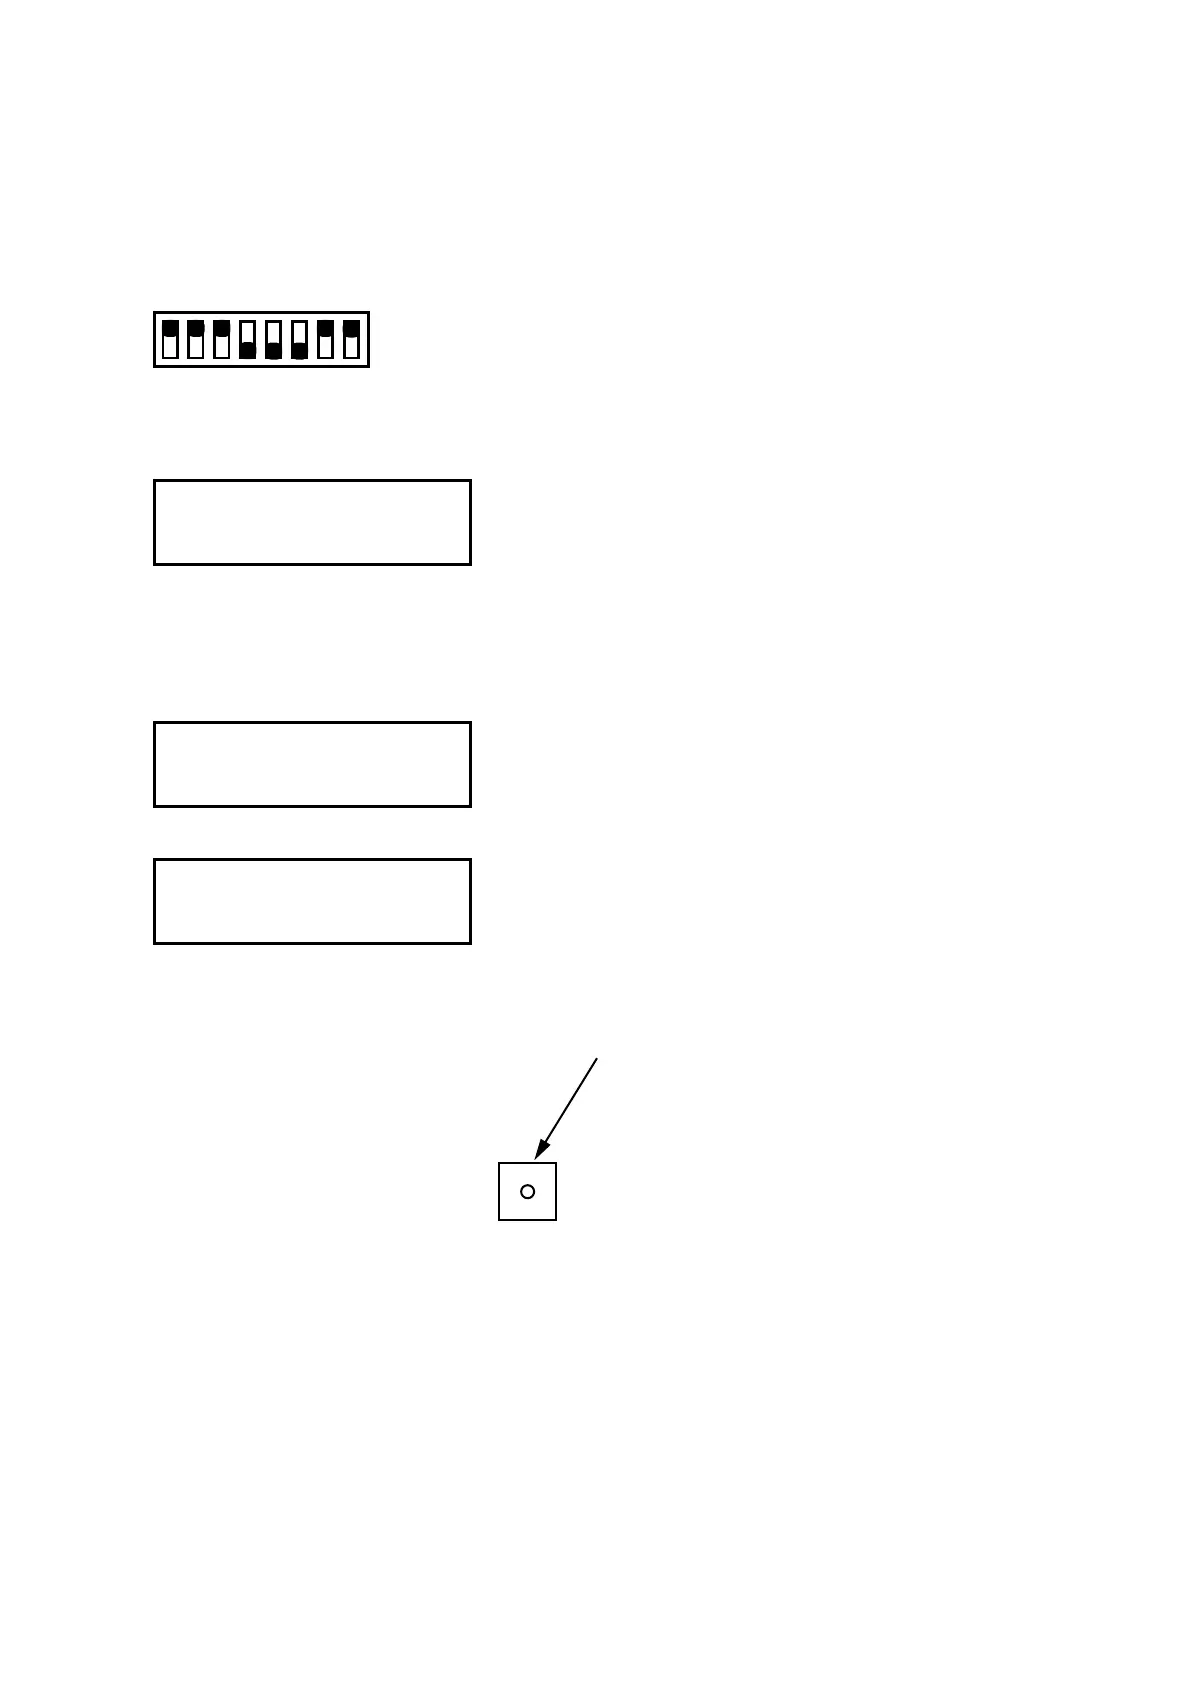
(2) Set the SW1 DIP switch as shown below and then turn on the plotter.
Set bits 4, 5, and 6 to OFF
12345678
ON
OFF
(3) Mountablackdisposableinkpen(0.2mmtipsize)orblackbertippeninthepenholder1.
(4) Press the [NEXT] key until the LCD displays the following:
MARK ADJUST
PRESS ENTER KEY!!
(5) Place white paper for adjustment use on the panel, making sure that no part of it is raised above the
surface. The paper color must be white, and it is recommended that high-quality paper made for ink-jet
printers be used.
(6) Press the ENTER key to display the menu shown below.
LEV ADJ DRY TIME
POS ADJ
(7) Press the F2 key to display the menu shown below.
MOVE TO ADJ. POINT
PRESS ENTER KEY!
Move the mark sensor by the position keys to the position exactly above the paper.
(8) Press the ENTER key to plot the adjustment pattern shown below.
Plotted target mark
(9) The plotter immediately adjusts the registration mark sensor position automatically.