FC2250-UM-251-9370 7-13
7. DISASSEMBLY AND ADJUSTMENT
7.2.4 Front X Belt
How to detach the front X belt
(1) Detach the right front cover (See the section 7.1.1).
(2) Detach the left front cover (See the section 7.1.2).
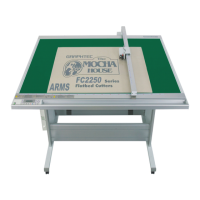
(3) Loosen the two belt tension adjustment screws to loosen the front X belt tension.
Belt tension adjustment screw
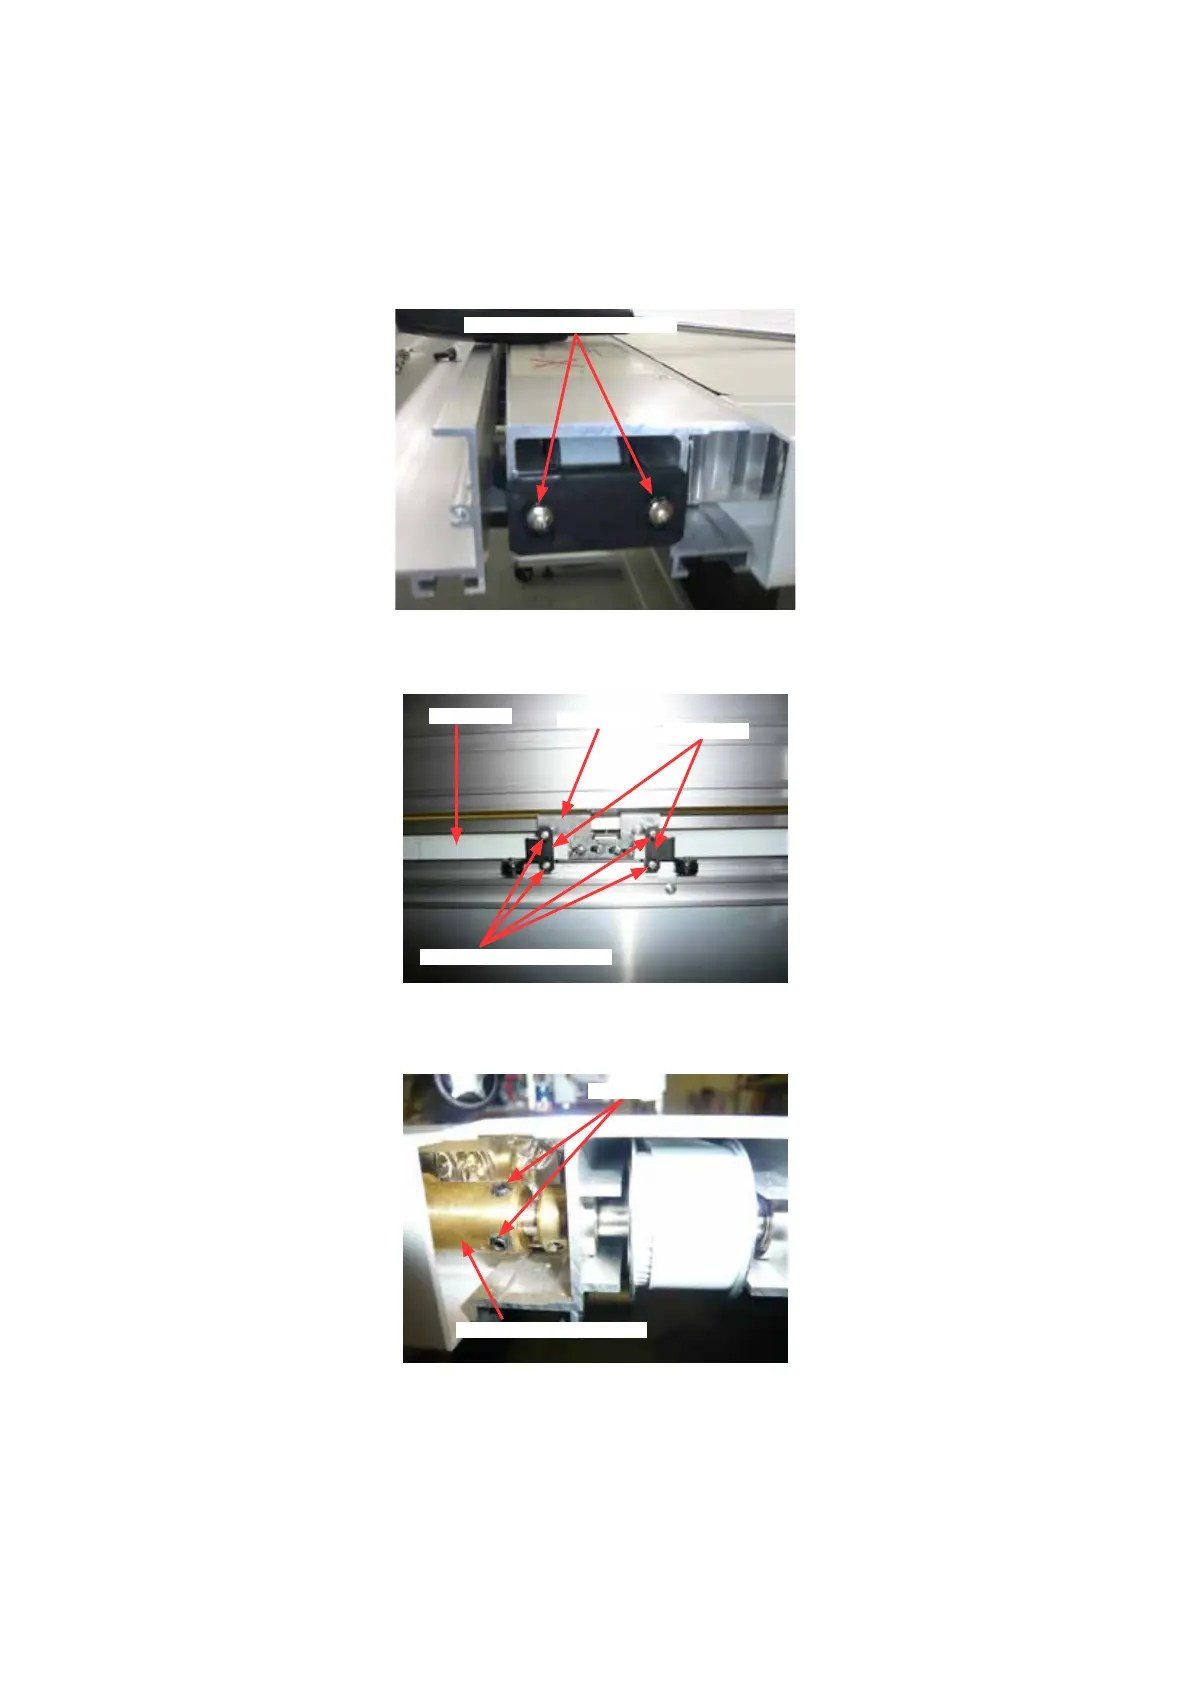
(4) Remove the four M3L6 binding head screws holding the front X belt stoppers, and then detach the front
X belt from the front X slider.
M3L6 binding head screw
Belt stopper
Front X slider
Front X belt
How to reinstall the front X belt
(1) Loosen the two set screws holding the X front drive shaft coupler.
Set screw
X front drive shaft coupler
(2) Reattach the front X belt in the reverse order in which it was detached.
(3) Move the Y bar to the far left side, then conrm the Y bar squarely becomes from X axis.
(4) Tighten the two set screws holding the X front drive shaft coupler.
(5) Adjust the front X belt tension when installing the front X belt (See section 7.2.7).
(6) Apply a few quantity of the silicon grease to the belt and the tooth of pulley.
(7) Adjust the right-angle adjustment and the distance adjustment by the electrical adjustment.