Caution:
Some valves are pulled by the spring and may fall down form the valve.
m. Press down the plug of 4-3 sequence valve and take out the locking nut disc.
n. Take out the plug, valve and spring.
o. Press down the solenoid valve 5 gate. Remove the fixed pin, valve and spring.
Caution:
The valve is pulled by the spring and may fall down form the valve.
p. Press down the line pressure blow-off valve , then remove the fixed pin, disc (if proper) spring and valve.
q. Take out the roller pin and remove the spring and ball spool detection valve adjacent BAR.
Assembly
The transmission is assembled in the method of module. The detailed assembly process of each module is described in the
following chapter in detail.
Refer to Table 8.1 (end of section 8.3) for the description of used torque specification. The Table 9.10 in section 9.6 describes
the necessary special tools for assembly.
The technician also needs to select the quality Torx tools, especially for the two-screw socket wrench with code of 40, 50,
8mm,10mm and 12mm to detect the transmission completely.
1.Transmission
Caution:
Ensure the BIR retainer is proper for the case (otherwise, the valve will damage the separation disk).
Ensure the E clip is installed on the cross shaft.
Ensure all parts of parking machine can operate normally.
The assembly procedure of transmission is shown as follows:
a. Place the upper transmission on the platform upwardly and place it on the transmission bracket.
b. Install all accessories, bolts and bleed devices. Paint the sealant on the sealing place. Tighten all components according
to the specification. Ensure the cleanness of all bleed devices. Ensure the rear oil filling nozzle of housing is correct and
without blocking material. Refer to Figure 8.19.
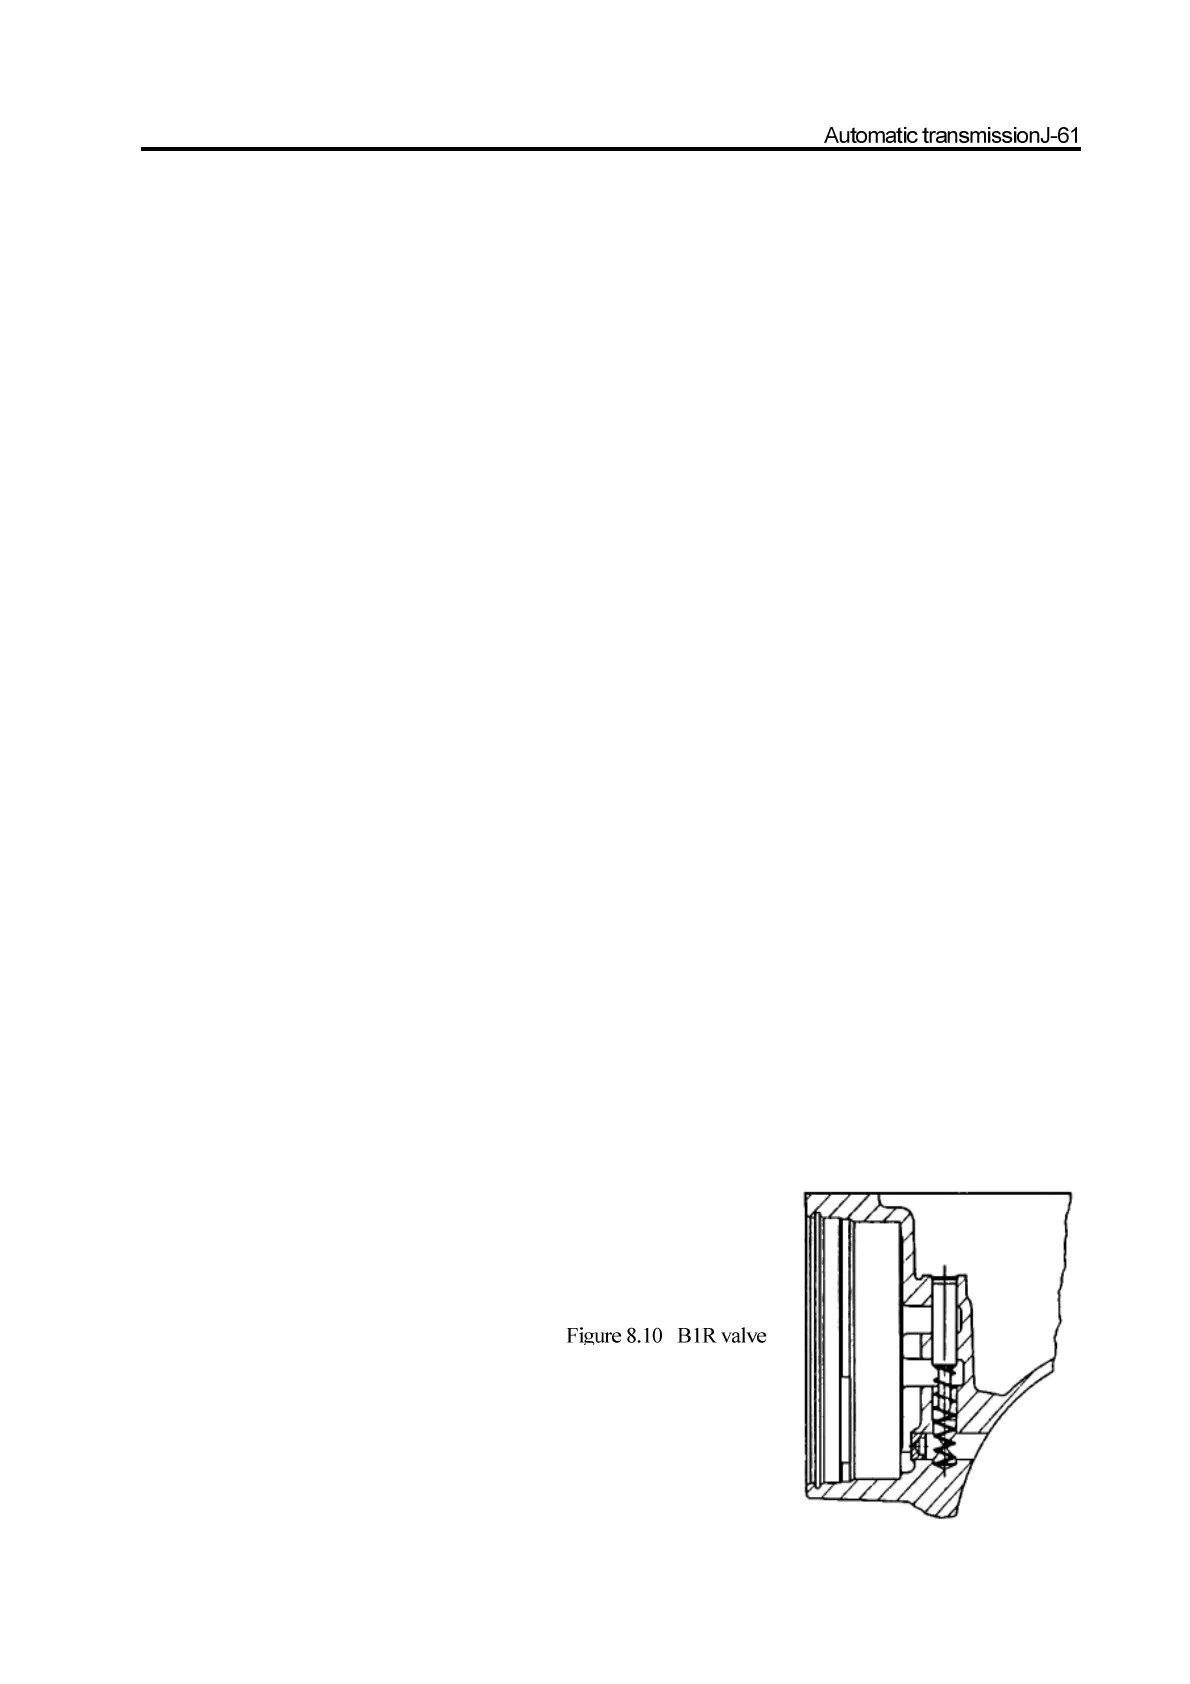
c. Assemble the BIR valve and spring; ensure the retainer is installed correctly, refer to Figure
8.10. Ensure the
retainer is fixed in the groove completely.
d. Install the rear servo bar and pin shaft. Refer to Figure 8.11.
Caution: Ensure the crown bar can rotates freely.