50
_____________________________________________________________________________________________
4.3 "SETTING" State
______________________________________________________________________________________________
4.3.2 Setting the Lower (Upper) Limit Value
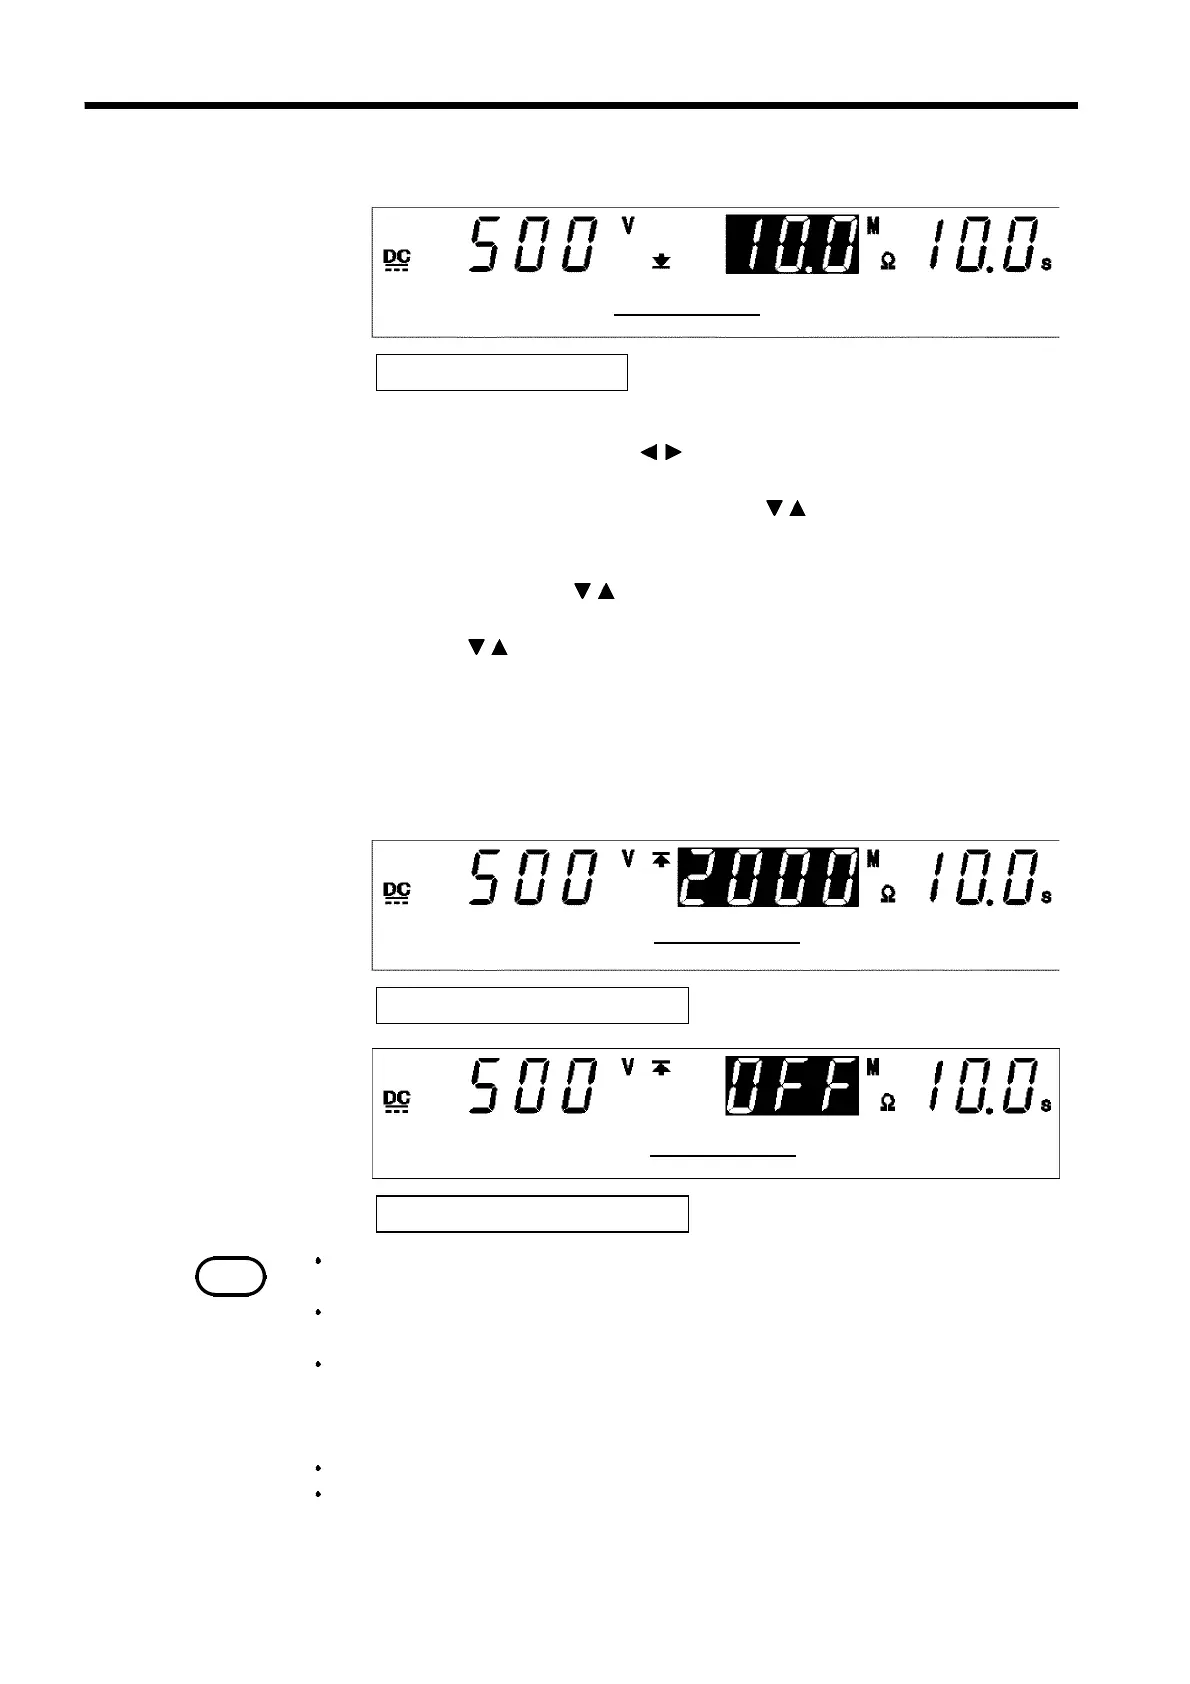
Lower Limit Value: 10 MΩ
Lower-limit value
Upper-limit value: 2000 MΩ
Upper-limit value
Upper-limit value: OFF
Upper-limit value
NOTE
If the set lower-limit value is greater than the upper-limit value, the test cannot be started,
even if the
START
key is pressed. In such a case, correct the upper- or lower-limit value.
The measured resistance and measurement ranges depend on the set lower-limit
and test-voltage values.
Resistance values larger than 9999 MΩ are displayed as "
O.F.
" (overflow).
Therefore, when the resistance measurement range is fixed, UPPER FAIL may
result even if the actual resistance value is lower than the test upper-limit value.If
"
O.F.
" (overflow) appears on the screen, check out the actual measurement range.
Resistance values smaller than 0.1 MΩ are displayed as "
U.F.
" (underflow).
The lower-limit value cannot be set to a value smaller than the test-voltage
value/1,000 (MΩ). For example, if the test voltage is set at 1,000 V, the lower-
limit value cannot be set at a value smaller than 1
000/1
000=1
MΩ
.
1. If no flashing cursor is displayed in the insulation-resistance mode
READY state, press either the / key to display the cursor in the lower
(upper)-limit value position.
2. Set the lower (upper)-limit value using the
/
keys.
The lower (upper)-limit value increases for each setting resolution function
shown in the list below.
Press the keys,
SHIFT
+
/
key. The value increases or decreases 10
times more rapidly than when the
SHIFT
key is not held down.
If the
SHIFT
+
/
keys continue to be held down, the value increases or
decreases by multiples of 100.
The lower (upper)-limit value can be set between 0.1 and 9999 MΩ.
If no Upper-limit value is required, turn off the
ON/OFF
key. Lower-limit
value can not be turn off.
3. To finalize the test settings, press the
STOP
key. The settings are
confirmed and the unit returns to the READY state.