A9
CPU Board
Ibols
Required
n
T-10
TORX screwdriver
w
T-15
TORX
screwdriver
w
ESD (electrostatic discharge) grounding wrist strap
Removal
1. Disconnect the power cord.
2. Remove the top and bottom covers (refer to “Covers” in this chapter).
3. Remove the rear panel assembly, following steps 4 through 6 of “Rear Panel
Assembly.
n
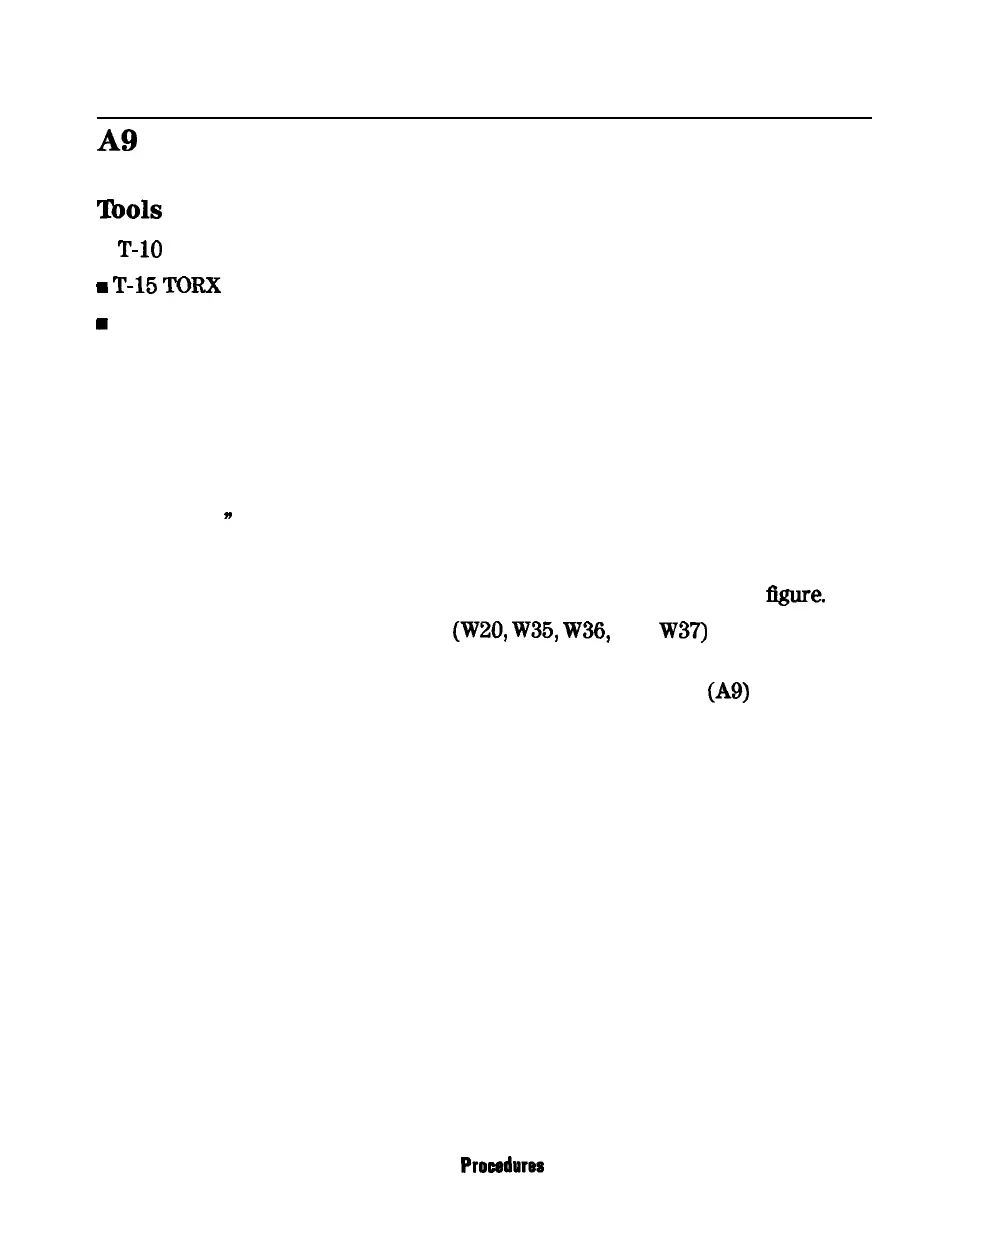
4. Turn the analyzer upside down.
5. Pull the rear panel away from the frame as shown in the following
6gure.
6. Disconnect the four ribbon cables
(W20,
W35,
W36,
and
W37)
from the CPU
board (AS).
7. Remove the three screws (item 2) that secure the CPU board (A9) to
the deck. Slide the board towards the front of the instrument so that it
disconnects from the three standoffs (item 3).
8. Lift the board off of the standoffs
Replacement
1. Reverse the order of the removal procedure.
2. Leave the bottom cover off in order to perform the post repair procedures
located at the end of this chapter.
14-32
Assembly Replacement and Post-Repair
Prosedures