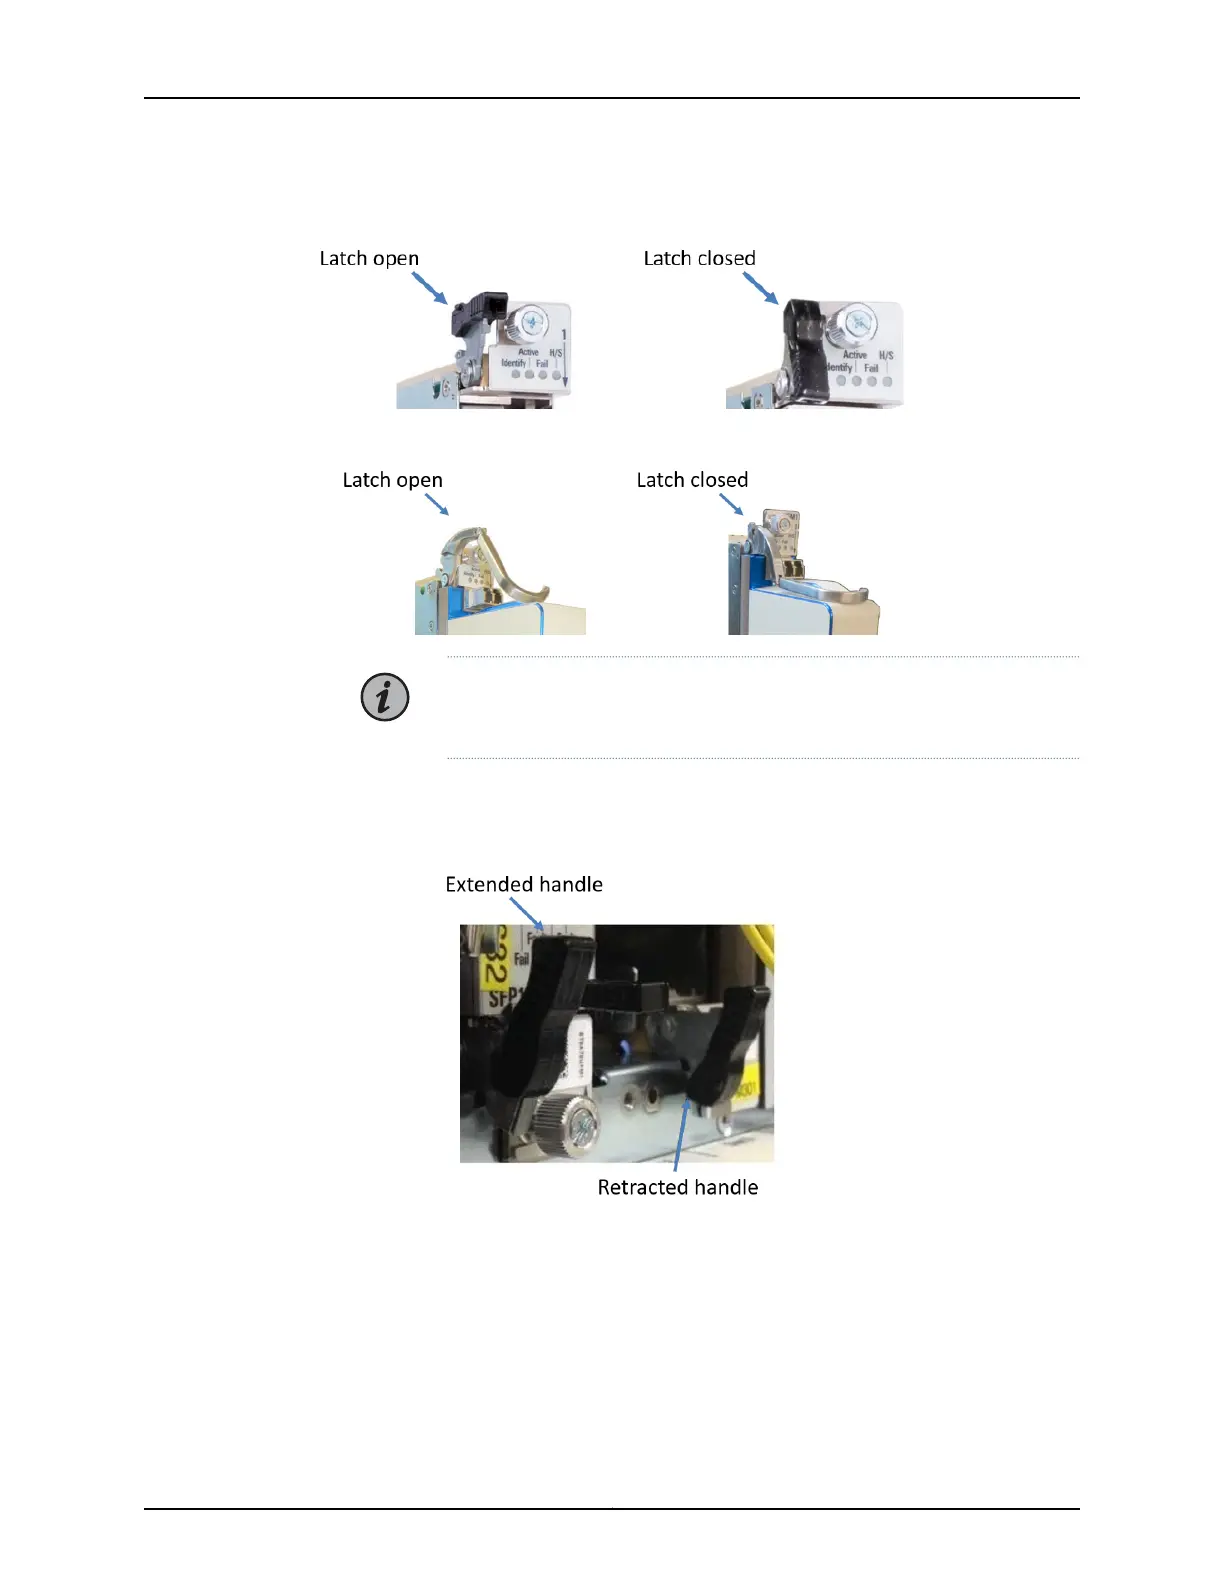
Figure 32: Top Latch - UFM3 and UFM6
Figure 33: Top Latch - UFM4
NOTE: The design of the UFM4 top latch accommodates the space taken
up by the integrated MSA transceiver.
The bottom latch on all UFMs (“UFM Latches” on page 116) has an extendable handle
that provides leverage when you open or close the latch.
Figure 34: Bottom Latch - UFMs
Installing a UFM
Use this procedure to install a Universal Forwarding Module (UFM).
Prerequisites:
•
If you are installing a (UFM6) module on a BTI7814 chassis, ensure that BTI7814 Booster
Fans are also installed in the chassis. See “BTI7814 Booster Fans” on page 57.
117Copyright © 2019, Juniper Networks, Inc.
Chapter 5: BTI7800 Series Modules

 Loading...


