•
Number 2 Phillips screwdriver
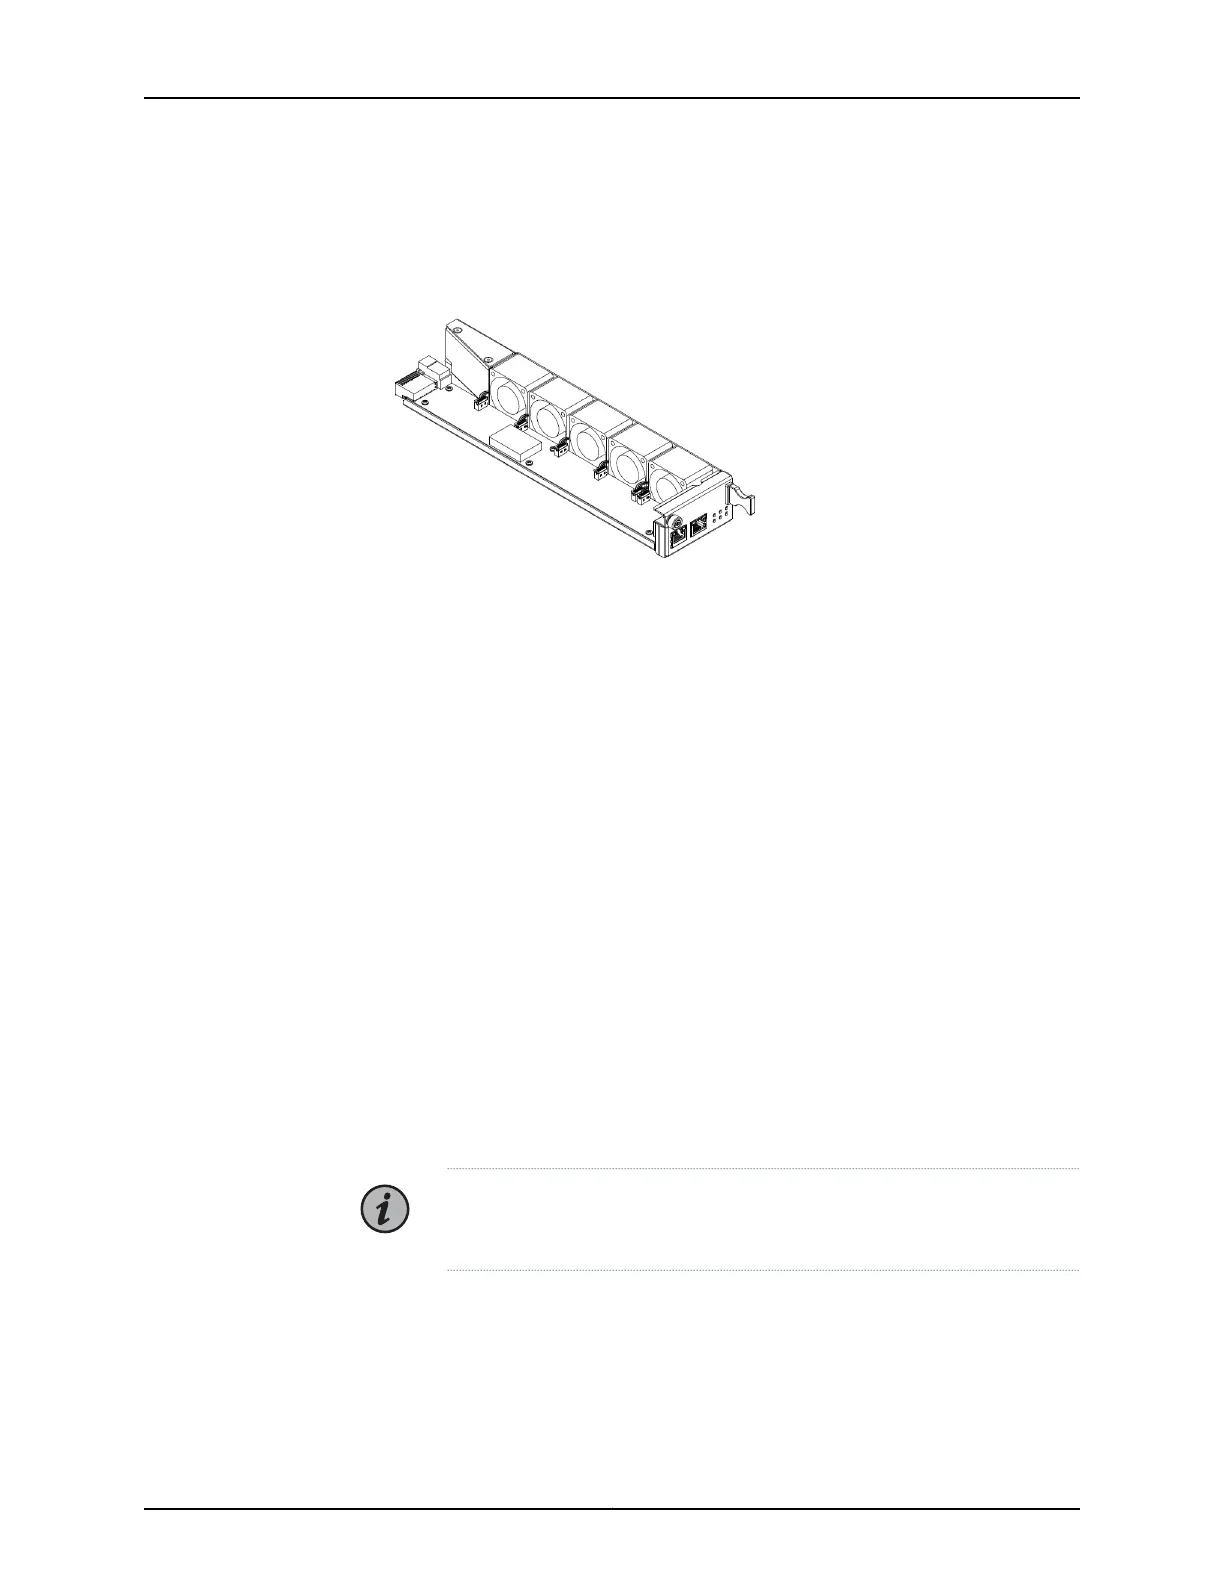
1. Loosen the thumbscrew holding the module in place. Use a screwdriver if necessary.
Do not pull out the module until the fan blades have stopped rotating.
2. Remove the faulty cooling module.
Hold the module handle, and slowly slide the cooling module out.
3. Place the cooling module in an antistatic bag or on a grounding mat.
4. Align the replacement cooling module with the slot guides.
5. Gently push the module until it is connected to the backplane.
Once the module is in its place, the Active LED turns solid green.
6. Tighten the thumbscrew.
You have successfully completed this procedure.
Replacing the BTI7801 ESL
Use this procedure to replace an Ethernet and Serial Link module on the BTI7801 chassis.
The ESL module is hot-swappable, and can be replaced while the system is powered on
and operational.
NOTE: Ensure that you are familiar with the safety and electrical warnings
described in “BTI7801 Field-Replaceable Units (FRUs)” on page 199.
Tools Required
201Copyright © 2019, Juniper Networks, Inc.
Chapter 7: BTI7800 Series Field Replaceable Units (FRUs)

 Loading...


