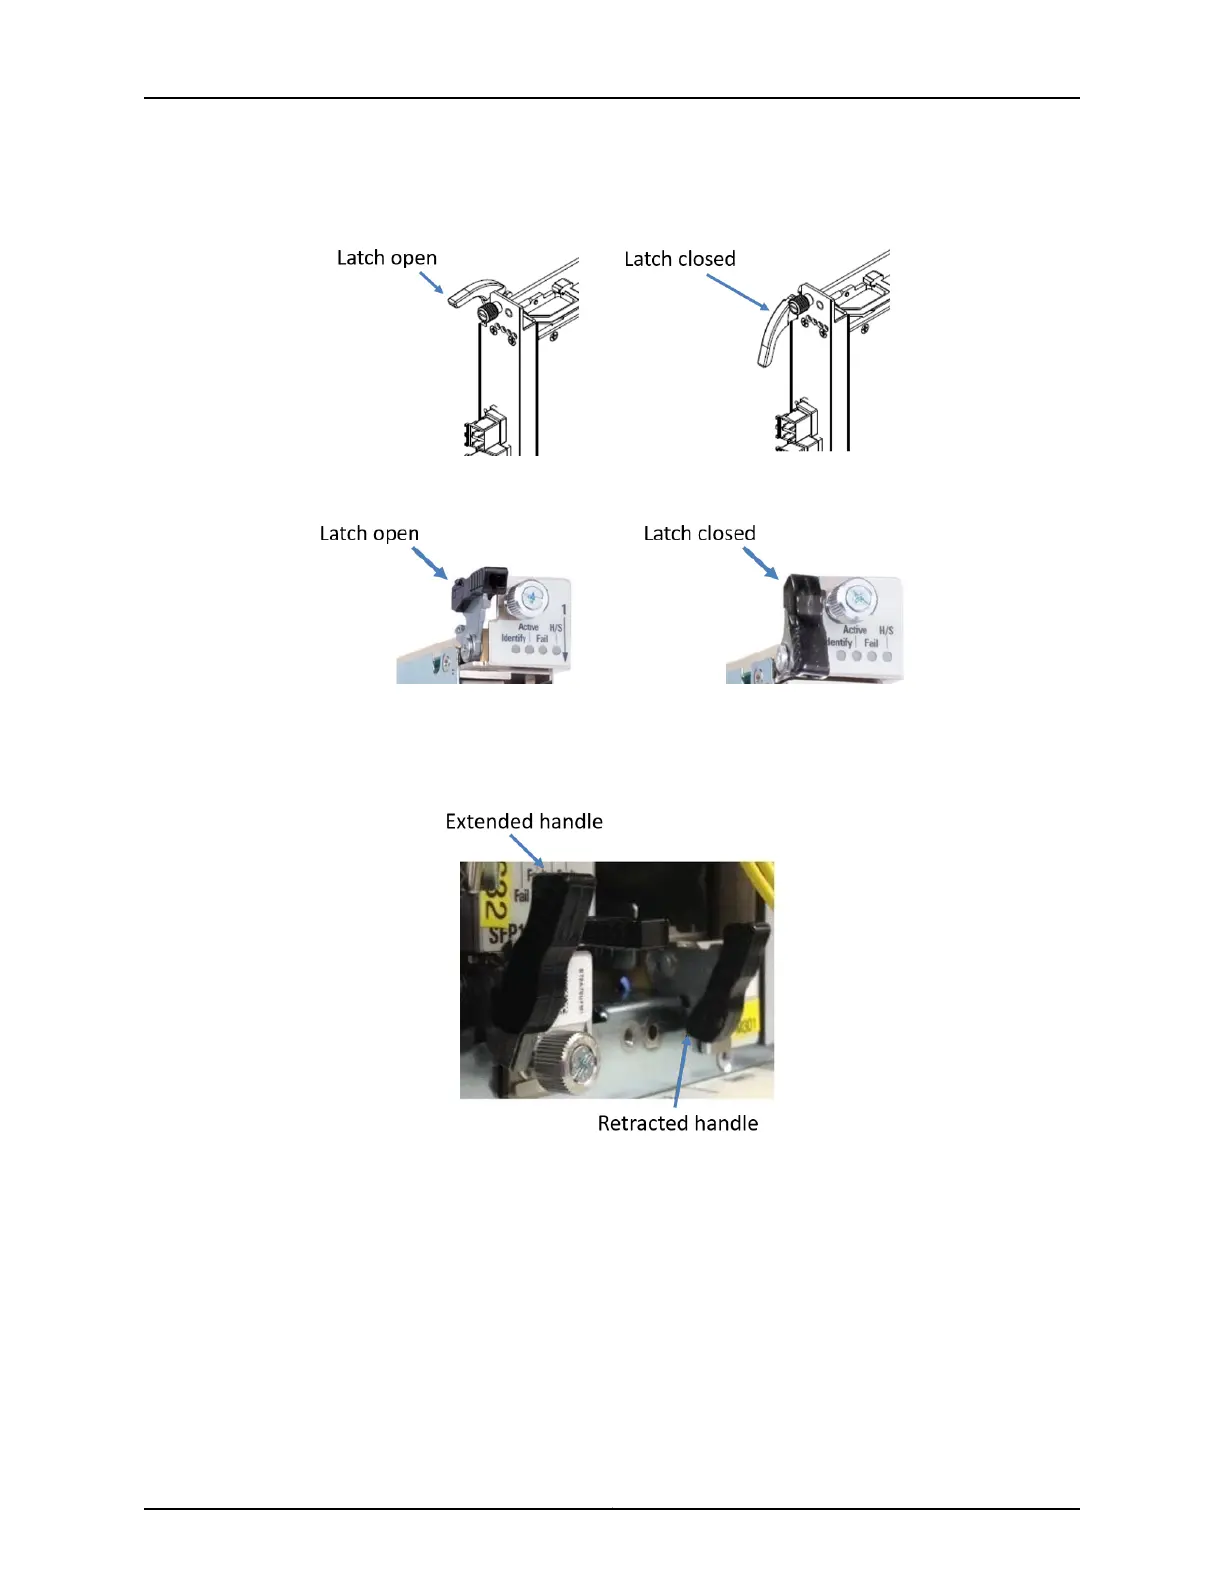
Figure 42: Top Latch 1 - WPS4
Figure 43: Top Latch 2 - WPS4
The bottom latch on a WPS4 (“WPS4 Latches” on page 138) has an extendable handle
that provides leverage when you open or close the latch.
Figure 44: Bottom Latch - WPS4
Installing a WPS4
Use this procedure to install a WPS4.
Prerequisites:
•
If you have pre-provisioned the module, ensure the module is administratively enabled.
If the module is not administratively enabled, the module will not be acknowledged
by the CMM. For information on how to enable the module, see the BTI7800 Software
Configuration Guide.
139Copyright © 2019, Juniper Networks, Inc.
Chapter 5: BTI7800 Series Modules

 Loading...


