The PEM that you are replacing must be disconnected from its power source. The other
PEMs can remain powered.
NOTE: Ensure that you are familiar with the safety and electrical warnings
described in “BTI7802 Field-Replaceable Units (FRUs)” on page 193.
NOTE: If you plan on reusing the AC PEM that you are removing, you must
wait for a minimum of 60 seconds before reinserting the removed PEM into
another slot or chassis.
1. Follow the appropriate steps to disconnect the PEM from the power source in your
plant.
2. Disconnect the power cable from the faulty PEM.
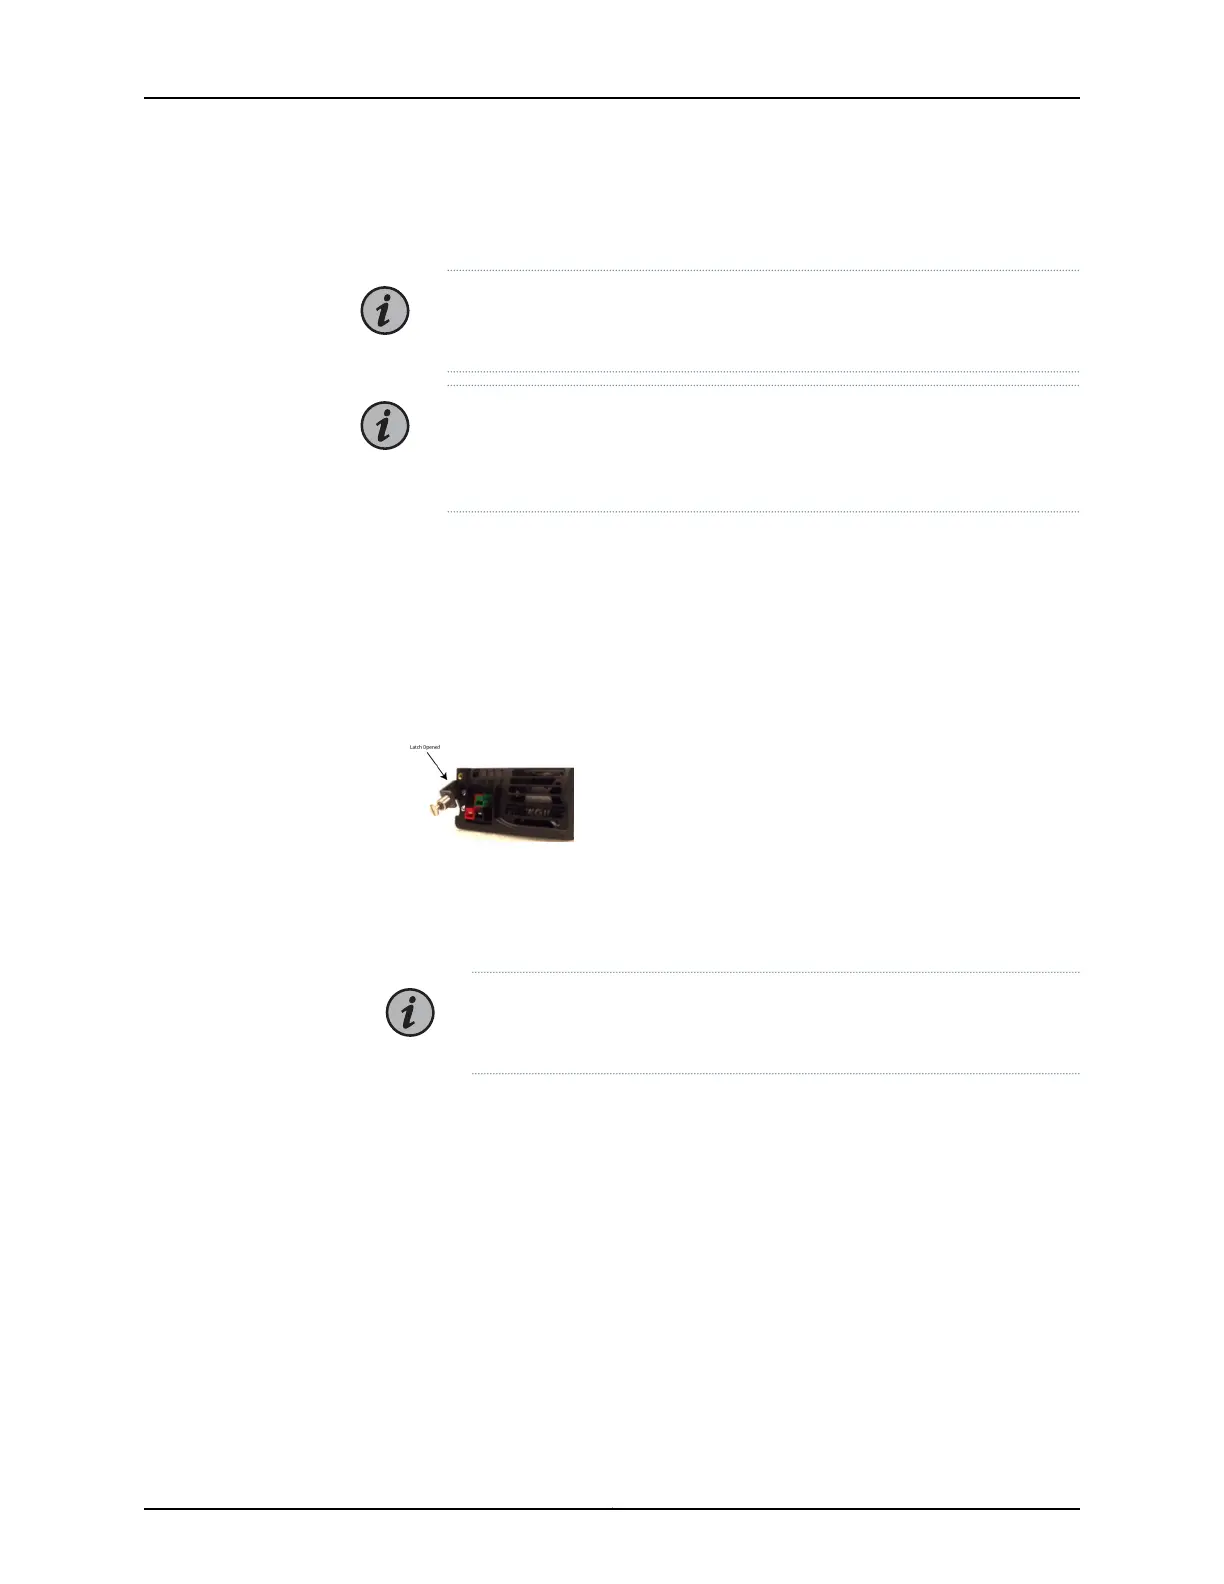
3. Remove the PEM from the chassis.
a. Loosen the latch thumbscrew. Pull the latch into the open position.
b. Slowly pull out the module.
Once the module is removed, place it in an antistatic bag or on a grounded antistatic
mat.
NOTE: If you plan on reusing this AC PEM, you must wait for a minimum
of 60 seconds before reinserting it into another slot or chassis.
4. Install the replacement PEM.
a. Pull the latch into the open position
b. Carefully slide the replacement module along the slot guides until the PEM connects
to the backplane
c. Move the latch to the closed position. Gently tighten the thumbscrew.
5. Attach the power cable to the PEM.
6. Follow the appropriate steps to connect the new PEM to the power source.
7. Power on the PEM. The DC OK LED lights up.
Copyright © 2019, Juniper Networks, Inc.194
BTI7800 Series Hardware Overview and Installation Guide

 Loading...


