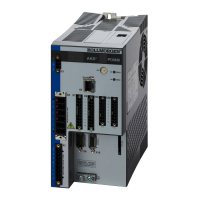
AKD Installation | 7 Mechanical Installation
7.1 Important Notes
There is a danger of electrical shock by high EMC level which could
result in injury, if the drive (or the motor) is not properly EMC-grounded.
Do not use painted (i.e. non-conductive) mounting plates.
Protect the drive from impermissible stresses. In particular, do not let any components
become bent or any insulation distances altered during transport and handling. Avoid contact
with electronic components and contacts.
The drive will switch itself off in case of overheating. Ensure that there is an adequate flow of
cool, filtered air into the bottom of the control cabinet, or use a heat exchanger ("Ambient Con-
ditions, Ventilation, and Mounting Position" (➜ p. 32)).
Do not mount devices that produce magnetic fields directly beside the drive. Strong magnetic
fields can directly affect internal components. Install devices which produce magnetic field
with distance to the drives and/or shield the magnetic fields.
7.2 Guide to Mechanical Installation
The following tools are required (at a minimum) to install the AKD; your specific installation
may require additional tools:
l M4 hexagon socket-cap screws (ISO 4762)
l 3 mm T-handle Allen key
l No. 2 Phillips head screwdriver
l Small slotted screwdriver
Dimensions and mounting hole positions depend on the drive variant:
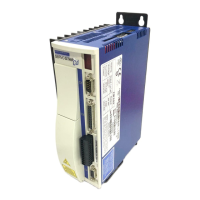
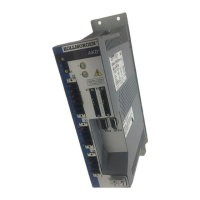
Drive Variant Description Housing
AKD-B, -P, -T Drives without built-in option card Standard width, ➜ p. 61
AKD-B-IC, -T-IC, -M-MC Drives with built-in option card (for
example I/O, MC)
Extended width, ➜ p. 65
Install the drive unit as follows:
1. Prepare the site.
Mount the drive in a closed control cabinet (➜ p. 32). The site must be free from con-
ductive or corrosive materials. For the mounting position in the cabinet ➜ p. 61ff respec-
tively ➜ p. 65ff.
2. Check ventilation.
Check that the ventilation of the drive is unimpeded, and keep within the permitted
ambient temperature ➜ p. 32. Keep the required space clearance above and below the
drive ➜ p. 61ff respectively ➜ p. 65ff.
3. Check cooling system.
If cooling systems are used for the control cabinet, position the cooling system so that
condensation water cannot drip onto the drive or peripheral devices.
4. Mount the drive.
Assemble the drive and power supply near each other on the conductive, grounded mount-
ing plate in the cabinet.
5. Ground the drive.
For EMC-compliant shielding and grounding, ➜ p. 85. Ground the mounting plate, motor
housing and CNC-GND of the control system.
60 Kollmorgen™ | May 2013
 Loading...