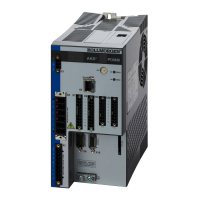
AKD Installation | 8 Electrical Installation
8.20.3 EtherCAT
AKD drives (connection variants EC and CC) can be connected as slaves to the EtherCAT
network (CoE) via RJ-45 connectors X5 (in port) and X6 (out port).The communication status
is indicated by the built-in connector LEDs.
AKD PDMM drives (AKD-M) acts as an EtherCAT (CoE) master and therefore provides the
X6 connector (out) for a string topology with 250 ms cycle time and maximum 8 slaves.
Drive variant Connector LED# Name Function
AKD X5 LED1 IN port Link ON = active,
OFF= not active
LED2 RUN ON = running,
OFF = not running
AKD and AKD PDMM X6 LED3 OUT port Link ON = active,
OFF = not active
LED4 - -
8.20.3.1 EtherCAT activation with AKD-CC models
AKD-CC drive models are Drives, which support EtherCAT and CAN fieldbus types within
one common software. CC drive models are delivered with EtherCAT set active. If you must
change a drive from CANopen to EtherCAT, the DRV.TYPE parameter must be changed
1. by software: connect the PC to the AKD and change the parameter DRV.TYPE in the
WorkBench terminal screen (see DRV.TYPE parameter documentation) or
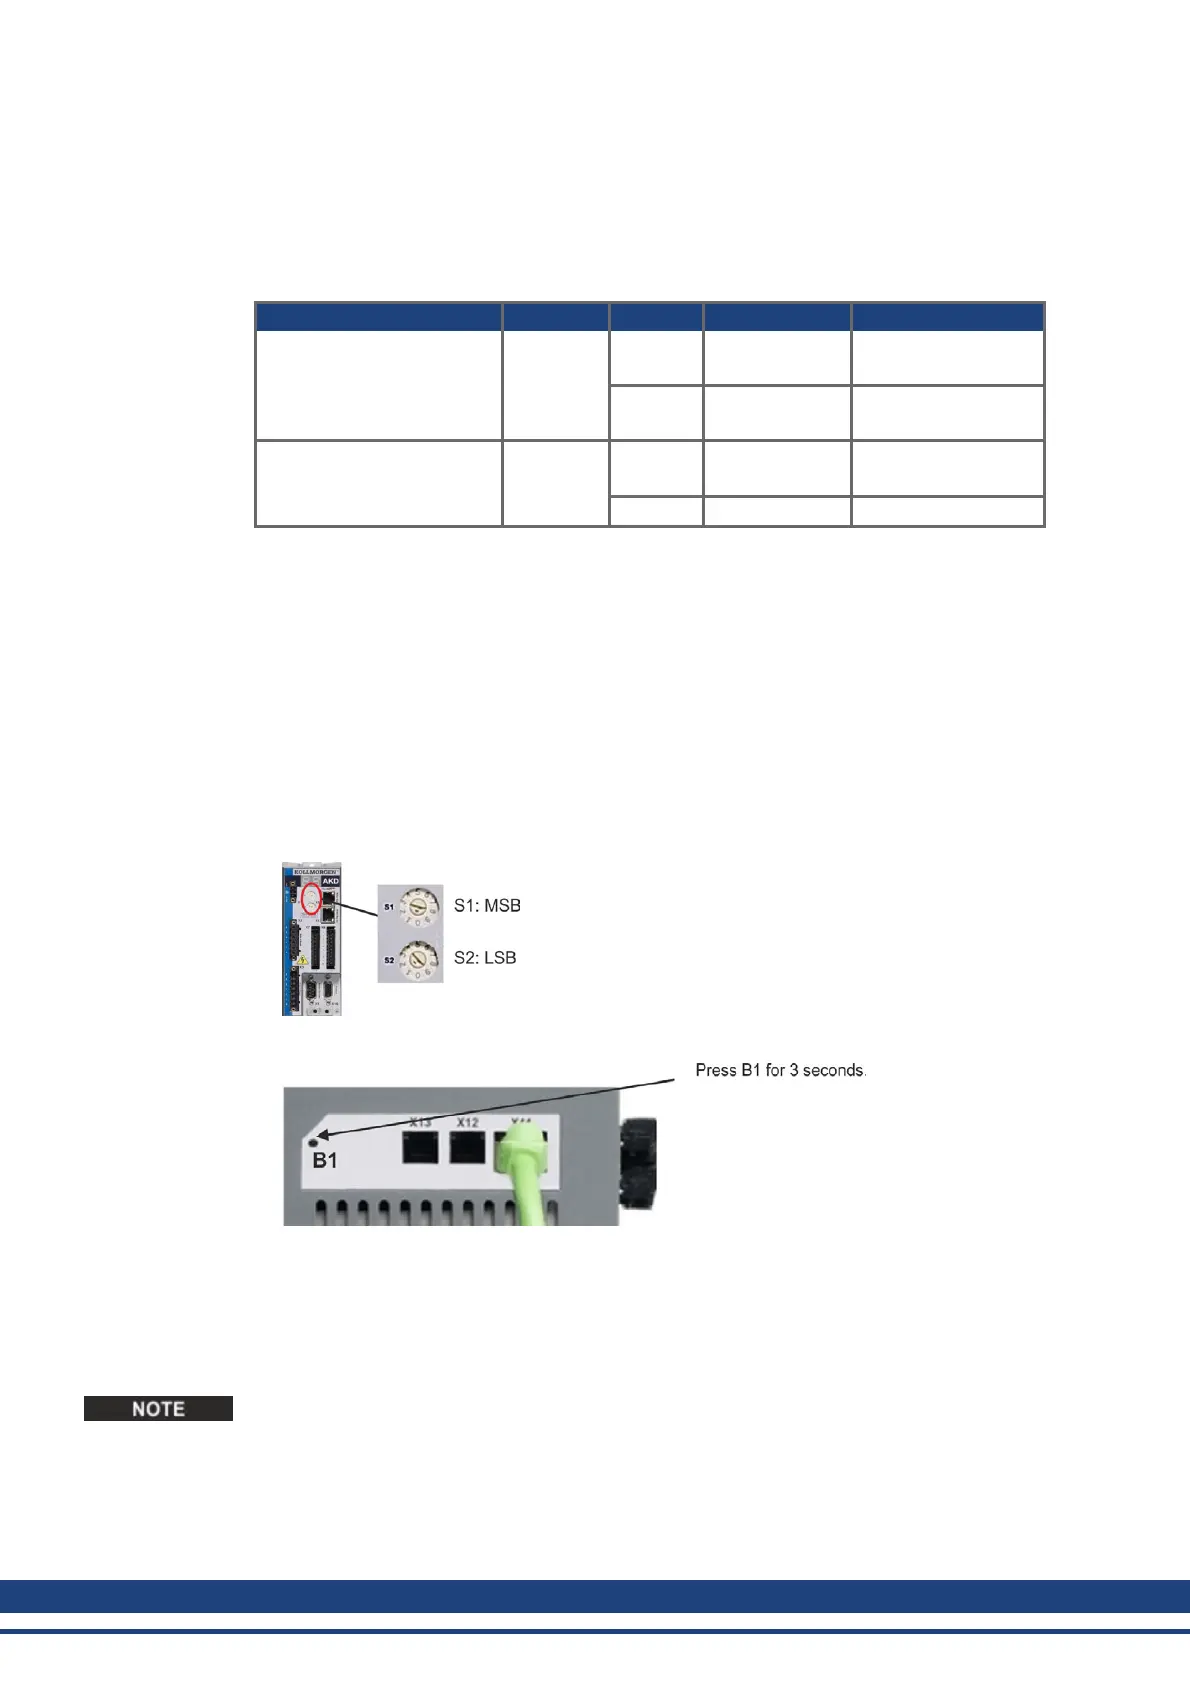
2. by hardware: with the rotary switches S1 & S2 at the front and the button B1 on the top
side of the Drive.
The following steps are needed for changing the fieldbus type from CAN to EtherCAT with
the rotary switches.
1. Set the rotary switches on the front side of the AKD to the value of 89.
Set S1 to 8 and S2 to 9
2. Press the button B1 for about 3 seconds (starts DRV.NVSAVE).
The display shows En during the process of changing DRV.TYPE to EtherCAT.
Do not switch off the 24[V] power supply while the seven segment shows En!
3. Wait until the display returns to the original state, now the drive is prepared for EtherCAT.
4. Power cycle the drive by switching the 24 V power supply off and then on again.
The seven segment display shows Er (Error) in case that the DRV.TYPE instruction failed.
In this case please power cycle the drive and contact the Kollmorgen™ customer support for
further help.
158 Kollmorgen™ | May 2013
 Loading...