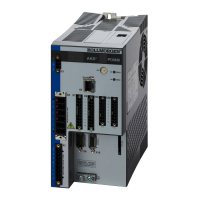
AKD Installation | 9 Setup
9.3.7.3 Set IP Address
Set the drive IP address as described in "Setting the IP Address AKD-M" (➜ p. 151).
9.3.7.4 Confirm Connections
You can turn on logic power to the drive through the X1 connector (bus voltage is not needed
for communications).
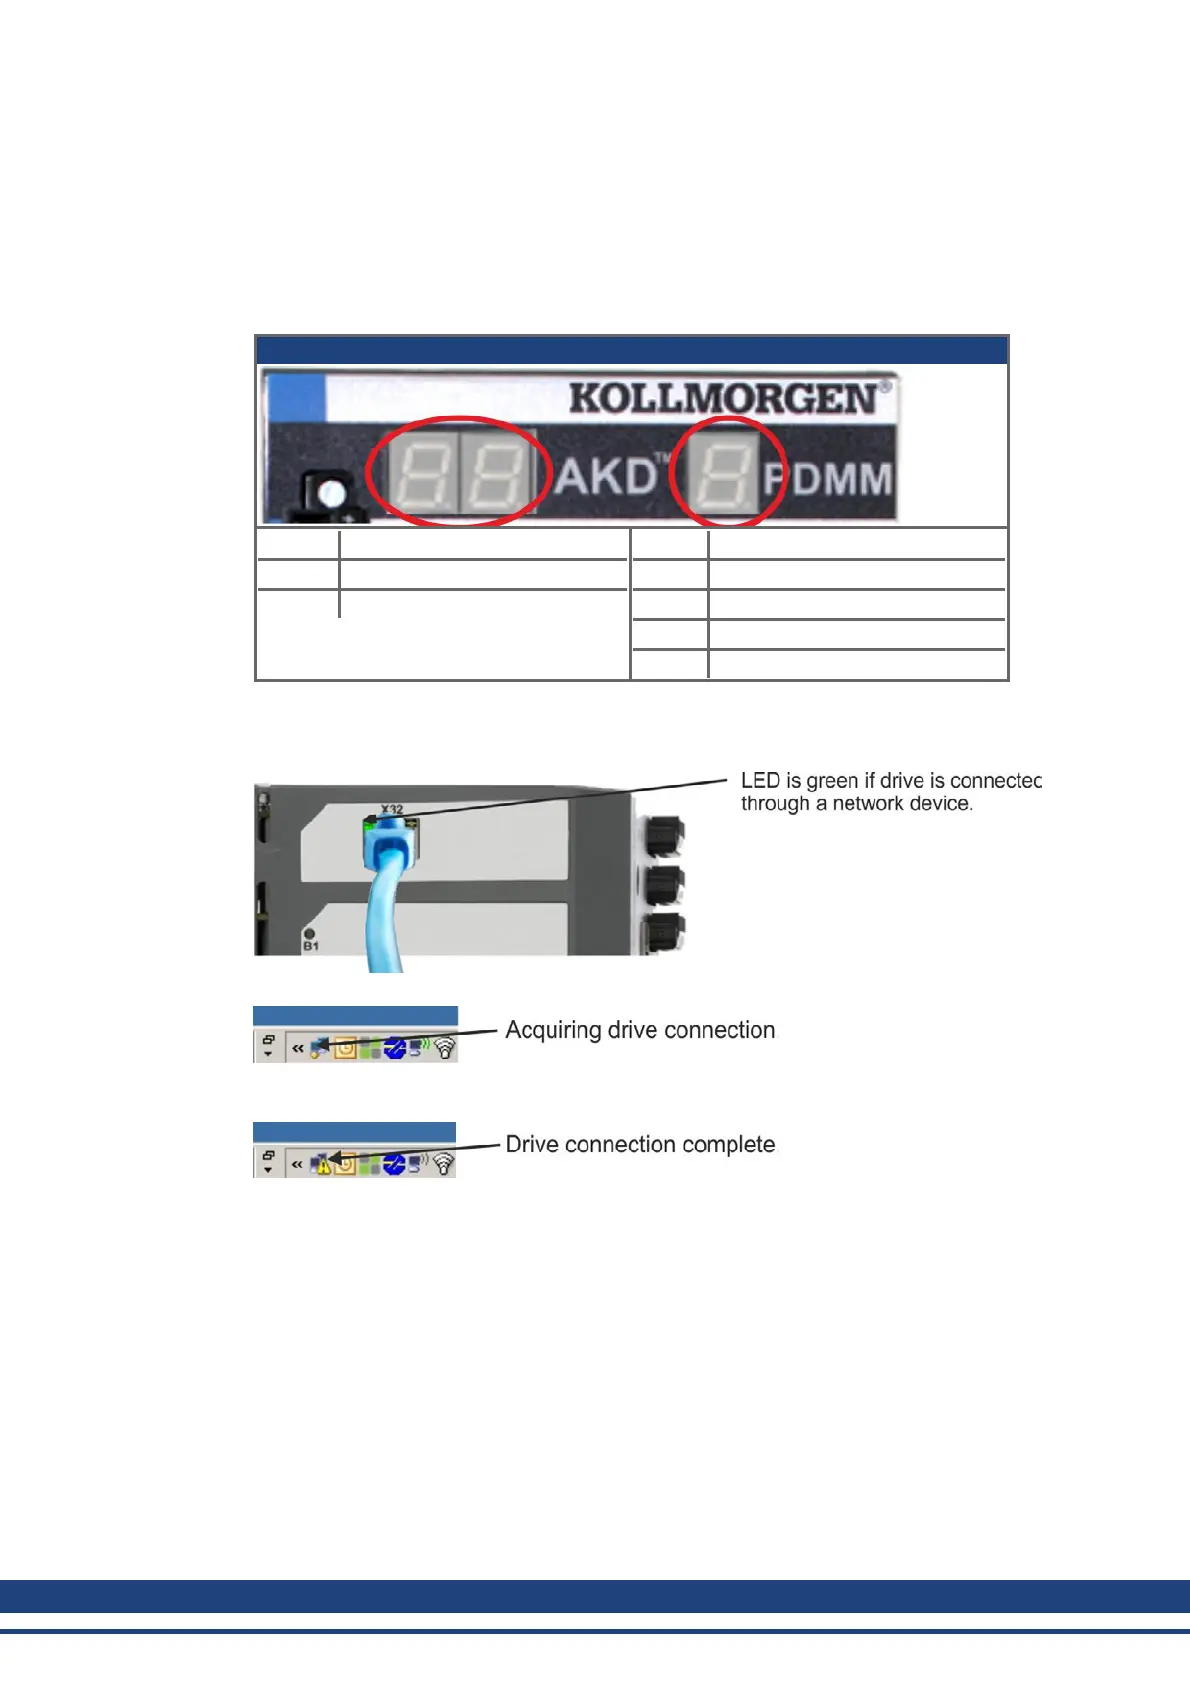
After power is supplied, the drive displays a sequence of LED flashes:
AKD-M two + one digits
- - Power on
o2 Drive opmode not enabled
o2. Drive opmode enabled
- Power on
- to O Initialization sequence
IP_ IP address
o Operational - program not running
o. Operational - program running
Confirm that the link LEDs on the drive (green LED on the RJ45 connector X32) and on your
PC are both illuminated. If both LEDs are illuminated, then you have a working electrical con-
nection.
While the PC is connecting, your statusbar will show the following acquiring icon:
Wait for this icon to change to the limited functionality icon (this process can take up to one
minute).
Although Windows displays this limited functionality icon for the drive connection, the PC
can communicate fully with the drive. Using KAS IDE, you can now configure the drive
through this connection.
172 Kollmorgen™ | May 2013
 Loading...