5.2 Body Mark
186
z
For mini console operation
1
Press in the application start button area and the SET button.
• The Body Mark icon is displayed in the information display area.
• The Body Mark pop-up menu is displayed, and [Mark List] of the currently selected Preset / User Preset is lo-
cated.
2
Use the dial of the F2 button to select a desired Body Mark image from [Mark List], and press
the SET button.
• The selected Body Mark is displayed on the image.
3
Move the transducer mark to operate the trackball.
4
Rotate the transducer mark to the desired angle using the dial on the F2 button.
5
Press .
• The Body Mark icon in the information display area is hidden and the Body Mark image is conrmed.
z
For touch operation
1
Press in the application start button area.
2
Select a Body Mark image from Body Mark list.
• The selected Body Mark is displayed on the image.
• The [OK] button is displayed at the bottom of the Body Mark image.
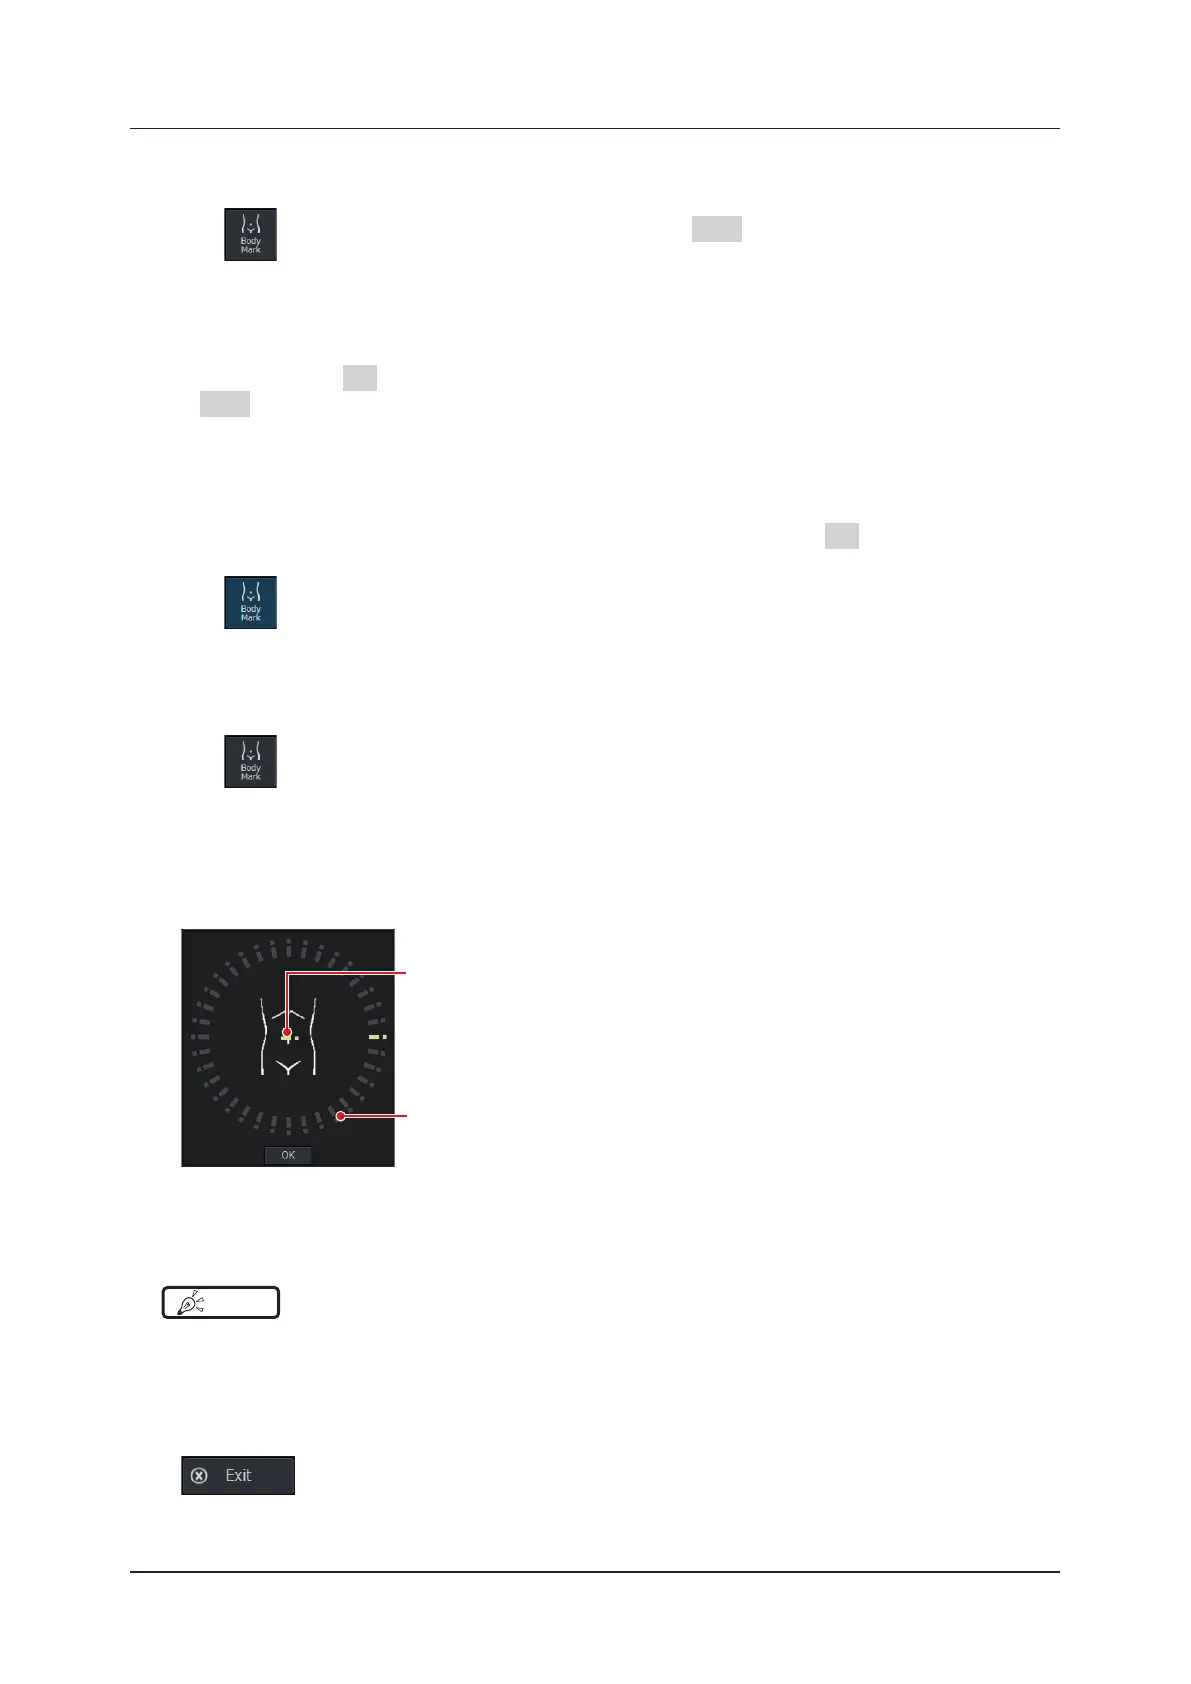
3
Drag the transducer mark to the desired position on the Body Mark image.
Transducer mark
Angle setting guide
4
Press the angle setting guide, rotate the transducer mark to the desired angle and press the
[OK] button.
HINT
•••••••••••••••••••••••••••••••••••••••••••••••••••••••••••••••••••••••••••••••••••••••••••••••••••••
• The Body Mark image is conrmed when no operation has been performed for a specied period of time (sec) set by
using the following procedure: [Setup] screen > [Annotation] tab > [Body Mark Timeout].
•••••••••••••••••••••••••••••••••••••••••••••••••••••••••••••••••••••••••••••••••••••••••••••••••••••••••••••••••••••
z
To end Body Mark function
Press on the pop-up menu.
 Loading...