72
2.1 Installation
2.1.2 Connecting the Transducer
Only a single transducer can be directly attached to the transducer connector of the system. Up to three transducers
can be attached if you use an optional Three-Port Probe Unit.
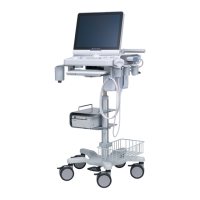
Information from the transducer attached to the port is displayed on the ultrasound image.
Frequency value (B/M)
• Displays the transmit fre-
quency of the currently-
active transducer.
Transducer mark icon
• Displays the currently-
active transducer in the
lower right portion of the
ultrasound image.
1
Turn OFF the system.
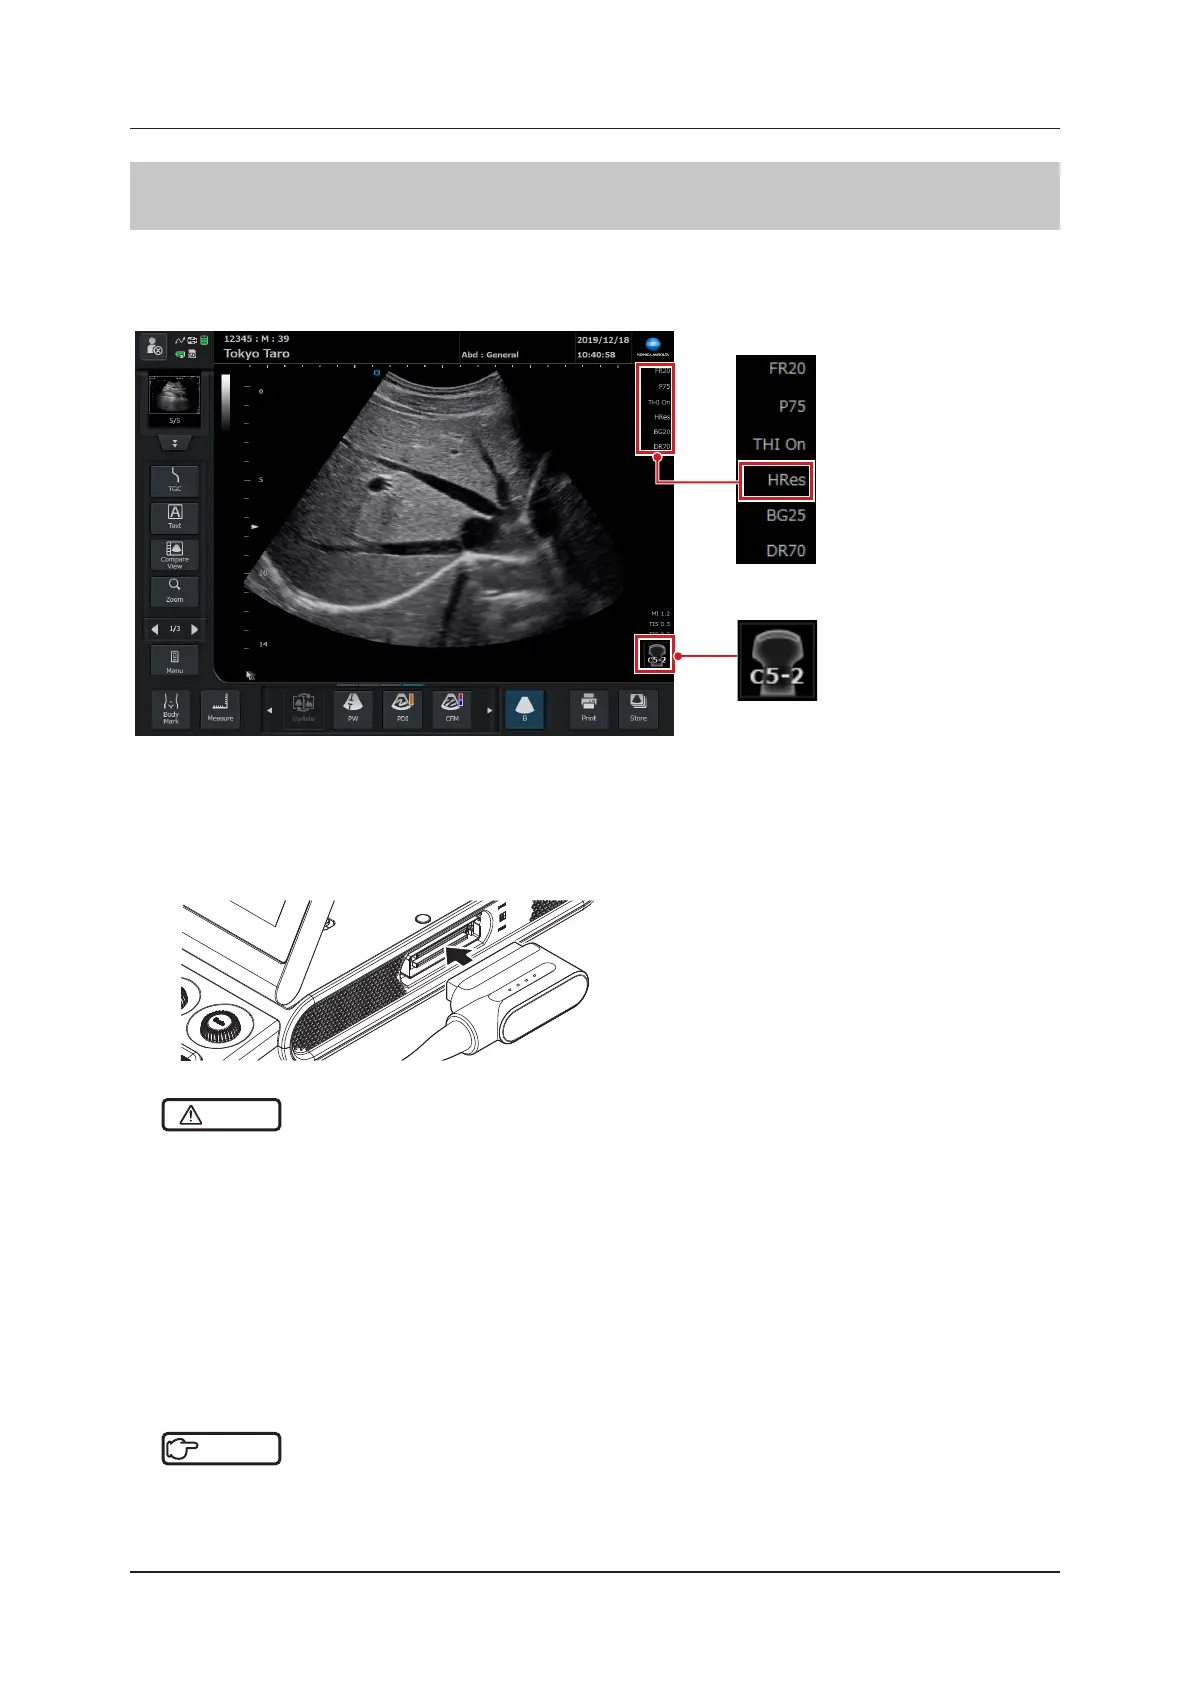
2
Position and connect the connector of the transducer in parallel with the transducer connec-
tor on the main unit.
CAUTION
•••••••••••••••••••••••••••••••••••••••••••••••••••••••••••••••••••••••••••••••••••••••••••••••••••••
• Turn OFF the system before attaching / detaching or replacing a transducer.
– When the transducer has to be laid down temporarily during a study, place it on a stable and level surface to prevent it
from falling.
• When transporting a transducer, be sure to disinfect the transducer at the beginning, put it into a plastic bag, and
then put the transducer-enclosed bag in a storage case. If do not doing so, the performance of the transducer could
deteriorate.
• Do not connect anything other than transducers or Three-Port Probe Unit designed for this system to the transducer
connector on the main unit.
• If the connector cannot be inserted properly, do not try to force it in. Instead check the connector orientation. Forcing
the connector in may result in damage to the transducer.
•••••••••••••••••••••••••••••••••••••••••••••••••••••••••••••••••••••••••••••••••••••••••••••••••••••••••••••••••••••
Reference
•••••••••••••••••••••••••••••••••••••••••••••••••••••••••••••••••••••••••••••••••••••••••••••••••••••
• For details of transducers, refer to "Chapter 8 Transducer and Biopsy".
•••••••••••••••••••••••••••••••••••••••••••••••••••••••••••••••••••••••••••••••••••••••••••••••••••••••••••••••••••••