75
Chapter 2
This system receives power either from a commercial
power source (via the AC adapter) or from a battery.
Battery connection is composed of a three-element
combination: the system, battery and AC adapter.
WARNING
•••••••••••••••••••••••••••••••••••••
• Be sure to use the power supply cord that is in-
cluded with the system, and connect the mains
plug (Hospital Grade) to a wall mounted AC socket
outlet. Do not connect the mains plug to a two-pin
socket outlet using conversion adapters, etc. Doing
so may cause an electric shock.
•••••••••••••••••••••••••••••••••••••••••••••••••••••
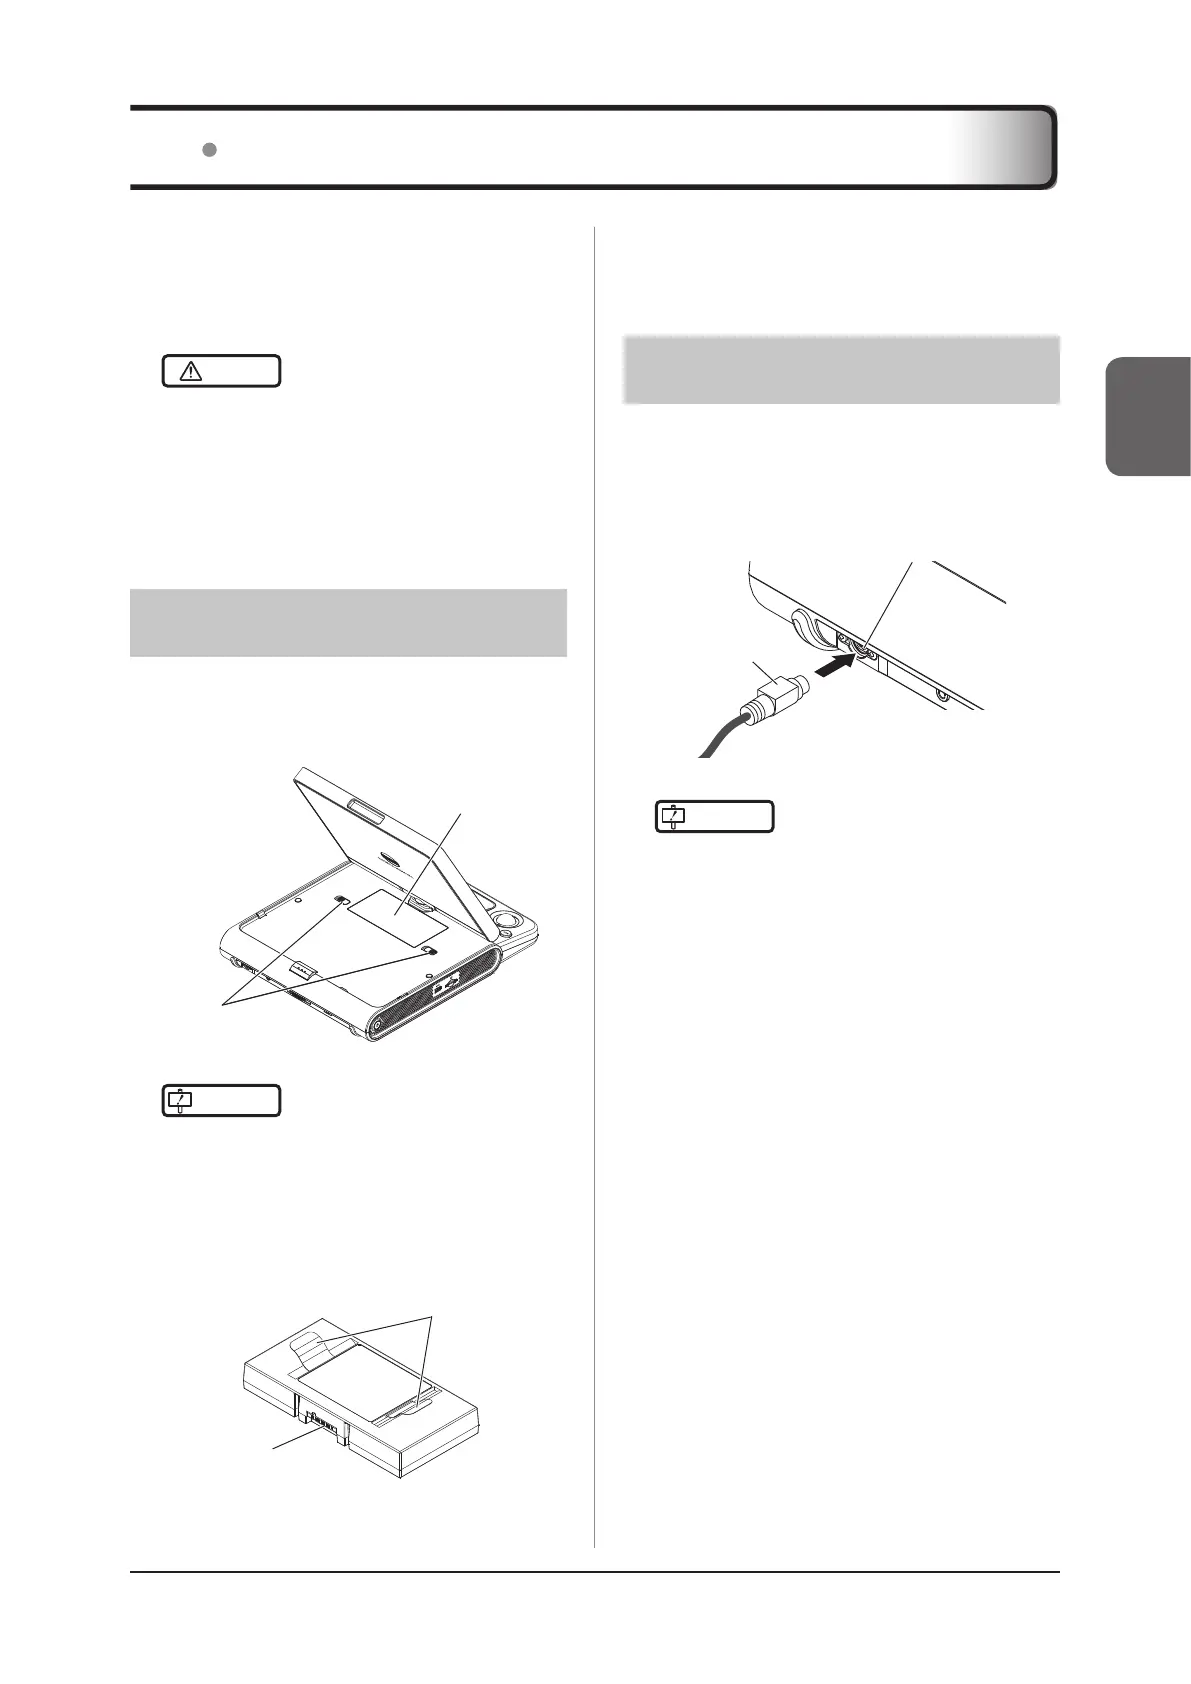
2.2.1 Connecting the Battery
1
Slide the knobs to toward each side of the
system to remove the battery cover.
Knobs
Battery cover
IMPORTANT
•••••••••••••••••••••••••••••••••••••
• A battery authorized by Konica Minolta must be
used.
•••••••••••••••••••••••••••••••••••••••••••••••••••••
2
Install a battery by holding its grips.
• The battery has the specied orientation. Insert
its terminal side rst.
Terminal side
Grips
3
Close the battery cover.
2.2 Power Supply Cord Connection and Battery Capacity
z
How to remove
In step 2, hold the grips to remove the battery from the
system.
2.2.2
Connecting the AC Adapter
1
Connect the AC adapter connector to the
system’s power connector until you hear
it click.
AC adapter
connector
Power connector
IMPORTANT
•••••••••••••••••••••••••••••••••••••
• An AC adapter authorized by Konica Minolta must
be used.
• Make sure to fully insert the AC adapter connec-
tor. If the connection is incomplete, the AC adapter
connector may become extremely hot.
•
Although the AC adapter becomes hot during use, this
is normal as long as the indicator lamp is lit in green.
• When using the system on a desktop, keep the
AC adapter about 10 cm or more away from the
transducer. Otherwise, noise may be present in the
ultrasound image.
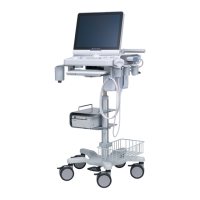
• To use an optional Pole Cart2, route the AC adapt-
er cable and the power supply cord as shown in
the gure below. Fixing the cable in a place other
than specied may damage the cable or other parts
when you adjust the height of the Pole Cart2. If
you removed the AC adapter cable and the power
supply cord, connect them as shown next, in ac-
cordance with your option combination.