93
Chapter 3
This section describes the general ow of an examination using the system.
For information about each screen and basic functions, see the item to be described later in this chapter. Refer to the
"Operation Manual: Applications" for details on such procedures as exam type-specic measurement procedures.
1
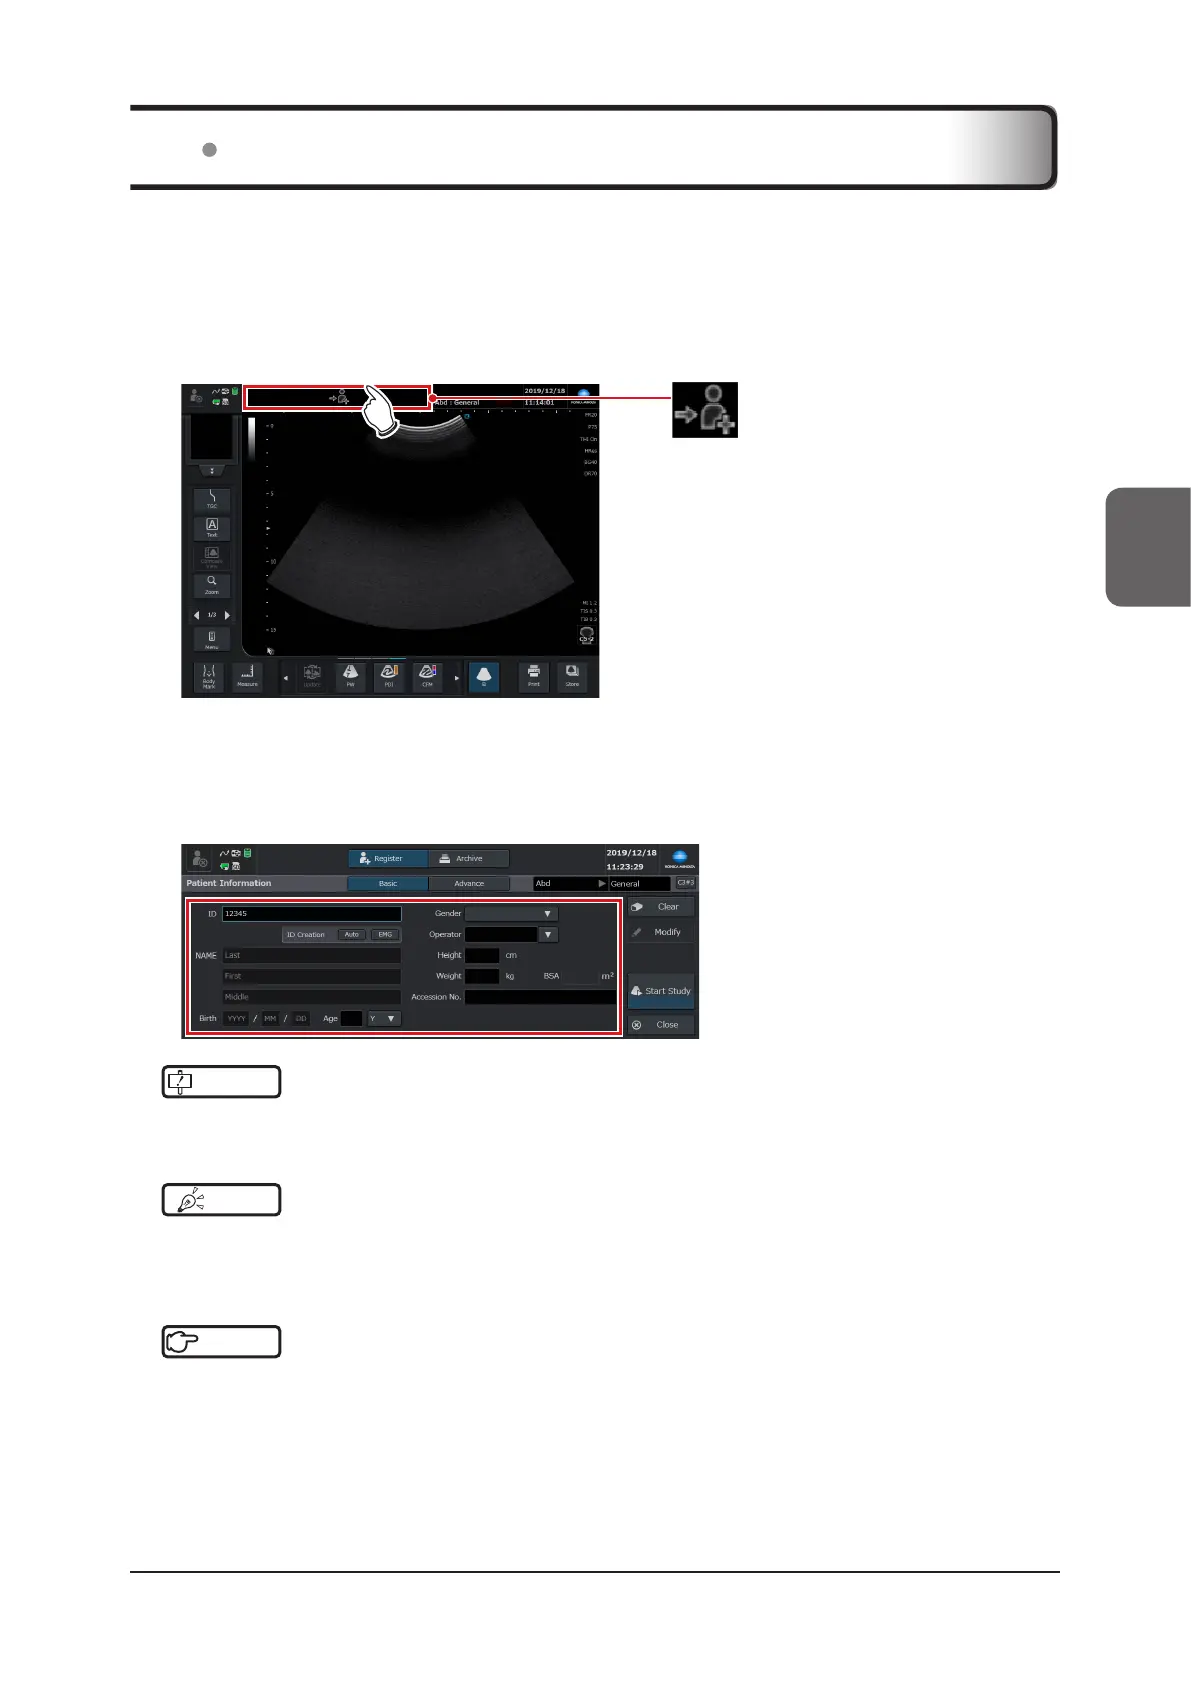
Change to the [Patient] screen.
• Touch the patient register icon at the top of the study screen.
(Patient register icon)
• When you return to the study screen after having registered a patient, the patient’s information is displayed in
the basic information area.
2
Register the patient.
• Enter an ID and necessary information on the [Patient] screen.
IMPORTANT
•••••••••••••••••••••••••••••••••••••••••••••••••••••••••••••••••••••••••••••••••••••••••••••••••••••
• Input your ID (required).
•••••••••••••••••••••••••••••••••••••••••••••••••••••••••••••••••••••••••••••••••••••••••••••••••••••••••••••••••••••
HINT
•••••••••••••••••••••••••••••••••••••••••••••••••••••••••••••••••••••••••••••••••••••••••••••••••••••
• You can also start examination by entering the ID in the study screen without switching to the [Patient] screen. Refer
to "Patient Screen" in the "Operation Manual: Applications".
•••••••••••••••••••••••••••••••••••••••••••••••••••••••••••••••••••••••••••••••••••••••••••••••••••••••••••••••••••••
Reference
•••••••••••••••••••••••••••••••••••••••••••••••••••••••••••••••••••••••••••••••••••••••••••••••••••••
• For patient registration, refer to "3.3 Registering Patient Information".
•••••••••••••••••••••••••••••••••••••••••••••••••••••••••••••••••••••••••••••••••••••••••••••••••••••••••••••••••••••
3.2 Examination Flow