76
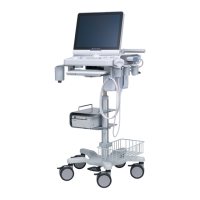
2.2 Power Supply Cord Connection and Battery Capacity
When the Power Extension Unit2 is used
Power Extension Unit2
AC adapter cable
Clamp
Pass extra length of the AC
adapter cable through a clamp
•••••••••••••••••••••••••••••••••••••••••••••••••••••
2
Insert the power supply cord into the AC
adapter.
Power supply cord
AC adapter
3
Connect the mains plug (Hospital Grade)
to a wall mounted AC socket outlet.
• This provides protective earth in the system.
• Once the AC adapter is energized, its status in-
dicator LED lights up green.
• When the system is being used by connecting
the AC adapter, the battery is being charged.
Mains plug
Wall mounted
AC socket outlet
IMPORTANT
•••••••••••••••••••••••••••••••••••••
• There should be no obstacles near the transducer
cable, the wall mounted AC socket outlet and
mains plug.
•••••••••••••••••••••••••••••••••••••••••••••••••••••
When the Power Extension Unit2 is not used
Hook the extra length
of the power supply
cord on the cable hook.
Cable
hook
Clamp
MagicBand
Cable
hook
Φ130 mm
Wind the cable twice
with a circle of Φ130
mm, x it with two
MagicBands, place
it as the clamp is
placed between the
MagicBands, and then
x it with a clamp.
Clamp
Push the nail in front of the clamp to
remove the clamp.
When the clamp has been removed