3.1 Study Screen
87
Chapter 3
No. Area Functions
(1) Status area
The [Study] button and the status indicator icon are located here.
• The [Study] button function diers depending on the settings. For details, refer to
"[Study Button] customize" in the "Operation Manual: Applications".
(2) Operation button area Thumbnails and operation buttons are located.
(3) Application start button area The application start-up button is located.
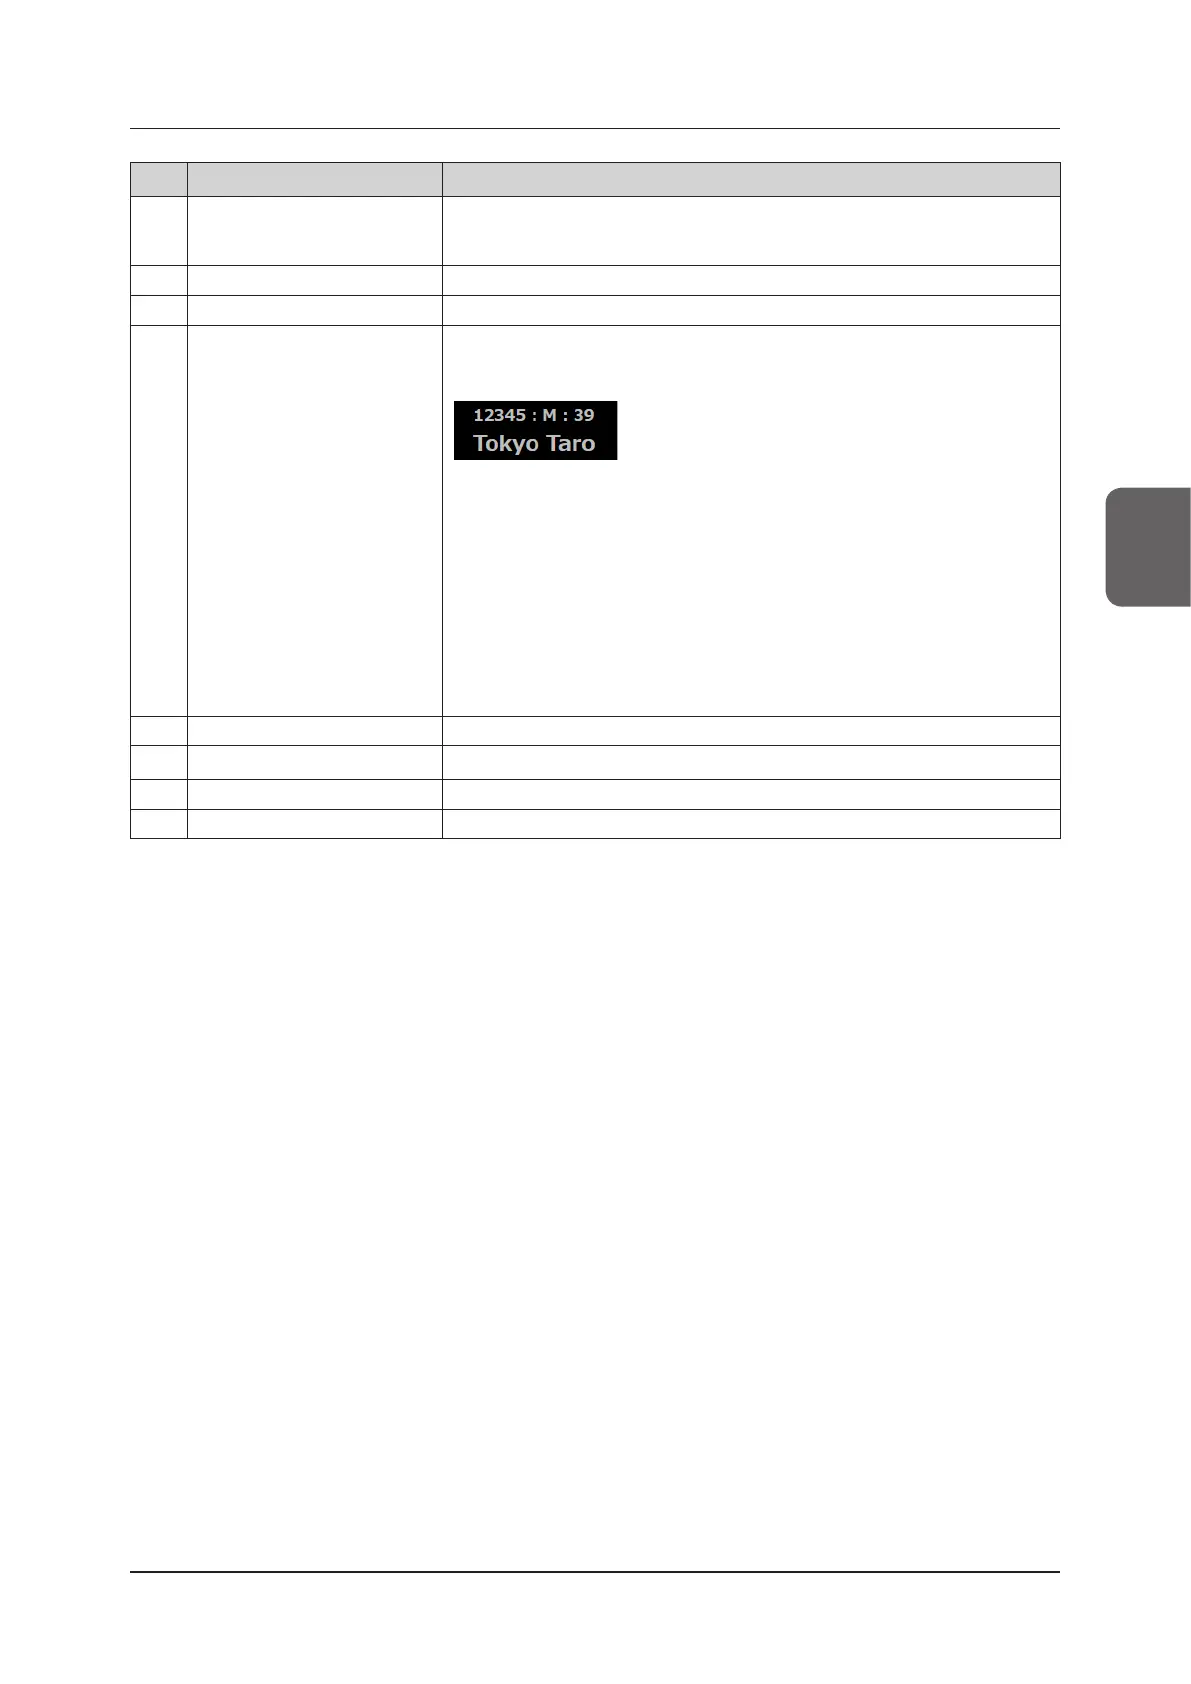
(4) Basic information area
Basic information such as information of patients being studied, hospital name and
examination information, date and time, etc. is located.
Patient information area
• Touching the patient information area on the left side of the basic information area
will display the [Patient] screen.
The patient information is displayed during the examination. The patient register
icon is displayed if the patient’s information has not yet been registered.
• The hospital name can be changed by touching the hospital name display area on
the right side of the basic information area.
Refer to "[Site Settings] screen" under "Maintenance" in the "Operation Manual:
Applications".
• If [GYN] or [EM]/[GYN] is selected as the area for exam, [LMP] or [IVF] appears. If
[OB] or [EM]/[OB] is selected, [EDD] and [GA] appear. The values can be changed
by touching these displays. For setting the display items, refer to "Conrming pre-
set/modifying user preset" in the "Operation Manual: Applications".
(5) Image display area Ultrasound images and the image-related information (e.g. parameters) are located.
(6) Information display area Icons for currently-available operation items are located.
(7) Print / Store button area The Print/Store buttons are located.
(8) Mode button area The mode change buttons are located.